Showing posts with label R5 Head. Show all posts

July 07, 2025

R5’s Bad Motivator 2025

 February 2025.....

Back on it again these last few months, waiting for delivery of different components to get R5’s bad motivator setup all working from one switch off the RC transmitter.

A new receiver paired to use a different channel not used on main body, worked when bench testing, but didn't work when both receivers were powered up. So it's back to the drawing board on this.....

An Adafruit sound board, mini amplifier, voltage regulator and utilising a speaker out of my parts bin lol.

Then 3D printing of brackets to mount these parts.

Then one new momentary servo controlled switch to control the adafruit sound board, and one on/off switch for the ‘Bad Motivator smoke setup’.

February 25, 2025

Andor - season 2 is coming | R5 astromech/X-Wing

The wait is almost over..... Andor season 2 will soon be here [April - UK].

The trailer looks great, a lot of action and from the comments I've read, all VERY positive.

Scanning the trailer, I found only one droid, apart from K2, and that was an R5 on top of an X-wing.
screen grabs from the official Disney YouTube channel

Just before Hyperspace jump.


Jumping to hyperspace.


We'll have to see what designation he is.....


#droidbuildersuk #SWDB25 #astromech #droids #Bristol #Mshed25

June 04, 2020

Throw Back Thursday [part 2] - June 2019

Around this time last year I had started making a dome bag.

A dome bag, you ask???
Yes!

At an event, a co builder asked about how best to carry R5's dome (as it's wood and he obviously didn't want to cause any damage to it. This gave me the idea to make a carrier for it. One that can protect from dust & light bumps etc, but make it easier to carry.

So I started making the above Dome Bag.
Follow the link to follow my original bag making process.
I did start on a more correct size one, which would be used for my R4 dome.....that ones still to be finished tho.

Happy reading!

April 09, 2019

Next project...... Dome Bag 1.2

This is a work in progress, though it will be used as it is being built for my domes.

Step 2: The Side - continued. As mentioned in my previous blog, the base wasn't cut to be over size. This required some modification. The outer dome padding would now sit flush with the base padding, instead of sat on it. This required so stitching, which had to be done by hand.

Doing this helped make the side protection foam, curve into shape with the base. I then stitched the ends of them together. Again, hand stitched....so not the best looking.
dome bag, R5D4, R4D4
joined side protection.

Now, I also said that I hadn't accounted for the top part of the dome, just the vertical height. So I needed to 'add' more material. Thanksfully, there's more than enough left over of the sheet.

Step 3: The Top. So I fitted R5's dome into the bag, and then worked on the top section of material.
dome bag, R5D4, R4D4
top of dome material

Step 4: The Draw String.
Before I stitched this piece onto the side section, I needed to first add the draw string cord.The top of the material had its edge folded over and stitched.
dome bag, R5D4, R4D4 dome bag, R5D4, R4D4
I then threaded the cord through the hole and fitted a toggle on the end. The two string ends were then folded over and stitched together.
dome bag, R5D4, R4D4

Step 5: The Handle(s).
This is one single piece which loops around and under the dome bag. This is what takes the weight of the dome. The webbing is stitch fixed at the top of the side padding and bottom of it. It's then stitched at it's crossover point. The two ends are also stitched together.


And the completed first dome bag, test fitted with both R5 & R4's dome.....
Dome bag, R4D4, R5D4dome bag, r5d4, astromech dome

And the bag, closed, with handles raised.
dome bag, r5d4

Now I have upgraded my dimension and corrected my previous errors with dimensions.
I know where I need to make alterations for dome bag no2.
It will be a lot neater with the stitching lol as I now know where/how best to assemble all the panels. I only need to re-order the foam & buy another bed sheet as I have more than enough strap webbing, draw string and a spare toggle.

I'll also draw/dimension this up so I don't forget lol.

April 08, 2019

Next project...... Dome Bag 1.1

(5.4.19)
Going to event's with two domes can be a bit tricky, and also my garage seems to attrack dust. So I came up with this idea to protect (from dust) and be able to carry a dome easily.

And the 'Dome Bag' idea was created.

I did have a plan....but this first attempt was basically a test/WIP as I will eventually need another bag for the other R4 dome. Oh and maybe another for my R0 dome, but that's still being upgraded, so no rush to take that to any events.

Step 1: The Base.
I wanted there to be a padded surface as the dome connect with the body and this edge could get damaged. Now, this wouldn't stop damage if the dome where to be dropped, but a slight knock or bump would be ok.

I drew around the base of the dome, with the intention of cutting an extra bit larger for the side foam padding to sit on.......but due to distractions & thinking two steps ahead.....I forgot. So the foam diameter is the same size as the dome's outer edge.....that it's supposed to protect.
Dome bag, R5D4

Next I drew around this foam base & cut out the material to cover it, like a cushion. The material is just a single fitted bed sheet, costing about £6. Remember, this is just to offer some protection from dust, the actual structural strength comes later on in this build.
Dome bag, R5-D4
I pinned and using the sowing machine, stitched the two panels together, inside out, then turned them the right way and squeezed the foam panel inside.

Step 2: The Side. The next step was the side protection. I measured a height that would protect the upper edge of R5's dome, above the holographic, engine turned tape panels.
The material's was cut long enough to wrap around the faom to hold it in place.
Dome bag, R5D4
The second smaller piece was used as a guide for the turned over piece of material. I almost messed up again, by not allowing extra material for the fold.

I did however, mess up on the actual height of the material needed to cover the side height of the dome and also the top section......more about that 'upgrade' later.
Dome bag, R5D4
Using my daughters sowing machine, and re-learning on the go, lol, I managed to stitch a half decent straight line along the edge of the panel. I didn't want it to be loose, allowing the padding to move, so I got this right and it fits nice and tight.

So far this is all going as planned.....hahahaha......

February 13, 2019

Littlebits - Star Wars Droid Inventor Kit - pt 6 (2019)

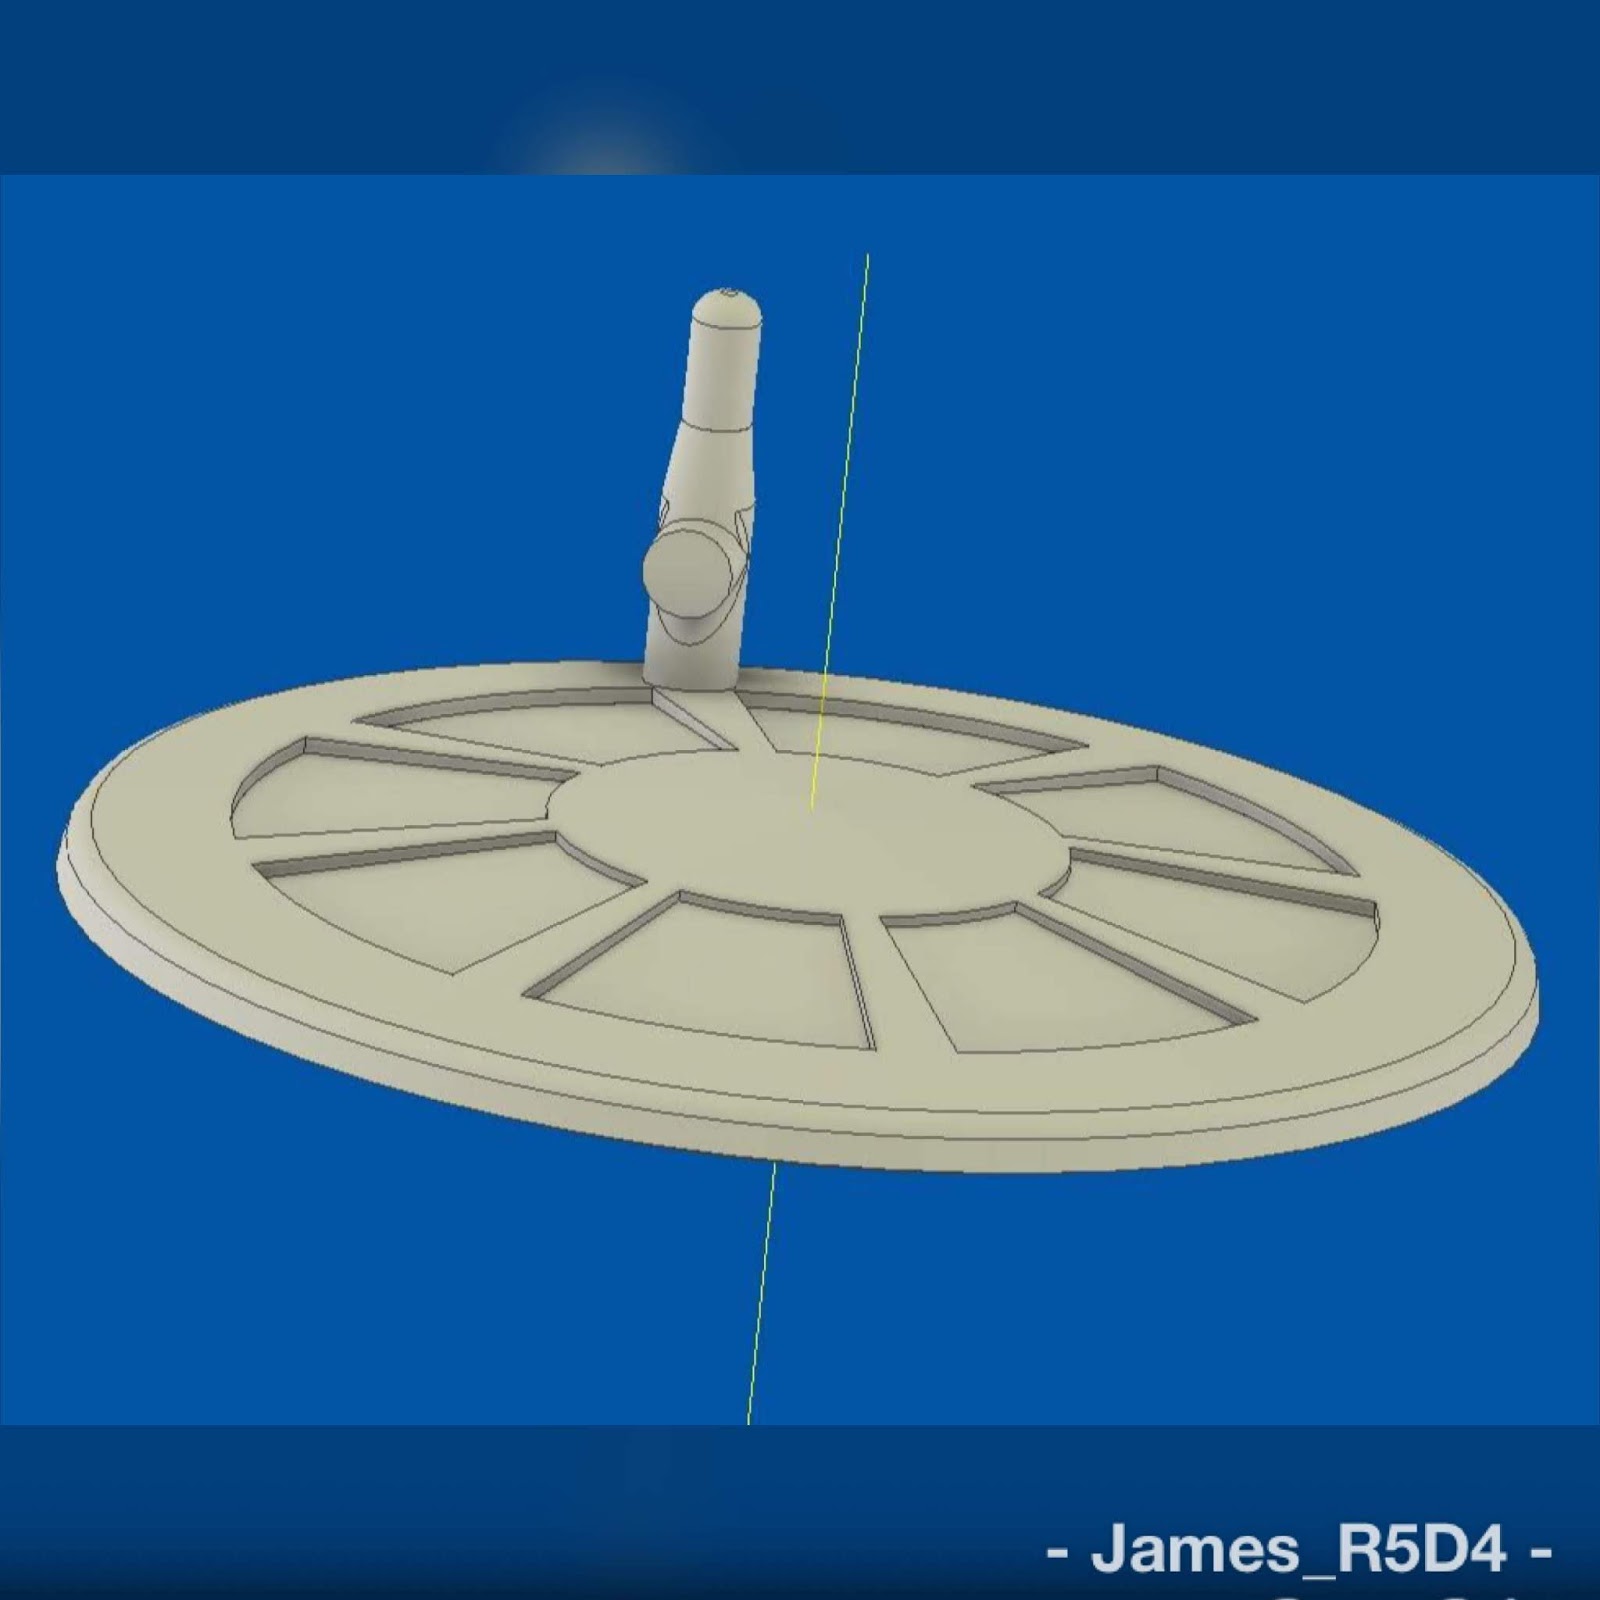
So yesterday on my lunchtime, I had a look at the 3D drawing of the dome. I had done some upgrades since I had last printed (and it failed), but I wanted to look at splitting the dome into two parts. This would save on 'support' material (needed) to support the top area, which may of led to the print failer on the last attempt.
r5-d4, littlebits, r2d2
R5 dome for the Littlebits R2D2 droid
And here's the lid. It has a lip to locate onto the main body.
r5-d4, littlebits, r2d2

Images also on my Instagram 'james_r5d4' account

I left the antenna on, and again, I'll see how well this prints as it may be easier to print it as a seperate item.

You can see from this next image the differences & improvements made.
Also the motivator hole was in the wrong place, this I've removed from the updated version.
r5-d4, littlebits, r2d2

I've tried to make this as simple as possible as it is just for fun. I'll post up both the two part and the single part dome on my Thingiverse account once I've printed the two part dome.


To get instant notification of when this is uploaded,
as my Thingiverse account is linked lol,
follow me on Twitter @jamesr5d4

October 16, 2018

R5-D4 - 4 years on

Posted up this picture on instagram last night, showing the difference four years on from when R5 was finished being built. When I say finished, of course I just mean fully painted & assembled, as there's always something you can update or improve on.

A lot has happened over those four years, conventions, charity events, club events, Midnight release events, TV apperance plus a few others VERY special moments.


R5-D4

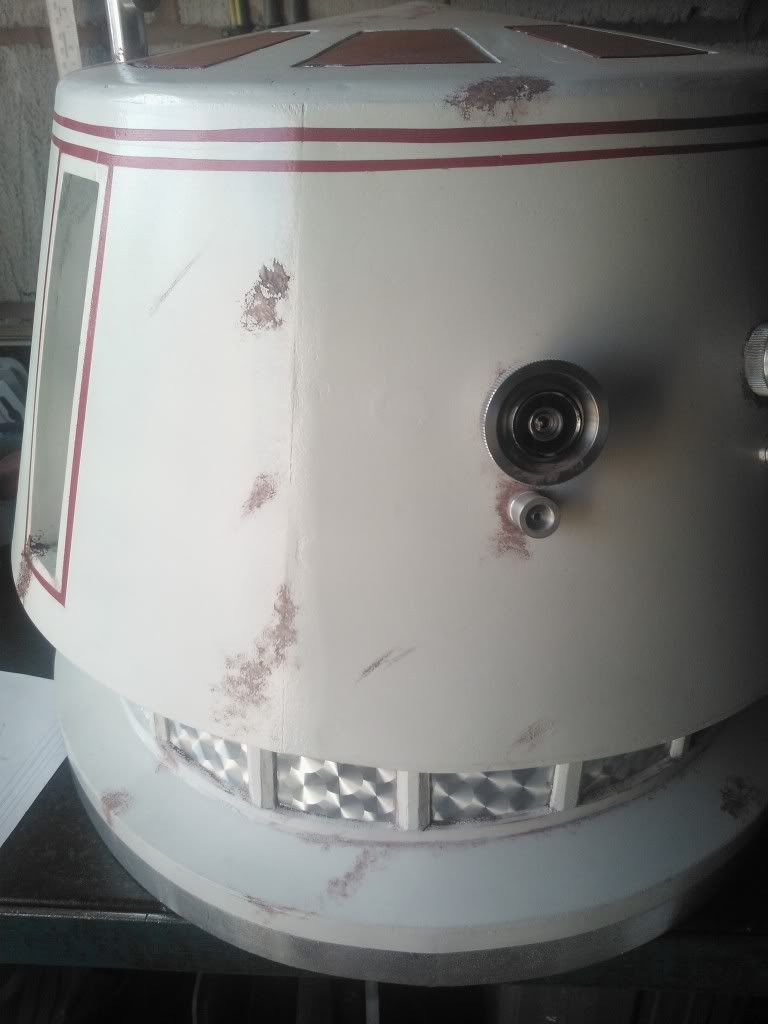
Picture shows, on the left, 2014. Nice white, clean finished droid. On the right, 2018, a four year veteran of events, plus faded paint over time, two lots of applied weathering, plus bumps, knocks, dents, scuffs that have built up over the years of use, just through wear and tear.

There are two builder camps, those who build a clean droid and others who don't lol. I'm definatley in the dirty camp as it adds to the authentic film version people know. I have been asked many times if my R5 is THE R5-D4 seen in the film! Now that is a serious compliment!

October 08, 2018

Littlebits - Star Wars Droid Inventor Kit - pt 5 (2018)

After a few more tweek's, I set up the .stl file for printing. I had originally planned on printing upside down with support, but then went with how I had started printing the first attempt last year. So, the right way up. To save time, I put it in 'fast' mode and 0.3 layer height. Fill at 30%.
Littlebits R5-D4 dome

It didn't take long to dawn on me that perhaps supports would of been a good idea lol, see above picture, but this was a one time print/test so not the end of the world and I can fix bits. At least you know to use supports! I think this may be down to the 0.3 layer height, fast speed & fill, as usually angle edges don't give me any problems.

Then came the 3 main eyes......
Littlebits R5-D4 dome
I had to get in there with the ruler to support the print until it had a few layers on it.

Whist this was printing, I had a few alterations so this .stl & the revised one will both go up on Thingiverse. The alterations include thickening of some of the walls at the bottom, enlarging the two side dome rods and moving them in side the recessed box a bit more, so they are supported. The internal dome roof area has been simplified, single angle face.

Then it was home time. I had to leave it running, and thoughts were that everything else should be ok.....

I came in Monday morning to this.....
Littlebits R5-D4 dome

Littlebits R5-D4 dome

Littlebits R5-D4 dome
No idea what went wrong here???

So I cut off this mess and when I get free time, I'll re-print just the top hat of the dome and glue it on lol.

January 26, 2015

R5-D4's Dome control syatem 1.3 - COMPLETED

Braved the cold of my garage Saturday afternoon, to install R5's dome switch unit. Basically a servo linked up to swith two micro switches to power dome motor left/off/right.
Fitted the board to the inside upright and all plugged in. Just need to sort the batteries plug so its charger can plug into it to be charged.
R5-D4 Dome control switch unit

R5-D4 Dome control switch unitR5-D4 Dome control switch unit

Have been happy since sorting the switches out and that it would actually work, but to finally install the switch panel in and test R5's dome properly, with the transmitter, felt like I had actually achieved the basic level of completing An Astromech. That being 'full motorisation, feet and dome' :)

April 18, 2014

Weathering 1.2 - R5-D4's Head

This morning I started on weathering R5's head, by applying Burnt Umber around the neck, side recess, eyes, top pie panel grooves and around the base of the Antenna. This is just the start. One good thing I've noticed is that the woods imperfections help when wiping off the paint as it sinks into them giving a 'pitted' surface finish.
R5-D4R5-D4
These pics were taken right after paint was applied, so its still wet. But looked a lot better once dried. Should look even better once rubbed off a bit and ochre applied.

March 07, 2014

R5-D4's Head 4.7 - clear spray coat

Tuesday night, I stripped R5 of all his eye 'sensors', Dome rods & motivator brackets. This was in preperation for clear coat spraying.

I was planning on doing this Wednesday, but remembered i wasn't going to be in work. Then Thursday I needed to finish off some silver detial work & remove parts from R5's body, ready it also to be clear sprayed up.

So today's the day. I applied masking tape to the inside of the Domes holes and using works spray booth, got to clear coat the Dome.

Photos to follow.......

February 24, 2011

R5's Head frame, Ankle Cylinder's, Motivator and Braided Hose.....

Looked to day at how to construct R5's head. There are loads of ideas from Aluminium spun to Styrene constructions. Not 100% sure my route, but thought I'd start planning it out. Found an idea to create a skeleton frame that the outside walls would wrap around. As this project is going to be budget orientated, it looks like a sound idea.

Converted imperial dims to metric for the Ankle Cylinders today. Looked at what material to make them from. Plastic tube with plywood ends or aluminium ones. Or just make them all out of aluminium bar, from the scrap bin in work ??? I think I'll go with this as I feel then like I'm doing something instead of just 'thinking' what to do next lol.

Have also been thinking about R5's 'bad motivator'. Searching for pics info on what it looks like, but both are very limited.....

Also found some Braided Hose in a Wickes catalogue. These might just be suitable, but will have to see them in the flesh first.