Showing posts with label Cura. Show all posts

February 04, 2024

Treadwell WED-15 : Head Box build - part 2

January:
Note: Handles arrived, 😂 lol but the weight of the box isn’t enough to overcome the springs in them 🙄😂. So I went back to my original idea of 3D printing recessed handles.

The first test one was okay but my middle finger knuckle would make contact with the edge opening. So revised this for version two.
Printed version 2.

Marked position and drilled/cut out opening.

Was a nice snug fit.

Just needs a dust off and pop new plastic pop rivets in. The metal ones were to much and started to damage the plastic handles. These plastic ones, just help hold the handles in place.
On to handle no2.

Time to cut the foam.

First piece being test fitted.

Next pieces.

The sides will need cut outs for the handles.

Picked up some spray glue to stick the foam in with once all pieces are cut.

February 03, 2024

Treadwell WED-15 droid build : Part 23 - woodwork, 3D printing, test drive


January into February 2024

Have been working on:
  • Power
  • Wheels - drive axles
  • Axle bushes
  • Polypropylene washers
  • Electrical/electronics
  • Bodywork
  • History…….wait what???
  • Details
  • Testing, Testing, 1, 2, 3…..
After the last post, I knew I needed a proper to-do-list. Most of it is not directly related, more reminders lol.

Power:
Going to go with a single 12v battery for now, borrowed from R5 for now.


Wheels & Drive Axles:
machine up some proper axles for the two drive wheels. This will connect to the motor via a coupler that I machined up myself.

Next up was to machine up 1 of 2 drive axle couplings.
Coupler being machined for M5 grub screw

The actual wheel bushes and location end pieces for the axles fitting into the wheel, needed to be slightly modified and re 3Dprinted.

Axle Bushes:
Machined up the rest of the Brass bushes that are press fitted into the wood side panels. I reoriented them so that the lipped edges are inside the frame.

The two main drive wheel bushes are slightly longer to take up the space between the side panels and the couplers. Bottom left rear wheel doesn’t have a coupler or motor fitted at time of picture being taken.
Test fitting of the wheels, temp tracks and motor no1,
to see if it has enough torque to drive

Polypropylene washers:
3D printed off a load for both outside and inside.

The axles are then locked in place with M8 Nylon locking nuts.

Electrical/Electronics:
  • Ordered a Sabertooth speed controller from the Robotshop. PayPal allows you to pay in three monthly instalments, very handy.
  • Ordered some 12 gauge red & black cable.
  • Ordered a 12v geared motor & on testing, ordered a second one.
Sabertooth speed controller

Bodywork:
Tapped up and filled in the front and rear gaps for the cut angled faces. I used glass fibre filler, P40. 
P40 glass fibre body filler

Then applied P38 body filler over the face.
Sanded smooth, ready for more paint.
P38 filler applied, Pre-sanding

Next up was the side axle cover plates.

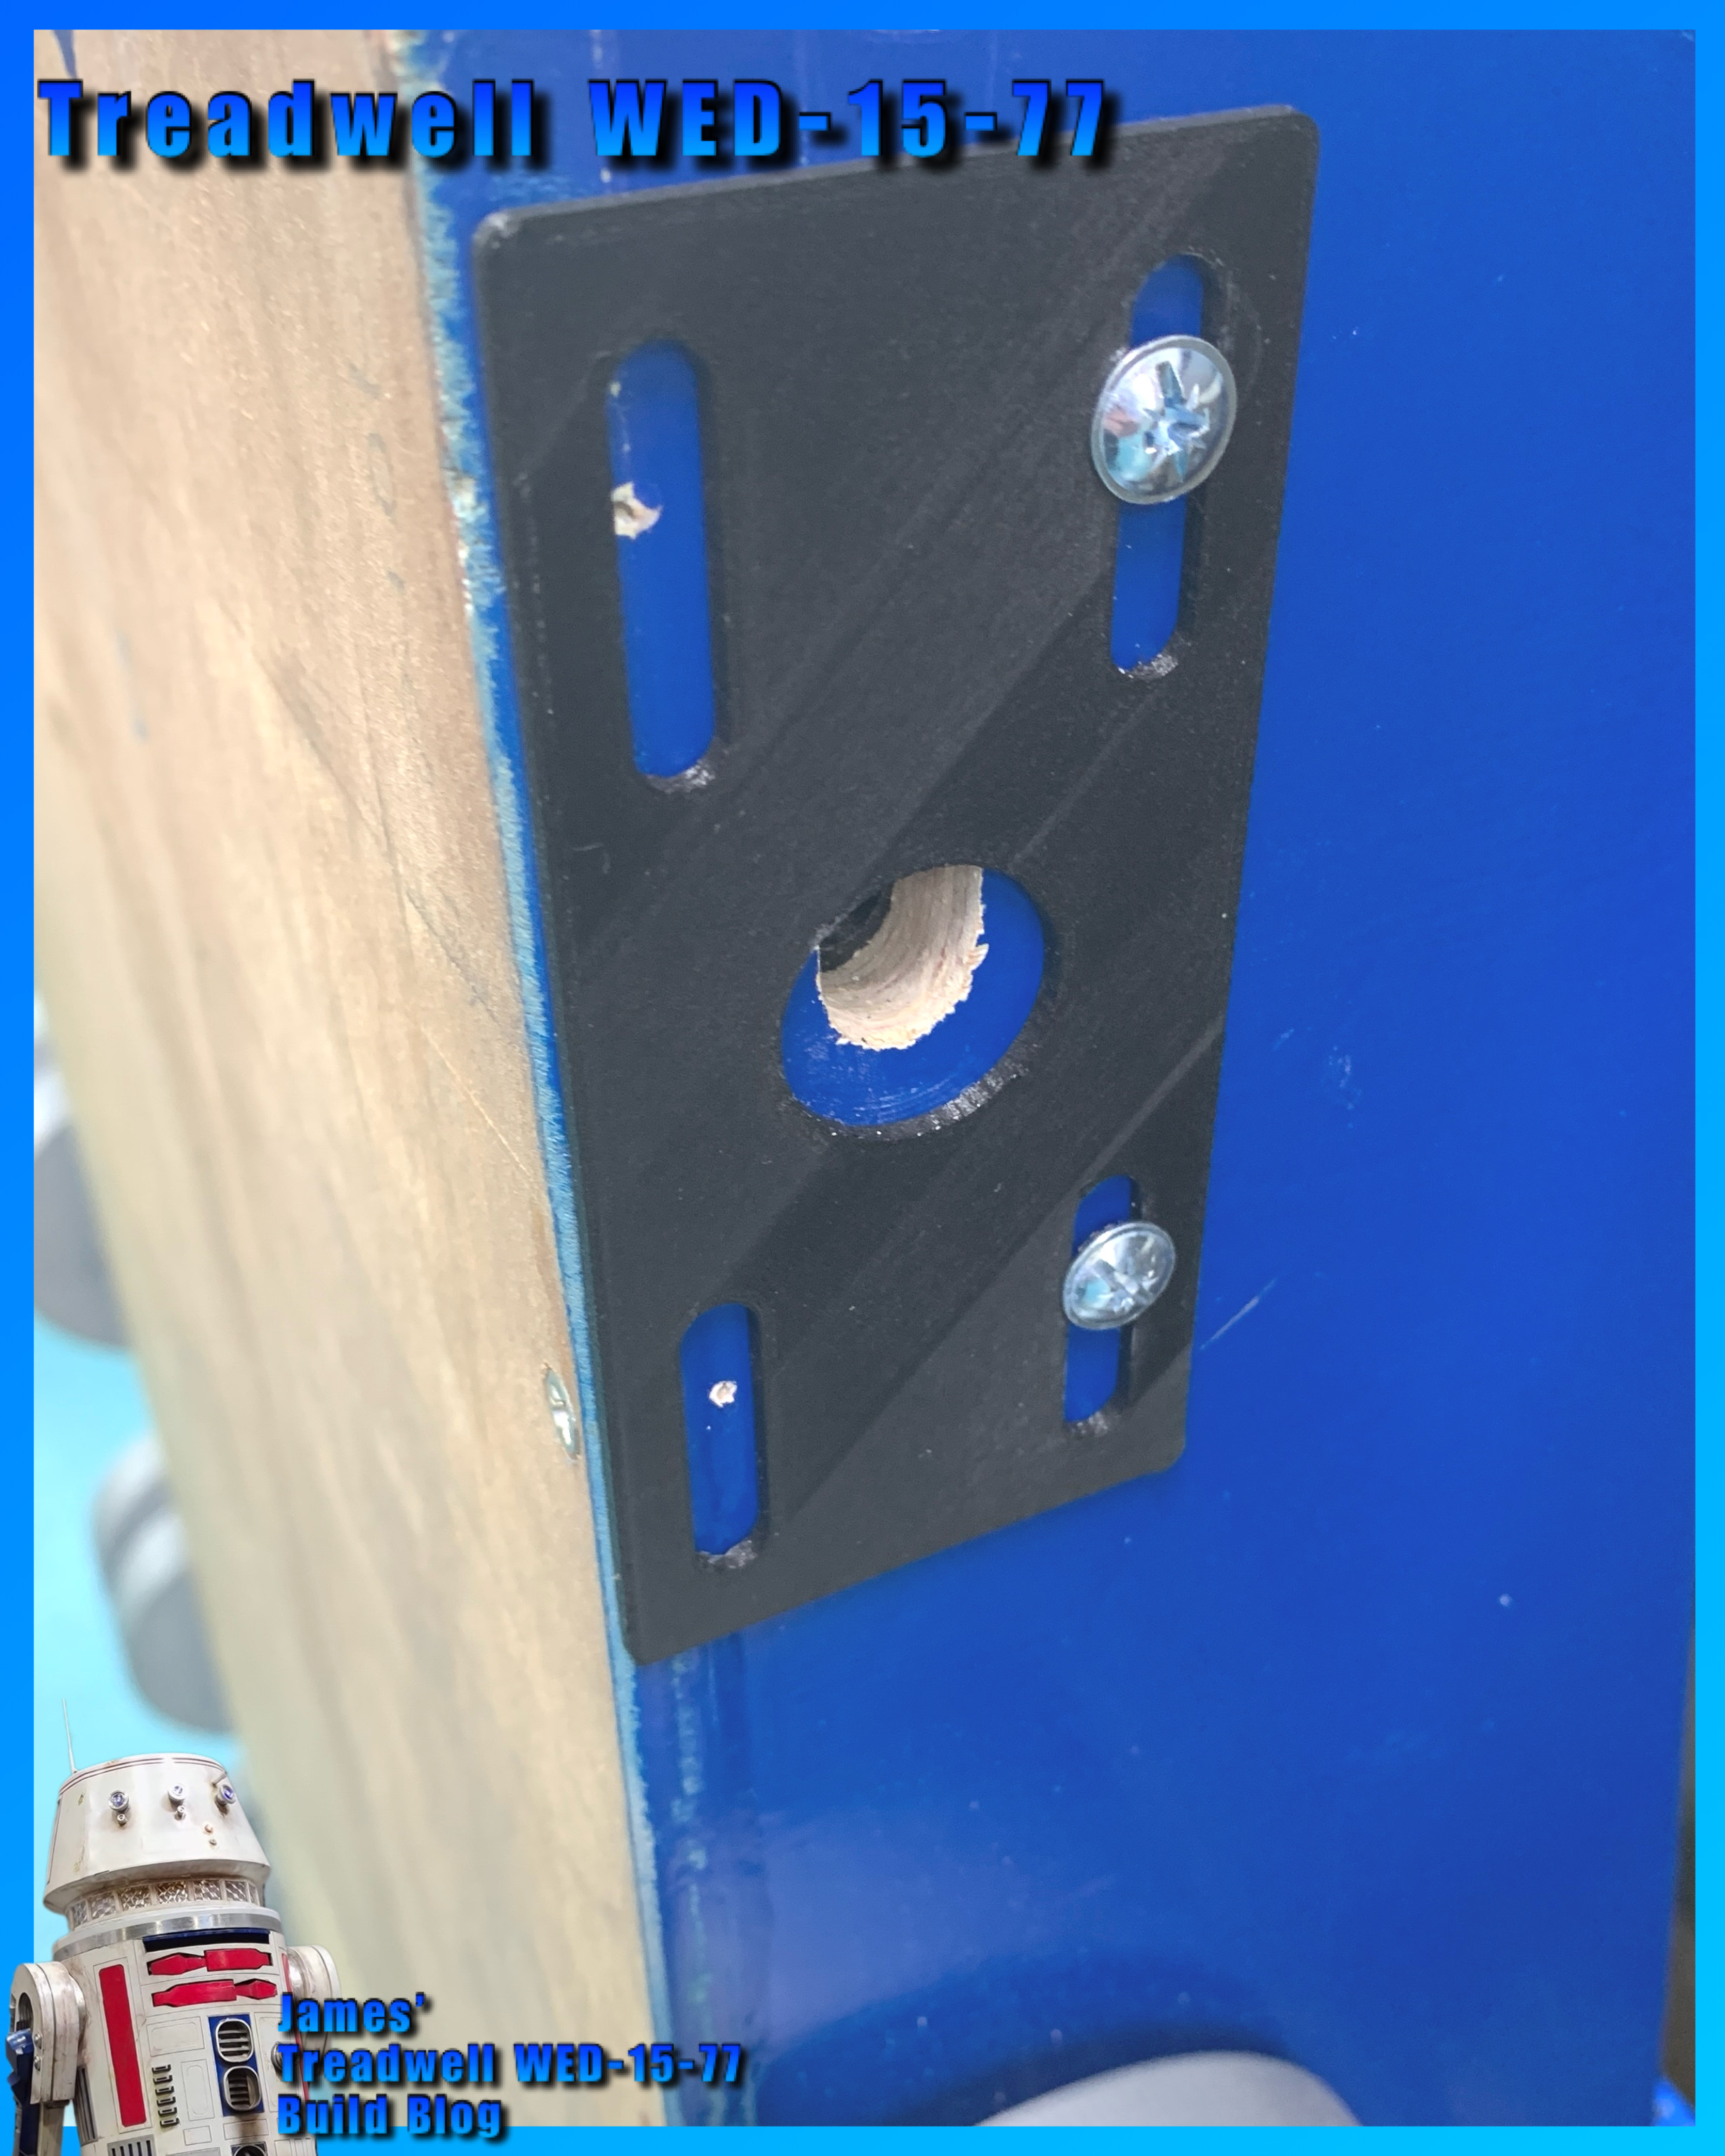
These I drew up in CAD. The inner bracket is my own design. It is also the wheel axle guide. Got some M5 flanged head bolts coming, to secure both axle plates.
(Temporary bolts fitted in pre picture)

History:
Have been trying to find the original electronics used, speed controllers (x2 off). These wouldn’t of been your modern electronics speed controllers (ESC’s), but Transistorised versions!
Still trying to track the actual ones used etc.

Details:
I noticed that the antenna has a black (possibly rubber) end piece, before the aerial rod. So I quickly masked it off and sprayed it black.


Testing, Testing, 1, 2, 3…..
I wanted to know if the new motor had what it needed to drive the tracks. So I fitted the wheels as best I could, some didn’t have some of the bushes or proper securing nuts. Added the ‘display’ tracks I made last year for display purposes. Hooked up the battery and connected the motor.

Video link.

Not the best and didn’t have full control , but it was just to test it worked.

Next up:
  • is fitting the new motor and brackets, when they come.
  • Installing the electrical components.
  • Machine up another coupler.
  • Machine up two final axles.
  • Test fitting everything inc mast and head.
Finally, I need to make the new tracks, but need to purchase the materials first.

December 28, 2023

JUMBO Funko R5 - Part 2

December 18th continued:

Thursday after work, I set up the Tevo printer to print off the upper body section, hopefully from the point it stopped on Sunday.

I also re-setup my action cam to keep an eye on the printer.

Friday morning:
The upper part printed well, and by the looks of it may only of been a layer or two out.
After cleaning the print supports off, I glued the two halves together.

Next up was the dome, got home and after having some temperature issues with the filament, eventually got it printing…….only to realise that the file wasn’t the extra large version 😩😩😩. So won’t be doing any printing this weekend 😔😔😔.

Once the above had been rectified, printing began.


The filament is illumines lol as can be seen in the picture above. Yes, it’s R5’s dome.

And here are some assembled pictures of it. The dome isn’t glued on, there’s a lip that sits in the neck of the body.


To be painted……probably yes.

December 13, 2023

JUMBO Funko R5 - Part 1

 A week ago I had to drop my daughter off at a dance lesson, with an hour to kill I had a walk around the local shops. Mostly charity ones, these always have hidden items lol. To my amazement there was a FULL roll of filament for £5 UK pounds!

Then during the week, a chat with Mike about upcoming events and future build projects, I had the idea for this next print.

So i opened up Cura and swapped the printer view from the S5 to my Tevo print bed. I placed my 3 leg Funko R5 on it and played with the scaling. I was able to bump it up to 250% and it would just fit. Print time was about a day…..but I knew that wouldn’t be the case lol.

Thursday evening I set the printer going. But the filament wasn’t happy?? After a few starts, and even checking the bed height, I gave it a rest for the night.
Friday morning, before leaving for work, I had another go. This time I noticed that this filament required a higher temperature 😳😳😳 so after adjusting, things looked promising.

Here’s the progress over the few days:


Everything was going smoothly.

Woke up Sunday morning and found this…..

The printer was still going but printing in thin air 😩. The filament had tangled!

Nothing I can do about it till Monday when back in work. I’ll then have to slice the file to be able to print the rest of it.

Monday:
Decided to play around with the files, modified them to reduce excess material and filled in gaps that weren’t really visible on a 1:1 scale lol.

I then made a modified version, I removed the dome, and made it a push on fit (that can be glued on). This also will make the rest of the body print quicker and with less support material required.

All these updates will go into the other droid designs.

So now I have two separate files to print over the week/weekend.

This will be in the second part of this post.

November 24, 2023

R5-D4 Funko Pop inspired 3D model

Each week I usually focus on just one particular project.

Recently though, I’ve been working on a few.
  • LED’s light strip, see workbench upgrade post, coming soon……
  • A ‘vintage car’ glovebox 3D printable, stronger version than the original cardboard one
  • And something that I’ve wanted to do since the ‘original’ 3 legged R2-D2 concept Funko Pop came out….. Model R5 as a 3 legged version.

Funko beat me to it with their twin set of R5 & R2 at Celebration Europe earlier this year 2023.

My Pop is stored away, so this version is a modified version of my own R5 that I modelled years ago, for all the R5’s variants Funko haven’t produced, with its own unique angled stance and new 3rd centre leg, with single ankle cylinder, just as the 1977 R5 should be. This is now available for download in my Etsy shop.

The body to leg (shoulder) mounting location was modified to a suitable angle. The leg ends also had to be modified to accept the outer feet. Finally, the centre legs ankle and cylinder had to be modified.
Specifically for individual part printing.

But my first test print was a fully assembled model version, see above Cura printing image.
First test printed really well, though I have made some adjustments to the rear panel gaps, corrected a few other little things.

Next idea was to produce a detail drawing showing the views of the 3D model. I was thinking about uploading these to my Etsy page as an additional downloadable purchase…..

May even do a special offer for the first 5 downloads of the 3D file(s) that the print is  included 👍🏽.

I still haven’t done an R2 style dome yet, but it’s  on my to do list.
I do have the R4 dome as well as the R5 special style dome of R5-PHT from Solo a Star Wars story.

So I’ll make versions of these too......


👉👉👉👉Link to my Etsy Shop

September 17, 2023

Galaxy Edge: lamp, 3D print

Whilst in the queue for the Rise of the Resistance ride, one of the things I noticed where these cool lamps.

Thought they’d be good to CAD up, so placed a popcorn bucket next to one for scale and took photos.


First version was a one piece model but this wouldn’t be printable even on the Ultimaker S5 (height wise) so would only be printable on very large print machines. Also I wasn’t happy about overhang’s and support material wastage. So I sectioned the model up for easier printing and to achieve better quality resolution on the detail pieces.

This base version was from the original design which included the details.

I didn’t print the sides vertically as shown, but flat.
First a single print, then multiples, once I was happy.

The pieces shown in their print orientation.

The base has recessed lips for the details to attach to.

The side pieces being glued together.


The details (6 top, 6 bottom) glued on.

Link to my Prusa page for free stl files below……

UPDATE 19/9/2023: link to files click here


💥💥💥💥💥💥💥💥


UPDATE 22/2/2024
Checkout JG's remix to add lights to the lamp.

June 11, 2023

Treadwell WED-15 droid build : Part 18 - body/wheels


Month of June, and on my list of things to do for WED & things to source - parts:
  • Wheels : make/buy/3D print ?
  • Speed controller
  • Motors
  • Tracks : source & buy/make(?)/3D print ?
  • Receiver to use with the Flysky transmitter.
  • Batteries
  • Prime/fill/sand/repeat for the wood base.
Ordered some more primer paint this week.

I drew up a track from the plans in CAD. This was to add to the 3D build and possibly to 3D print in TPU. But the length is a problem for it to fit on the build plate lol, see picture 😂.

So for now it’s just for the 3D model.

Just to see what it looks like. I may have to make these…..how, I’m not sure….????

The rest of the week was working on the msin base:
  • Applied wood filler to certain areas.
  • Sanded once dried.
  • Primer arrived and so I continued on with spraying up the base.
  • Once dried I gave the unit a light sanding.
  • Then applied more light coats of wood filler to the areas that needed it, mostly to fill in the grain patterns.
  • Once this dried, I gave another light sanding. This repeated for some time lol.
Progress pictures:


Repeat until mostly happy 😃.

The same process was applied to the two lid panel hatches. The edges and wood grain were the focus of the work. The rear panel still needs a lower/inner skin of wood fitted.
Once the filling , sanding and primer painting was dry, I gave the whole base a coat of blue.


The two logic housing top panels that were the wrong size, I cut these down to fit under the mast base. These were primed and sprayed blue and clear coated. They were then screwed into place.

I decided to print off a drive wheel!
I had drawn it up in two half’s months ago, but rather than fit them together, I printed them off together as a one piece wheel. One thing I did add to the design was an angled edge on the inner edges. This is for helping align the inner track guide.

And here it is in a test fitting:

Before I left for the weekend, I set the printer to print off the other three drive wheels…… 2days 12hrs in total!!

The wheels have larger than needed axle holes, as this allows me some flexibility with the drive motors, shafts etc.

Drive setup:
Been looking at speed controllers & motors.
Just have to decide on 12v/24v and either belt/chain or direct drive of the main drive wheels.