Showing posts with label Thingiverse. Show all posts

June 25, 2024

R4-D4 Funko Pop 3D model - FREE stl file

This Astromech version is based off my own R4, colour scheme.

R4-D4 Funko POP three legged version, stl now available on my Prusa account.

The model and a PDF CAD drawn Assembly drawing is included.


April 15, 2022

Threeding: (WAS) my new 3D models hosting site

October 2021:
After being a member of the Thingiverse site, I've decided to move my files from here to the Threeding site.


After the latest news about Thingiverse members personal info being published, I decided that this was really the final straw. The site has it's reputation for problems, yes I've had issues with it but generally it's been ok. The annoying thing is that other sites link to it creating massive 'downloads' which are questionable. It's name is usually the one people know and look for....that's how I found it originally.
But the site just doesn't do anything.

So I'll be migrating my files over to Threeding over the coming days/weeks.

………..

March 2022:
Was disappointed to find that they had made an update but it wasn’t fully user friendly via mobile devices nor via PC !?!?
In this day and age, doing an untested or not the full working version update leaving customers unable to fully access their designs wasn’t acceptable to me!
I had to message support, who informed me of the above. At which point I asked him to delete my account!

Finally: my files are now moving over to my Prusa account.

April 01, 2022

Trading Card Display stand - Vic Matos

Been meaning to design up a stand for events to display our trading cards and found the answer on Thingiverse, created by Vic Matos (click his name to go to his profile).


I didn't need three holders, so just printed off two. But I wanted something to fill in the gap, so I drew up this display panel.

I created it in two layers and combined in Cura to print off in the two colours. I didn't have to because the red and black layers don't overlap. I then printed two card holders and finally, the main holder (red), I printed overnight.


Came out pretty good.

March 31, 2022

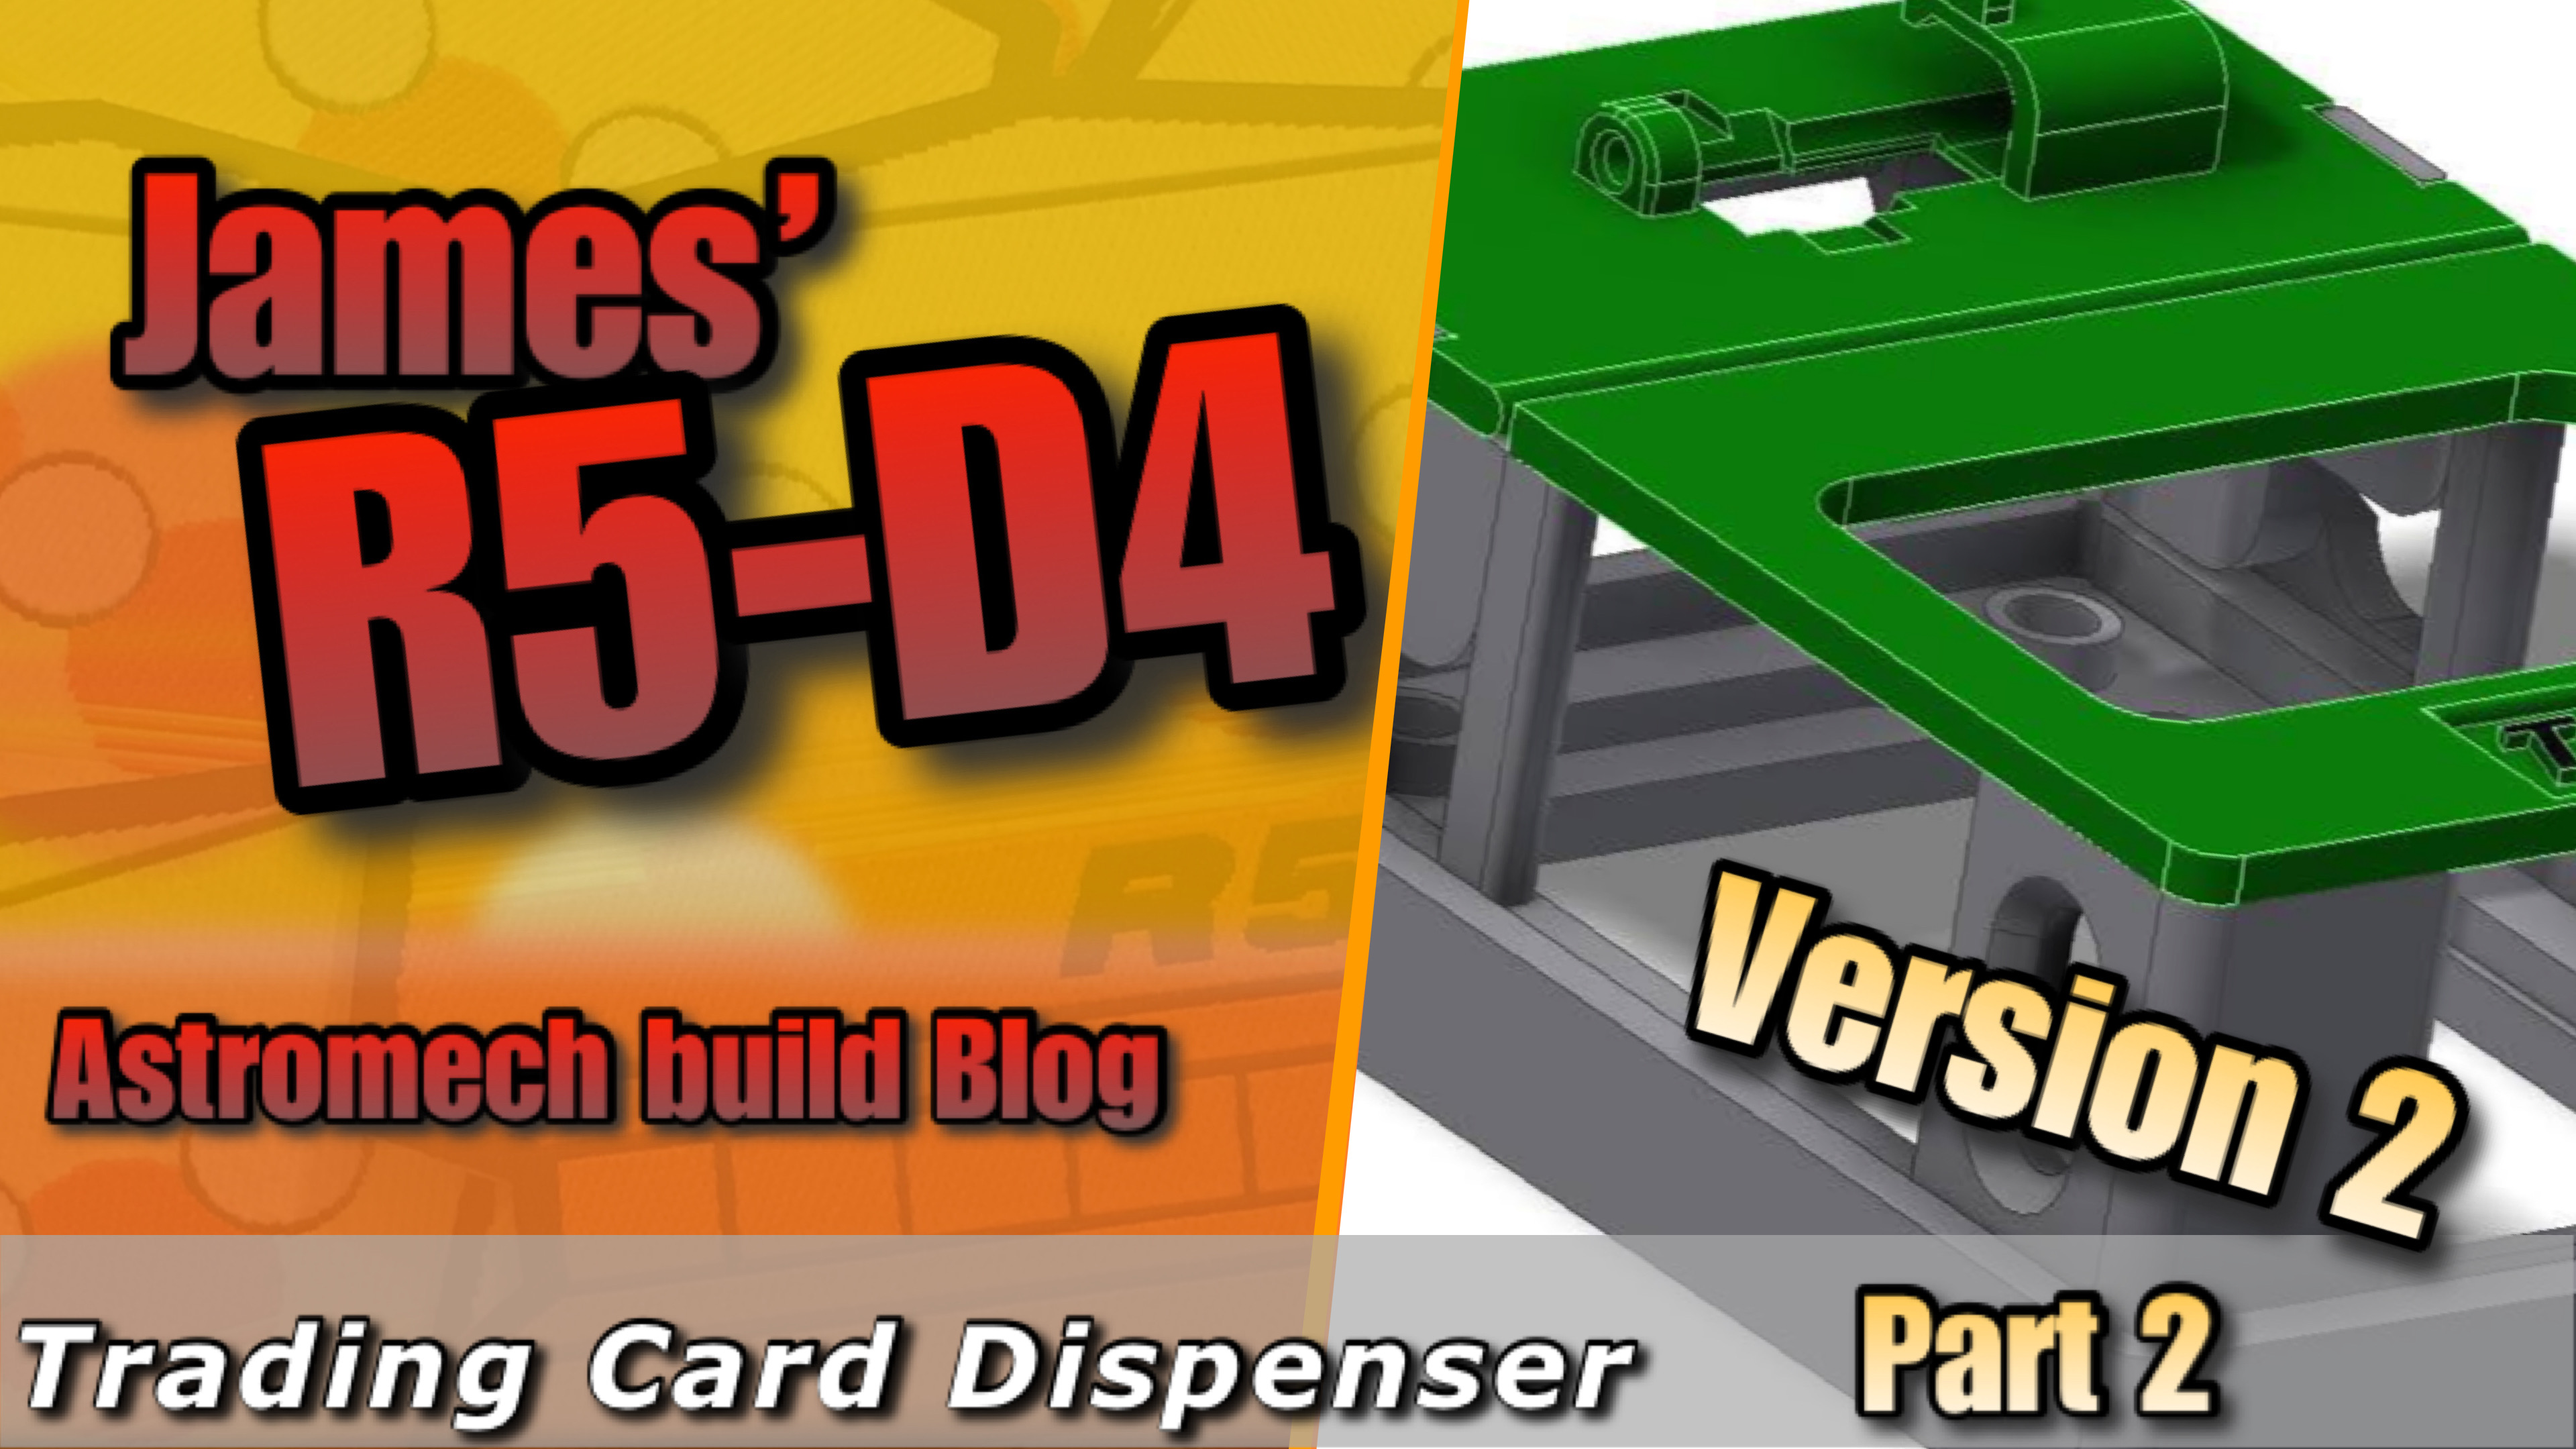
Trading Card Dispenser : Version 2…. part 2

First test printing of the parts at 0.15 layer height.
Then trimming and filing off layer lines so that everything that 'touches' runs smoothly. The card plate and the top plate are printed so they have smooth surfaces from the glass print bed.

Before gluing on the top plate, the card plate and springs have to be installed first. I had to check the cards would fit ok....

Next up was to install the mini motor, wheel adaptor and rubber wheel. Then measure and cut the aluminium rod to length, and push it into place for the wheel support axel. The motor needs to be wired up still, in this next picture.

A few test to be carried out and also a modification to the original bracket to support the new unit, possibly……or the main unit could be redesigned to accommodate a bracket.

......UPDATE

So I drew up a new bracket case version (to fit into R5), and I also made it curved at the front, this is so that it would sit flush with the NEW Utility arm socket screen, that I also 3D printed off. It wasn't painted, so will have to do this before R5's next event.

They were all installed last Friday, ready for action at MegaCON Live in Birmingham, see other post about that day in Event Report.

March 19, 2022

Trading Card Dispenser : Version 2…. coming soon!?!?

I luv using my TCD, I pop open R5’s utility arm and dispense his trading card with press of a button.

It doesn’t hold many though and if you get carried away 😂, before you know it, the dispenser is empty.

After the recent event at ‘Stars of Time’, down in Weston, reloading the dispenser through the slot was a bit time consuming 😣😣😣

So I got to thinking of how to improve the design. I came up with a few ideas and will be test printing soon.

March 12, 2022

R5-D4 Carbone frozen 3D stl files on Etsy

Above image shows, finished model with additional silver coloured PVA glue for the frozen carbonite

After a long thought process, I've decided to make my models available via my Etsy  page. I don't know how many of the Thingiverse downloads are actual ones or just the bots, sharing the links?? So it's now over on my page.


March 05, 2022

Solo - a Star Wars story - Irradiator Illumination Bank 3D printing Part 4

Printed the main handle.

This will all be glued together. I drew up some clips to secure the upper opaque light band from being pushed inwards by fingers. These will be glued in once painting is completed.
I will notify via Twitter (its automatic) when uploaded. So either follow me on Twitter @JamesR5D4 and/or over on Thingiverse or now on the Prusa site 😎👍

I was also asked by a builder over on the www.astromech.net forum, if I could upload files to the Prusa 3D hosting site, as Thingiverse has become even more unusable in recent weeks 😟😞
So I have signed up and created a profile there. See link above.


So, I picked up some paint and started spraying up the two main parts.
I wanted two areas to be this lighter colour. Easier to mask these off later than vice verser lol. So the ‘coupling’ section and the lower left panel were painted this silver colour.

The main body will have to wait for the next can as i used up the first can spraying up the top part.
It looks darker in this picture but it’s actually a deep blue. Different, but once weathered it will look great. I ‘dust’ sprayed with the silver colour over.

Picked up another can and sprayed up the base in work again using the spray booth. This paint is great!!!


It drys REALLY quickly!!!

More build progress coming…..

February 27, 2022

Prusa account created

Was asked by a fellow builder about possibly uploading my files to Prusa printing website. As Thingiverse has again been unreliable for some people.


So I’ll be transferring my files to this new account in the hope it helps fellow builders/printers.

Here’s the link to my account:

February 24, 2022

The Mandalorian - R5D4 Holoprojector - 1.7

Eventually 👍 got round to uploading not one but two versions of the front part of the holoprojector.

One with a 'lens' and one without, so that a cabochon lens can be fitted. See pictures below 👍


I've added these to my PRUSA account.

https://www.printables.com/model/139667-r5-d4-holoprojector-the-mandalorian-season-2

December 01, 2021

3D Printed Coin Display Stand x3

As I've mentioned before, having things tucked away in boxes, means that you forget what you actually have.

I had to get another one of my pin badges to put in the new display stand, and whilst in the box containing it, I found the UK R2-D2 Builders Club coin from Celebration Europe 2016!


So I measured it up and modified the stand, link to previous Blog post, to a three coin version. I'll share the file on my Thingiverse page soon.
side view, showing lean angle


November 12, 2021

3D Printed Badge Display's


 I wanted a display stand for my 26mm O/D pin badges. This one was my first test print but second design idea.

This stand has printed holes for the backing pins to fit through. The pins weren’t all in the same position though. So for the file release version, I’ll remove these holes. Simply press the pin into a piece of paper and then position it in the recess, then drill your hole, large enough so that the second spike part also fits through. I had to use a small piece of rubber sheet on the rear as one of the pins clasp wasn’t tight enough, but the others wouldn’t of fitted if the print was thicker.

Next up was to convert the design for two & one pin badge versions.
.................where these will be going up on soon.

November 10, 2021

Trading Card Dispenser - in action!

 
I’ve had a few messages asking about my Trading Card Dispenser and how reliable it is. 99% it’s flawless, you just need to pre-test it once you’ve loaded your cards in. I found that the cards sometimes stick, but pressing the activation button (on your remote control) a second time, usually gets the card to fully eject.

You also don’t have to worry about dispensing another card as the wheel drive isn’t in contact with the next one until the previous card has been fully removed.
Hence why you can re-press the button if one card gets stuck.

I was able to test out the TCD and R5’s utility arm for the first time back in July, with the assistance of Giles to ensure a card was dispensed lol :D at the MOT event.


Click on the picture above for link to my short YouTube Channel video.

Components and parts list available on my Thingiverse page

I've since been working on an updated version......

October 07, 2021

Funko pop R5-D4 astromech in Carbonite!

3D printing in progress....


9hrs 40mins to print.
No supports underneath as didn’t want to waste filament, see below for underside pictures.

And here's the finished
printed R5 in carbonite.

Swapped R5's base plate over to
properly stand this twin, in carbonite

Here’s the 'behind the scenes', underside, showing the unsupported area’s. Not to bad considering, would slowing down to allow more cooling of helped, maybe, but I’ll be drawing up and printing off a back panel to cover this all anyway.

I trimmed off the excess and then used my soldering iron to bond the ends etc.


Picture below is the back panel file I've printed off, I’ve now upload these files to my Thingiverse Etsy page HERE. [these will be available later today].


** A few idea's.....how about translucent print and then after painting, install pulsing red LED's to simulate the de-carbon freezing process.

OR..... simply install micro LED's or fibre optic's into the side control panels, just like in the film! **

Next up is PVA glue and spraying and weathering.....

October 02, 2021

Funko pop astromech on ice.......Carbonite!

 For those who can't paint or choose not to lol :D I thought I'd create these POP's as frozen in carbonite blocks. As I had just finished drawing up the R4 domed version, he was first into the carbon freezing chamber!

I found images of the Han Solo POP version and recreated as best as I could the side control panels.


I also made the bottom (when in vertical) flat and added location holes so it can be mounted on a stand.


I have now also add some screen accurate rollers for the bottom of the feet/foot shells. These can be seen in the last picture.

As the POP is hollow, I recessed the block, I may design up a back panel (if required).


And to add to this collection, I created R5 in carbonite as well.


And here you can see his feet rollers.


September 26, 2021

Funko pop astromech - R4-D4

Have been meaning to design an R4 dome for the Funko POP’s astromech droids.

Click on image to take you to video.

After my third attempt in AutoCAD Inventor 3D, at creating lofts, extrusions, plans, embossing etc I eventually was able to create the iconic R4 dome.

I tried creating this shape years ago in CAD, when drawing up to make my R4 dome out of wood.

Drawing up the R4 dome for a Funko (non-bobble head) POP was in my to-do list since completing my R5 one.

I will upload different printable versions, whole and half, as before with the R5 POP, next week.

Here’s a link also to my YouTube channel:

R4-D4 - Funko POP 3D printed
https://youtu.be/pNAZffOkmP8

And here’s the link to my Thinhiverse page:

April 13, 2021

Funko R5 - Outer Foot file [upload]

 So for over a year, I thought the file for my outer foot had been uploaded to Thingiverse, and as nobody had asked about it, I would naturally assume that all is well with the world lol.

Till this morning, when I received an email from Scott, thanks Scott, asking about said file......

....due to the issues, Thinkgiverse uploads, the file hadn't uploaded.

So for all you Funko fans, the file HAS been uploaded [here] AND added to the original R5-D4 Funko files [here].


March 25, 2021

Star Wars themed Panel - fitted to an A-LT Droid

Got asked by friend and fellow builder Glynn, if it was possible for the panel to be shaped to fit the body of his A-LT droid.
A-LT droid

A-LT droid

So to save on him having to work it to fit, I CAD’ed up the panel with some modifications so that it would fit the outside diameter without any work. Finished results look great!

Can’t wait to see everyone & their droids in person again.