Showing posts with label R5 Centre Foot. Show all posts

June 04, 2020

Throw Back Thursday [part 1] - June 2015

Missed a few weeks of throw back Thursday's, so making up for it this week with two posts:

Upgrade and screen accurate work to R5's centre leg.

Back in 2015:
This started because of a discussion about screen accurate droids, and R5 came up as people usually just swap over from an R2-D2 dome and then apply vinyl etc to add colour.
R5D4, centre leg, foot shell
R5's Centre foot Outer ankle
But it was noted that R5's centre leg was actually fitted with an outer ankle! The result of an unfortunate incident.....

Here's the link to the start of my Centre Leg upgrade.

.....second post out later today.

June 05, 2017

Centre Leg - Film version **UPDATE 1.4**

So i got home from work Friday 26th and gave the components a lite sanding over the primer paint.

I then set up my hi tech spray booth........My cardboard box......and set up the components for spraying. After a few coats, I left them to dry. It has been very hot here in the UK the last few days, so it wouldn't take long to dry.
r5d4
new all white components
Saturday again the weather was fair, after a massive thunder storm early hours of the morning.
Out came my spray booth and i got on with clear coating the components. Again, these didn't take long to dry. A few hours later, I started to fit the components onto R5's centre leg and foot shell. They all fitted.
r5d4 centre leg

I dug out a tube of silicone sealant, but it had gone off at the ends. I cut it open to find the inside middle was still okay, so I scooped the good stuff out and used some to fix the front and rear ankle details onto the centre leg. Applied some masking tape to secure in place till it had set.
r5d4 centre leg
silicon applied to fix ankle details in place
r5d4 centre leg
ankle details taped into place till silicone set


r5d4 centre leg

r5d4 centre leg
The new centre leg & foot shell, pre-weathering

r5d4 centre leg
Rear ankle detail taped into place
Just back from a weeks mini-break..... Next up was to weather the new components to better blend in.

May 26, 2017

Centre Leg - Film version **UPDATE - 1.2 - centre foot shell**

With all the other work going on, the part that would need some real thought was the new side foot shell panels.

The original ones I made, were screwed onto the main shell, so these new ones will be too.
Centre foot shell with side panel removed.
Semi-circle at top of opening
is there to help remove the centre leg securing bolt.

First panel cut out, next was to apply watered down PVA glue.
This helps seal the wood for spraying, strengthens it as well.
Once done and dried, a light sanding of the edges & faces was carried out.

I marked out the second panel,

And then primer sprayed up the lot.

Next will be to spray up the lot in white.

May 25, 2017

Centre Leg - Film version **UPDATE - 1.1 - ankle details**

I already had the plans for the ankle details, which are available via www.astromech.net forum, so it was just a case of marking up some wood and cutting them out and shaping them.

detail pics:
Drew up a template and marked out on the wood the 'detail'.
Notice that only one of them has the upper 'tab' marked on it.

Next up was gluing the two pieces together.........then cutting out the details...

And here's the first on.

I sanded the edges and faces, before applying wood filler to the cut sides & faces.
Had to stop for food, then I was back out in the garage, marking up the second 'ankle detail'.

And here they both are, cut out and wood filler applied.
Left to dry over night, before sanding and extra wood filler where needed.

.....these versions as with the ankle cylinders, don't have any blue (that can be seen in the photos), so will be just white. Which is fine as they are going to be weathered to blend in with the centre leg.

The top 'tab' would normally be blue (or dependent on your choice of droid colour) and also there's a small rectangle recess, which would also be coloured accordingly. 

** I uses normal everyday tools, the hand saw as can be seen in the pic .
The most 'hi-tech' tool I have is a borrowed jigsaw,
meaning these projects are not beyond anyone's abilities to try **

Centre Leg - Film version **UPDATE - 1.0 - ankle cylinder**

A long time  ago.......... ;-) I realised that my nagging conscious wasn't going to let me sleep anymore lol.

This (zoomed in) image of R5 rolling away from the droid lineup, shows R5's alternate centre leg/foot shell.

The obvious things you can see is that there are:

  • no side crescents on the foot shells.
  • the ankle cylinder & wedge, are white (no silver or blue, like the outer leg)
But when you look even closer, you can just make out that the 'centre leg' is actually fitted with 'ankle details'. Well it would do wouldn't it, as it was an outer ankle unit.

For more on this, check back on my first blog via this link below:


So, as I already had a spare ankle cylinder.....as my original centre leg was built to the club plans (based on R2 and all Astromech's having a 'standard' build) & before I fully knew about R5's centre leg incident during filming (see the link above for more). I thought I'd do a little bit of upgrade work.

So I dug out the spare cylinder/wedge and checked it would fit the centre leg fixings I already had installed. Yep, me and the plans in perfect synic lol.

Next I sanded the cylinder and then primer sprayed it ready for the next stage.
R5D4

Next I'll spray it up with Satin white from Plasti-Kote, once I've finished the other parts.
This and the primer I bought from The Range (shop in the UK).

March 02, 2017

R5-D4's maintenance time - centre foot wheel

With events coming soon, that I hope R5 will be attending, its maintenance time.

His centre wheel has again worn down and will need replacing, but am also looking at better wheels, my old scooter wheel arrangement (again) as well as other tried and tested ideas from other builders to see if they are suitable for his build/weight.

Heres his damaged centre wheel:

January 23, 2017

Centre Leg - securing bracket upgrade

The centre leg securing bracket needed upgrading.

Original pieces were two aluminium angles that clamped either side of the leg tongue, but there was still a bit of play, so the centre leg would wobble slightly.

I drew up the centre leg to see how best to re-do this.
R5D4 astromech droid

So decided on a strip of steel angle, marked up a suitable length & cut it. Next was to position holes.

I'd already ordered some M8 cap heads & T-nuts to secure everything. It was just a matter of drilling holes, opening up the original ones on the centre leg tongue & then bolting it all back together.

Five free mins at the weekend (ok, more like an hour lol) and i got down to fitting the bracket. Drilled two holes into the wood base and installed two t-nuts from below. These were recessed slightly.
r5-d4 centre leg
recessed t-nuts

r5-d4 centre leg
Centre leg back on

r5-d4 astromech
Inside view of centre leg tongue bolted

Then it was flipping R5 upright again to install his centre leg and fit the new angle bracket.


Result = no more wobble!

November 09, 2015

Centre Foot - wheel upgrade......2.2

I fitted the wheel caster base back onto the internal foot platform, minus, the previously fitted wood MDF spacer pad, it's not needed now with the larger wheel; as I want it to sit at roughly the same height as before.

On test turning the wheel caster base, there were three points of contact with the foot shell's base ring frame. So out came the dremel and sanding drum to remove the extra wood to give clearance.

Then it was re-assembling the internal wheel frame to the centre leg (x2 bolts) one being the main ankle bolt, the other the locking ankle bolt. Next were the two side shell panels with half moons.
R5D4 astromech droidR5D4 astromech droid

Lastly, re-fitting the centre leg back up into R5's base.

R5 is sooooo much easier to move around now! He is so much more free moving. Not had a chance to test drive yet, but driving and slow motion turning control should be a lot easier due to less 'friction' & the better wheel scooter bearings.
R5D4 astromech droid

November 04, 2015

Centre Foot - wheel upgrade.....2.1

30.10.15
Whilst the centre leg was off and dismantled, I got my work friend [when he had two mins spare] to turn me a bush for the ankle lock bolt. I then drilled out the hole to size and clamping it and the centre leg in a vice, forced the bush into the hole.
R5D4
Locking bolt bush to be fitted, next to said bolt

Got home to find post man had delivered bolts & locking washers the aluminium strip, so measured up and cut to length. I filed a rad to one edge to look good lol, but also so I would remember which outside faces I needed to drill.

02.11.15 - 04.11.15
In work first thing and got to measuring up and drilling holes. In order to fit the new brackets, the hole position needed is just a fraction off where the original hole was, hence new brackets. So had to cut off the wheel location hole to give clearance for the new bolt hole/bracket. Drilled and tapped M6 threads into the aluminium brackets and clearance holes in the wheel caster sides.
New centre wheel

Now to re-assemble it and centre leg.

October 28, 2015

Centre Foot - wheel upgrade......again...... 2.0

A few months ago I swapped over the old centre foot wheel for a newer version, as the old one had worn down. I like the wide rubber wheel, but not the fact that it grips to well when trying to turn R5. It also has started to wear down, in part to the fact that I think this wheels diameter was slightly larger than the original one (???) and is rubbing/jamming on the inner foot shell's lower edge. This was made more clear to me at the recent Chippenham event.
Rubber wheel, rubbing on foot shell skirt

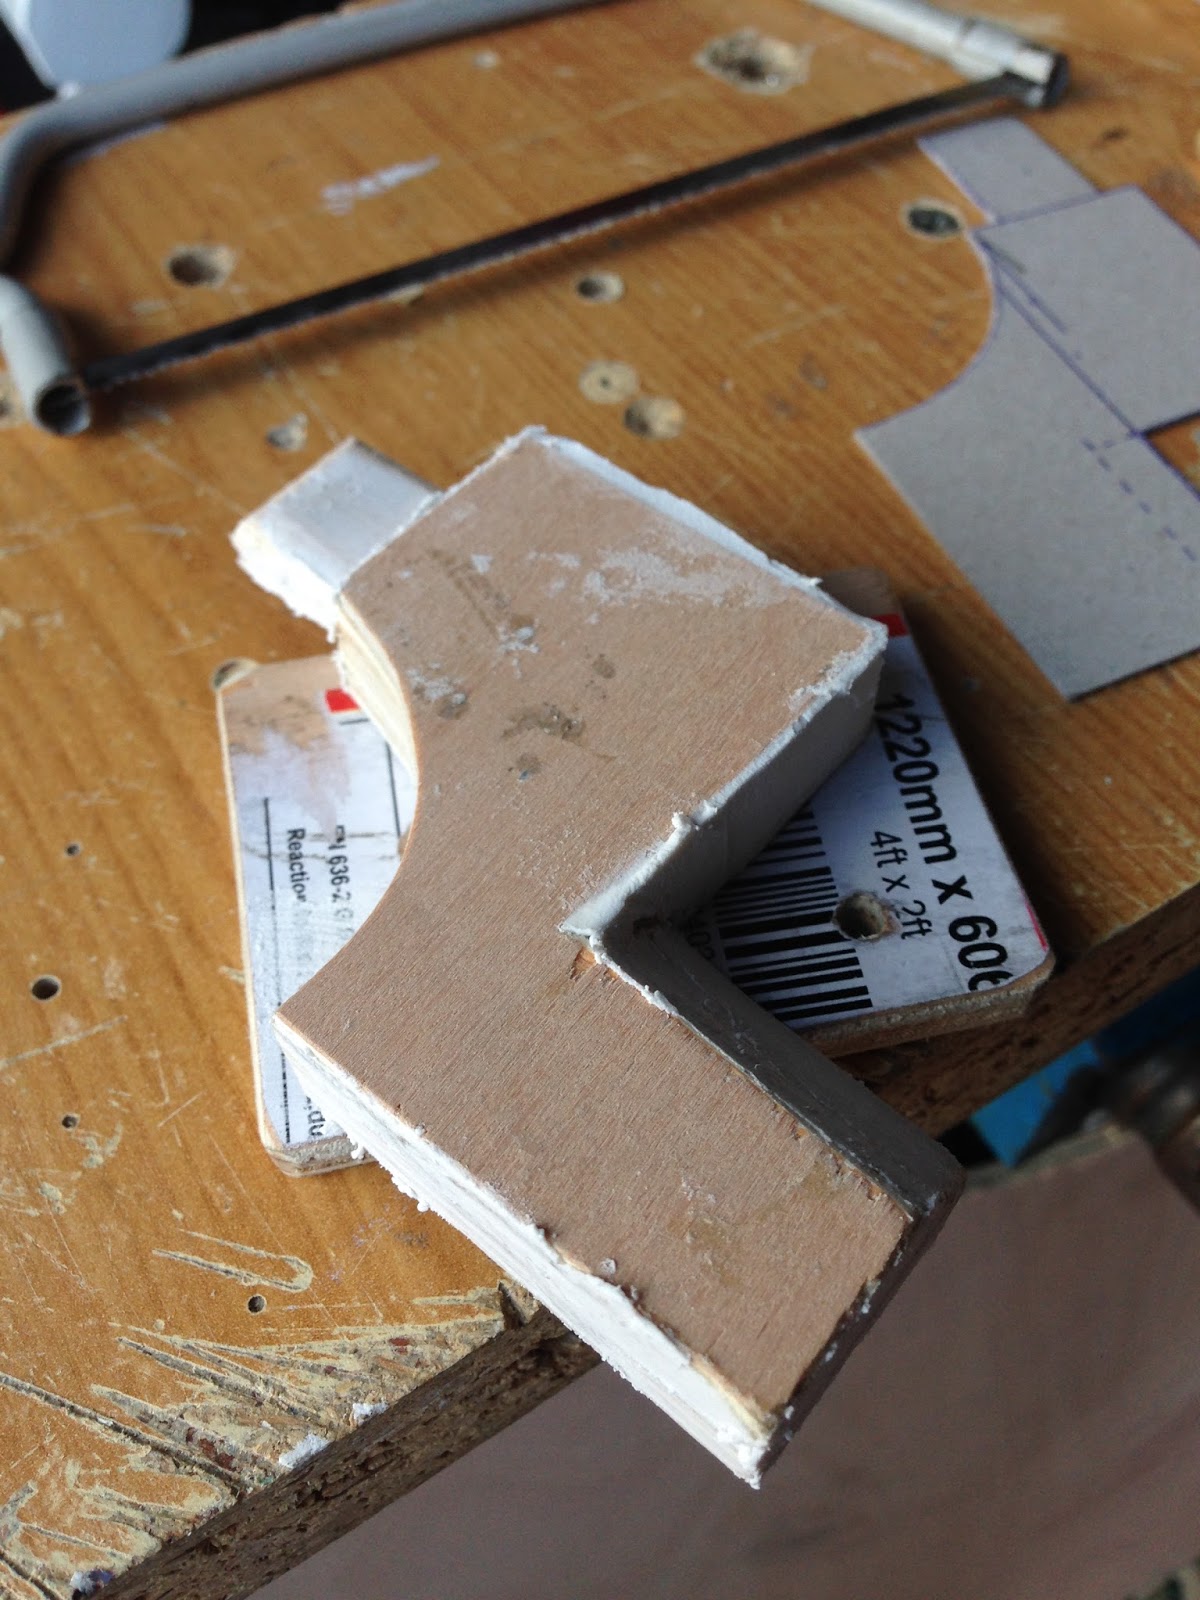
So my plan was swap over the rubber wheel for a spare 100mm dia scooter wheel, (was off my Son's old scooter). But the hole is just a fraction to low and the wheel won't spin. So plan was to re-re-use the brackets I original had lol. But these are no good for hole position, plus the wheel NEED's to be off-centre, to help pivot nicely.

A quick eBay search and some aluminium plate was found and ordered. This, I'll cut up and make into spacer brackets.....

June 08, 2015

New Centre Leg - 1.4 - Cylinder work

So Friday night's I managed 2 hrs work, re-drilled cylinder location fixing holes. Happier with position now. Played with position of new leg in centre foot to get the right angle, clearance over the foot sheel. Trimmed down the curve edge of cylinder holder to better fit the width of the leg. Touched up with some more wood filler on the ankle curved area. Cut a spacer as centre leg ankle was actually a bit to thin for my foot channel. Marked location hole position for locking the leg inside body base.
R5D4R5D4

R5D4

Monday mornings work was to drill through the centre foot's ankle angle brackets for the locking bolt. I used a M5 hex socket bolt I had left over from the outher foot metal builds. This might seem easy but with limited free hands and no clamps available lol..... But I got it done. 

Next was the new set of two holes needed to clamp the L brackets onto the tongue that fit's up inside R5's body. I couldn't use the original holes drilled because they were 'special*' lol.
R5D4

Last was to cut off the excess material not now needed for securing the centre leg. I then drilled, glued and applied wood filler to the extra piece of wood to make up the correct width.

* and by 'special' I mean there was no way I would of been able to align these original holes lol

February 02, 2015

Centre Foot - wheel platform upgrade

Cut a spacer plate out of 6mm MDF. Holes made and placed between wheel base and inside face of wheel platform. This will hopefully raise the ground clearance of the back of the centre foot shell. As it has always looked a little to close for comfort!

R5D4
 My work station

R5D4
 New longer bolts were needed to fit.

R5D4R5D4

November 11, 2014

Centre foot shell temporary fix

A while back whilst trying to upgrade the centre foot wheel and it's platform, the unsupported section pushed up and broke the two top pieces off. I glued these back on temporarily, but the internals of the foot still make contact, pushing them off. So it's fixing time!
R5D4 centre leg
Well, temporary fixing time. For now I have had to screw two sets of screws in through the two top pieces into the resin that originally held them in place. I want to fix this properly after this weekends event.
screws need painting up to blend in.
I also made a tab locking washer to lock the nut in place and stop it from rotating, which also helped damage one of the top piece.

October 01, 2014

Centre Leg & Foot Wheel issues......

Now R5's moving, I noticed that his centre foot shell, sagged a bit to the rear?

I checked and the locking pin was ok, which it was, but the bolt hole in the foot channel angles the bolt fits through, is a bit too big and is allowing the bolt to move, causing the whole foot to sag. As R5's been a static droid up to this point, this issue didn't come to light till now.
R5-D4R5D4

Whilst the centre foot was off, I checked the wheel itself. The testing so far has been on my drive, which although is smooth, is still tarmac. And the rubber wheel has suffered for it. This will need to be upgraded, either to my other previous scooter wheel idea or similar. For now though, I need to look at the bolt hole issue.
R5D4R5D4

This wheel was only for use for rolling R5 around, per motorisation.

April 30, 2014

Centre foot ankle securing.......at last!

I've posted before about my centre leg to foot issues. I was going to secure with a angle bracket, but I wasn't able to install as the foot shell tops broke
http://r5-d4astromechdroid.blogspot.co.uk/2014/03/return-of-centre-foot.html

http://r5-d4astromechdroid.blogspot.co.uk/2014/03/r5-assembledbut-centre-foot-wheel-issues.html

So last thursday was make or break day! With the foot shell off I tried to tighten the ankle bolt enough to clamp the ankle. But this didn't work.

I should of:
1. Thread tapped the opposite angle. Therefore no nut required. But then possible thread shearing due to min material on the angle brackets (??)
2. Welded the nut in place. Still a possibility.
3. Add a locking stud to prevent the nut from turning.

I'd gone for option 3 at this late stage. But due to the hole size, the nut was able to move over and still turn.

So I decided that pinning the ankle to the two metal angles, was the only option!
R5D4
I marked a length, removed and cut. I then had lots of fun, trying to RE-fit it once foot shell was back on! But it's on and it held :)