Showing posts with label servo. Show all posts

October 17, 2024

Treadwell WED-15-77: Part 28


July 2024:
Here was to be the final instalment of the Treadwell build 😀
Recent work has been mostly focused on making the sledge to transport WED on, via the cars roof rack.

Sounds:
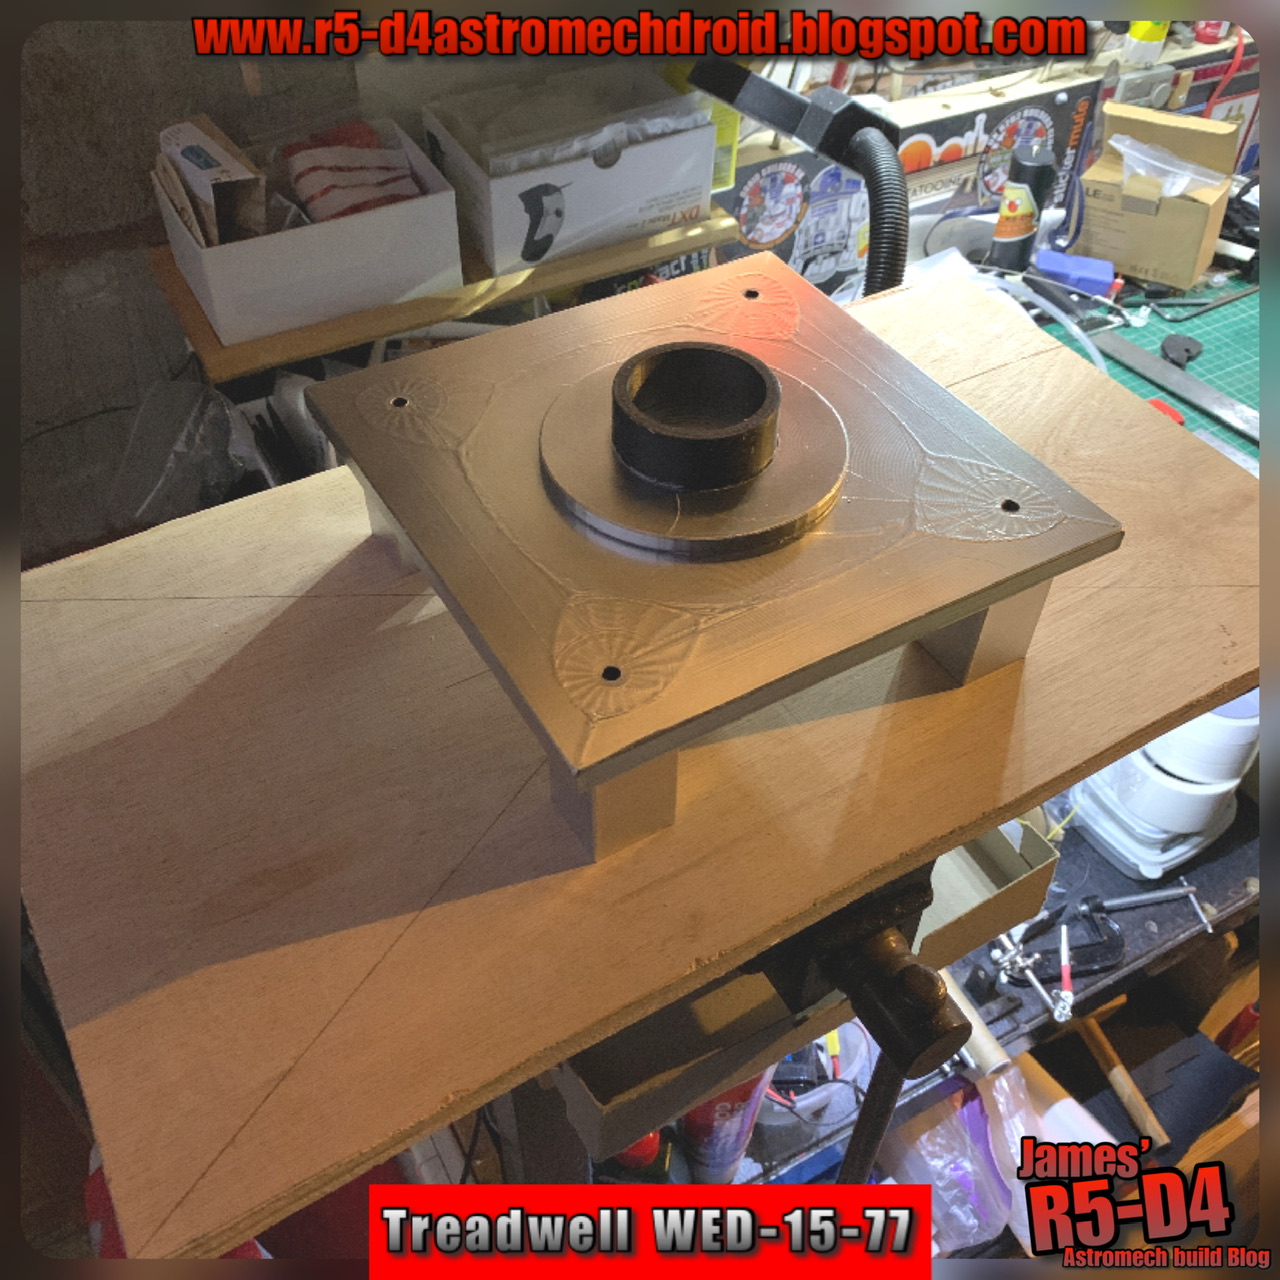
Needed to fit a speaker and wasn’t happy with my original position idea. So decided to fit in inside the ‘logic housing’.

Position located:

How to find the centre of a circle lol

Dug out this adjustable hole cutter. Think I last used this to make the holes in R5’s legs!

Making a start on the hole.

One hole cut out.

Speaker fitted with its spacer ring, that I had previously made for the GOID-4 messenger Droid.

Re-installed the ‘Logic housing’ (the hole cutter wouldn’t fit inside it).

I had added longer leads from it to reach the amplifier board.
Just need to finish off some connections and save some sound files. Keep forgetting these last two pieces. Needed to buy a proper servo controlled switch, similar to the one used in R5, but this ones a single and much smaller.
Another tweak, was the addition of a volume (potentiometer) to boost the sound. When I couldn’t hear it at Mshed event, I knew I had to install one.
3D printed the knob from a file on the Prusa printables website.

Had to rewire the signal to volume dial to amp to speaker wires.

Claw arm servo:
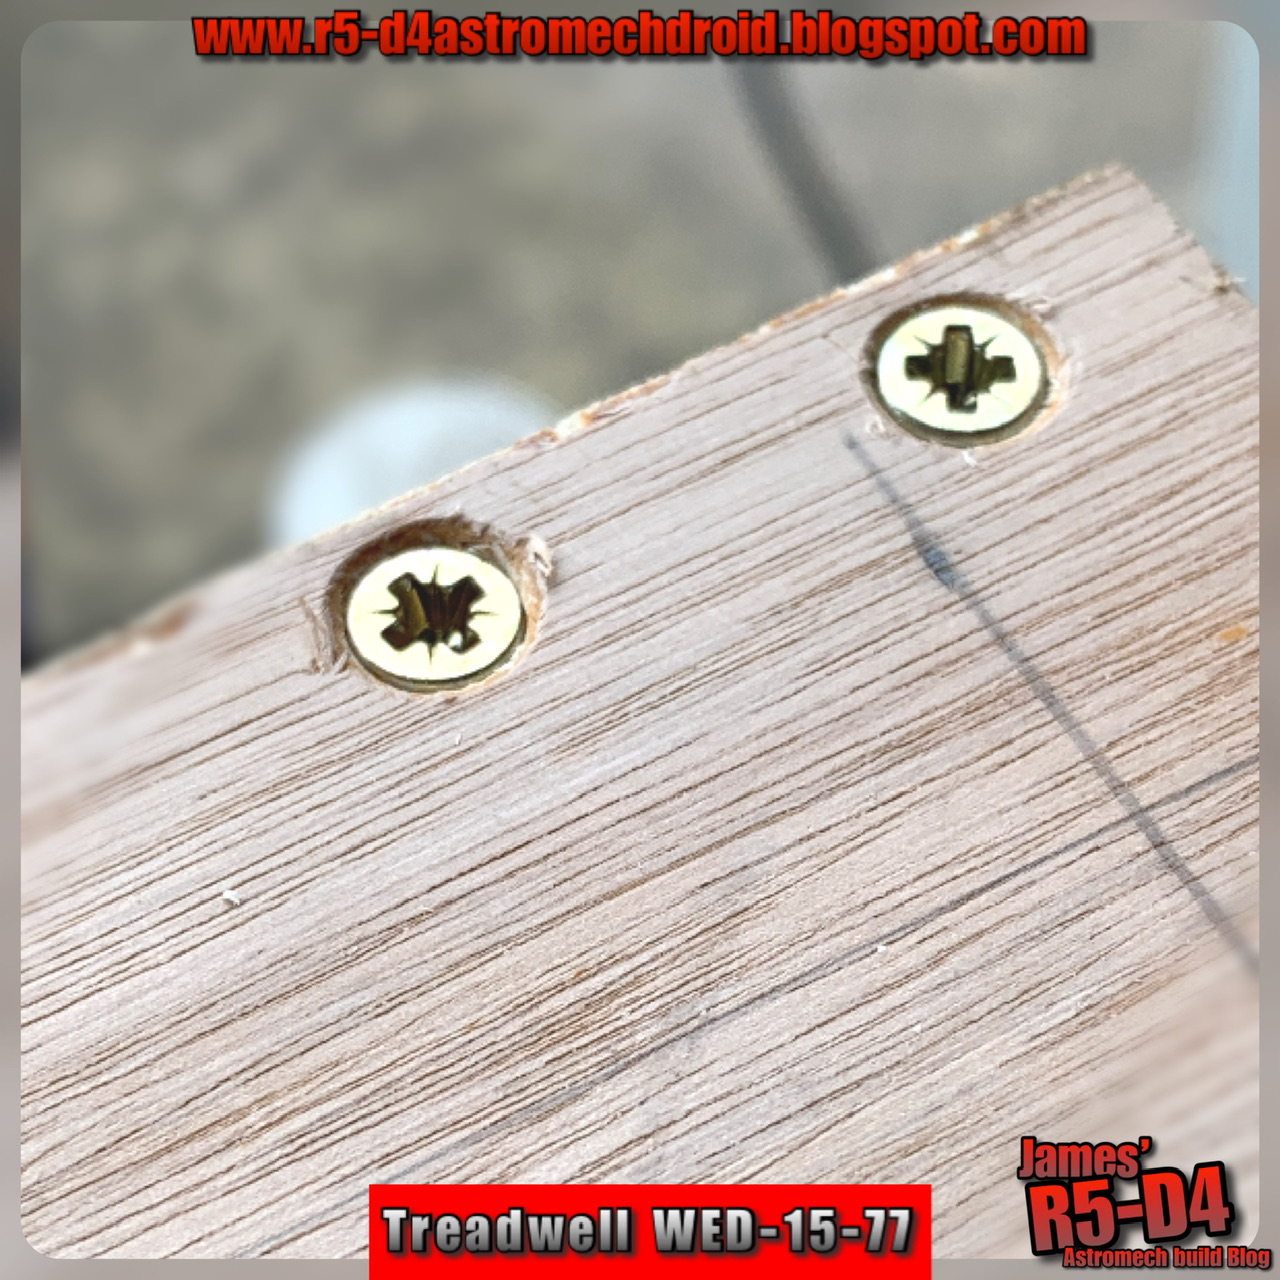
The new micro servo arrived sooner than expected lol, but I had already started on a modified 3D printable housing to fit a new metal geared SG90 size servo. It didn’t take up much more space , but i had to reposition the securing screw, and add a second one.

I used brass knurled threaded inserts & M3 screws.

I made a slot in the side to allow the servo horn some freedom. This once finished, could be covered.

I needed to add a slot in the claws tube to allow some flexibility for the wire that connects to the servo horn.

I also added a location hole for a screw.

Next was to remove the servo plug so that it could connect with the servo lead.

Almost forgot about painting it…..
Primer applied after some sanding.

Weathering:
Dug out the paints and got to adding brown, yellow and ochre.

Then black to give the dirty oily look.
At the Mshed event, I was asked by some of the builders if Tread was metal construction, they were surprised to hear the upper section was all 3D printing.

Upgrades:
I know I said this was going to be the last post on this build, but I have a few more tweeks to do with things I wasn’t happy with, so there’s more to come.


July 25th…….
Wheels:
The original wheels were spaced away from the base, as can be seen in these two  photo.

original deleted scene SW ANH
remade version for the prequals
    

So I decided to draw up some spacers and 3D printed them. This along with some more substantial axle bushes with bearings in, to better support and properly align the wheels. And finally, some new axle's at over 180mm in length!

R4-D4 dome - life form scanner update 2024 (not completed)

Original post - July 2024:

It’s been a few years now since I last worked on the lift setup. So decided I needed to get back on it again.

The problem I had was being able to set up the Pololu control board.


October 2024: didn't get around to following up on this......

July 24, 2024

Instagram post: QR codes

Says to save these to your phone and then press and hold to open link to instagram posts.


So if this works and you get to my Instagram page, leave a like/comment saying that the Blog brought you there lol.

December 29, 2023

Trading Card Dispenser: original idea

Got asked a question on my YouTube channel about swapping the mini motor for a servo.

This was actually one of my first attempts ,back in 2019, to achieve the cards being dispensed.
TCD, servo


As you’ll see in the short video below, it worked but wasn’t very reliable for repeating the operation.

Then there was the issue of the servo AND its wheel, of being too bulky and its protrusion above the box, for fitting into a confined space.

I may revisit this though, using learned knowledge from the build ideas that followed.

April 05, 2023

Treadwell WED-15 droid build : Part 13B - The Claw [actuation]

Just a small post, this refers to the Claw activation. It’s been a while, as have been working on a major side project and forgot to mention this (I think).
So the micro/nano servo I had bought a few years ago for R4’s ‘life form scanner’ was dug out of retirement 😂 and just like Obi-Won, found itself a new purpose.
These two images show the outside profile. The split line is down the vertical middle, two half's printed flat face down. The slot in the side is to view the servo [as why not lol] and the hole in the opposite side is the location for the M3 screw that fits into the Brass knurled insert, in the other half, to hold pieces together.

The 3D printed end piece I decided needed to be modified, away from being screen accurate, in order to be able to mount the servo inside of it.

👉👉👉YouTube link to it in action.


February 19, 2023

Treadwell WED-15 droid build : Part 13A - moulding lenses

The mast sections were masked off, primer'd and silver spray painted.

This included silver spray painting the claw arm parts.

I’d ordered some more primer as well as some clear mat spray to coat to seal the paint.

The mast was getting close to being finished. So I thought I’d turn my attention to drawing up the wheels, in case I decide to 3D print them, here they are added to the assembly model.
I looked at the print time for the main drive wheel in ABS, lol that’s definitely a weekend print.

After finding out that there’s a mold function in Cura, I thought I’d have a go at casting the lens. So I ordered some 1-1 ration clear resin to test.
This was a test pour as not to waste. The 3D printed mold, was not as good idea as first thought lol 😂  so on to plan B, using a proper mold material over the top of one of my previous 3D lens. We had some of this two part molding putty that when mixed together sets to a solid but still pliable material. So before it set, I placed it over the top of the polypropylene lens I had printed a while ago. Left it overnight to fully cure.
Then in work the next day, I mixed up the resin and poured it into the rubber mold.


The result isn’t that bad:
It takes about 24hours to fully cure.

Next part to be painted, I masked up the servo neck collar as it required a black band. I used matt black spray I had left over.

And the result:

I had chosen matt finish for the clear coat. I was a bit disappointed at first as it dulled the shiny chrome look of the parts, but after a while it grew on me. It looks like real un-machined Aluminium now. It will look different again once weathering is applied.

I reassembled the claw arm components along with the servo pivot horn to activate the lift mechanism. Really happy with this. 
The main pivot rod needed to be angled and bent into place to better fit the servo position.
This is where the servo will be located.

Next was to mark (see below picture) and cut the PVC pipe to allow the components to fit inside it and the mast.

The list of little things is a long one.
  • The rear lens holders needed to be glued in place.
  • The recess in the front of the second eye needed to be cut to allow clearance for the rear lens holder.
  • I needed to add captive threaded brass inserts to tabs to help secure the two sections of the eye together. This will allow future easier access to the servo inside, see next picture:
  • The claw arm needed some work on the piston rod fixing part of it, see next picture. I cut a cleat end off to keep the threaded tube part, and I filed the sides flat on a nut to go on the rod end. Added a drop of thread lock.
  • The base plate has now had M6 coach bolts and nuts fitted to better hold it and support the mast structure. I feel better about it’s strength and stability now.
Test fitted the mast and head assembly together, along with the arms, into the track base unit.

February 12, 2023

Treadwell WED-15 droid build : Part 12 - 3D printing / painting / woodwork

 
This update covers the last 3D printed mast pieces, spray painting, part assembly of the mast and the beginning of the tread base section.

The upper section of the mast, required its opening to be enlarged to allow the servo pivot arm to fit through.
The off set upper square section
 
Friday 3rd February:
I set the works 3D printer off with lots of different pieces, including the last two mast parts.

Monday 6th:
Progress this week was, gluing the sections together using the PVC tube as a guide for centralising and squareness. Some of the inner diameter’s do still need a bit of filing to make things easier to slide over it.

The mast was primer’d in sections for ease, see above picture, then the parts were fitted onto the PVC pipe, to help with alignment, and the sections glued together, but not to the PVC tube though.

The plan is to primer over any joins still not sprayed. The main PVC tube needs to have cut outs made for the claw arms servo horn fitting as well as the claw servo activation, so will be done once the sections are in the correct positions.

I also set up the printer to do the base stand , in ABS. I started it in the day so I could keep an eye on its progress, what with all the issues people have with printing it.

I didn’t need to worry as it printed fine.

Ultimaker S5:
clean glass bed,
thin coating of prit-stick glue.
The open top now has a DIY enclosure made by co-worker Will, which also has a filter and extractor fan.

On completion I realised that I needed to design an adapter to help locate the mast’s PVC internal tube, as the base plate hole was too big for my tube.

Adapter printed in ABS, and fitted to the lower mast section, this has an inner sleeve that fits the PVC tube and an outer sleeve to fit over the base plates raised flange.
I will be fitting an additional location flange inside to the wheel base to help reduce any possible flexing in the mast base to body area.

Next I drew up from the blueprints and printed off the base’s four legs (in ABS).

Base masked off ready for primer. The screws are too secure the legs whilst the glue dried.

I messed up on printing the correct missing mast piece so that’s on my list to do. I had also glued two sets of pieces together by mistake so I had to cut these apart to be ready for when the last mast piece is printed

Spray painting:
Primer and more silver (chrome) painting of the mast sections as well as the base plate.

Woodwork:
I cut out the upper part of the base and after marking the centre point, I then drilled location points to secure the base plate in place.

I had cut the bottom base board a while back.
This week I bought a 12mm thick hardwood sheet to be able to cut out the two side plates (for the wheel locations) also the two end face pieces, and the upper section (see above picture of mast base plate fitted to wood panel).
Tape measure on base for size scale comparison.


Next up was to drill and fix end piece’s in place.


I’ll be adding more supports to the internal sides for strength and rigidity. I then drilled out the hole in the upper plate.

And of course……I had to give it a test fit of the mast.
It’s been good getting back to woodworking, really enjoy the creating side.