Showing posts with label scooter motors. Show all posts

June 19, 2022

Reinventing the wheel……

😄😄😄 lol, yes…..aaaaaand no.

Back in April (last month)….
R5’s ride height has always been an annoyance for me over the years. Most noticeably at events on nice flat surfaces where I can clearly see the wheels. [for film appearance's 😎, this isn't so much of an issue]

Also the feet internals weigh quite a bit and they don’t support the floating foot shells very well.

So, I decided I needed to redo them to be lighter and lower.

Using my original internal feet frames, I drew the new versions up in AutoCAD inventor and then 3D printed out these test pieces.
This build structure is not new, but as buying the components might not fit my 'UNIQUE' foot shells, designing my own to fit made sense.
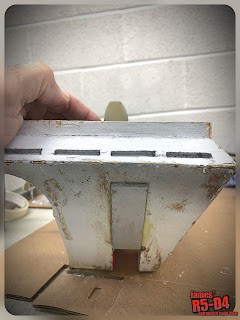
Above is first draft printed. The cut outs were just to save filament.

Test fit inside the foot shell.

And showing the reduced protrusion from the bottom of the shell.

I’ve ordered some aluminium plate, for the frames off eBay.

The first sheet of metal arrived.

Nice……👍🏽

Due to a family event, the funeral of my Grandmother who reaches 105years, the project was paused.

May 2022
Tuesday 3rd: was cutting aluminium plate day. I got out a hacksaw and started cutting out the main side plates.
I was also figuring out bolts, spacers and nuts.

Additional plates are on order, the two hashed areas on the 3D prints [above picture] are not needed so will be removed.

Found some suitable Stainless Steel tube, which will be great as the spacers.
I’ll be using M6 bolts and Nylock locking nuts, which I bought from local DIY store.

The steel tubing needed to be squared off at the ends, so used the lathe.
The bolts have washers both ends and locking nuts.
I drew up a shell support to help keep it from tipping over, as the shell 'floats' on the inner frame. This I 3D printed off to save weight. It's held in place by the longer bolts, washers, nuts.

Next up was creating retaining clips for the aluminium channel strip. First idea was hollow, but thought, it doesn’t have to be. So cut it in half and turned it into a clip, that snaps over the spacer tubing.

With the new frame layout, it will also be easier for me to access the ankle bolts, nut. On the original steel frame, I had the nut welded in place. Now, I’ve got nylock flanged nuts.

Next was to drill location holes for the front caster mounting, angle plates. And I positioned the caster to be more inline with the rear wheel.


And here’s the completed assembly, with motor and caster fitted. This whole assembly is so much lighter than the old one.

I have already made a start on cutting out the second set of plates. So this will come in a following post.

June 2022
Back in work after a short break away and back on with cutting out plates for foot no2.

….a rushed week of getting everything sorted before attending Saturday 18th’s event at Stars of Time, in Swindon’s steam museum. But got everything installed Friday night lol.

Event report to follow…..

August 21, 2020

Tutorial - Remote Control Drive setup - Droid Builders UK

 The video tutorial I made for the Club, is now up online.

Droid Builders UK - Live You Tube

Dual Remote Control Drive setup Tutorial for Droid Builders Live,

is a 'how to' video showing how to connect up the speed controller,

transmitter and motors.

Tutorial - RC set-up
click on the link above to watch over on the Clubs You Tube Channel

#youtube #droidbuildersuk #ukr2d2buildersclub #speedcontroller #rctransmitter

September 02, 2015

R5's outer feet, Ankle Lock, upgrade [& new centre foot wheel]...... 1.0

R5's outer feet were built, as most peoples are, to spec, well mine were as close as lol.

With a single motor wheel and caster at front to ballance, the wheel/foot assembly, then requires ankle locks to help stop the front caster from tipping the foot (due to its diameter being smaller and often 'digging in' where a larger diameter wheel is be able roll across a hole/gap). With how my outer feet and internal frame work is the locks are not the greatest, well, they're ok flat smooth surfaces, but anything slightly uneven and the 'panic stations mode' is flipped!

So the plan is to change his internal feet to better support driving him, real world situations, hopefully, reducing the worry of him tripping over.

Recent event's have confirmed that the casters are definitely the week point on any surface other than flat & smooth! So am drawing up some ideas on how best to fully lock the feet, whilst trying to keep things atheistically pleasing to the eye.

With R5 putting his [outer] feet up, I needed to replace his centre foot wheel. This may also need a future upgrade, but for now, just a new wheel was needed. The size I wanted I could only find at the original place I had got the first one from, B&Q!
R5D4, Star Wars

The original one has worn down and although a harder compound wheel would be more suitable, the size to fit in is the limiting factor. I am looking into similar sized scooter wheels as they're material is harder, so won't wear out as much! [W.I.P.]

R5D4
Spent bout 45 mins, looking for suitable size/thickness wood, figuring out how to best fit it..... When I found some metal strips that would be perfect. So bent one to the angle required and then marked for cutting.

I found a pair of M10 cap head bolts that should do the job of holding the angles in place. I just need some nylock nuts.


November 26, 2014

Outer feet - weight reduction 1.1

R5-D4 outer feetR5-D4 outer feet

Re-assembled all the components into the inner foot frame. I used loctite on the bolts that hold the motor in place. Then after locating the drive belt, re-fitted the rear wheel, along with its upgraded spacers and washers. Looks and feels so much better :-).
Lastly I fitted a black front caster. It needs to be lubricated as isn't very free moving.


Before assembling I did weigh the frame and it is slightly lighter..... lol :D

R5's outer feet casters were white and were only used as I had swapped them over from the the feet internals that allowed R5 to be pushed around on. This one has now been changed to a black one, need to buy another one, so I hope, they will not be as visible.

June 09, 2014

Outer Feet - motorisation is on its way 1.3

Well, the wheels did NOT arrive last week as I had hoped, so was refunded via eBay. Some more were found and were soon be ordered.

Scooter wheels link

My Son was just as excited they had come as I was. So we both headed out to the garage to work on removing the 'brake drums' which we won't be needing.

These are held in place with four metal pins. I opened up the vice jaws and rested the wheels on the opening. We then got to work with a hammer and screwdriver to hit the pins out from the other side.
R5-D4's Outer foot wheel to motor upgrade

The four pins can be seen in image above.

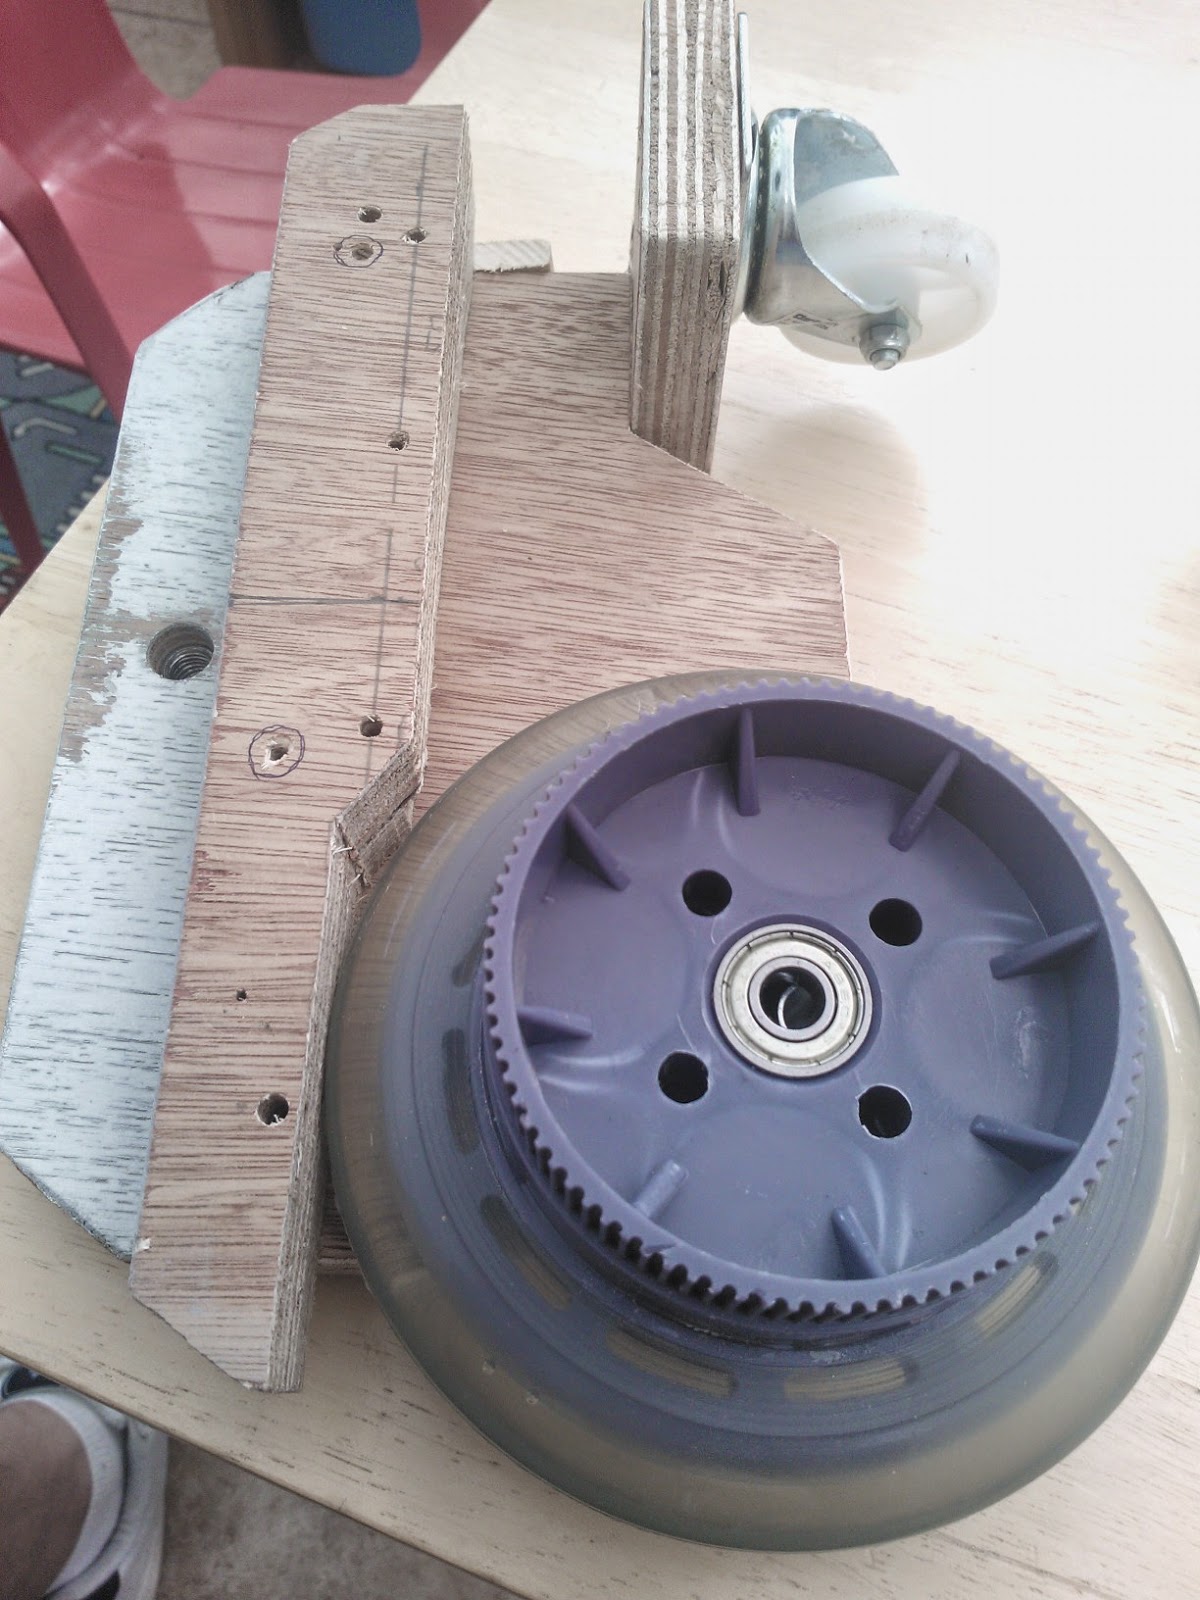
Here is what I am faced with next though....
R5-D4's Outer foot wheel to motor upgrade

R5-D4's Outer foot wheel to motor upgrade
Apart from the increase thickness, they are also slightly larger diameter than the old scooter wheels, so internal upgrade WILL be required. Design process engaged!

I also thought at first that my belts were too short as the motor was quite close to the wheel, but on second thoughts this might not be a bad thing as space is limited inside and also the position of the motor means it has to be fitted/covered by the battery box once all installed.