Showing posts with label R5's Body. Show all posts

July 14, 2020

Funko Pop Astromech - 3D.......complete!

Last Friday, was a long day of working on finishing off the 3D modeling.

  • Body - rads added to corners.
  • Dome - full build, with eye's, sensors, dome rods, pie panels & antenna.
  • Then just for these pictures, some colour added. 
Funko Pop Astromech 3D
R5 colour scheme added, missing pin striping on dome.
A few alterations as they were bugging me....
The antenna, now points forward & I've added a restraining bolt, to match mine and R5.

I'll hopefully get this all printed soon, and then once happy, I'll upload to my Thingiverse page.

July 09, 2020

Funko Pop Astromech: 3D Body progress

Yesterday I spent most of my free time drawing up the front panels, lower skirt with recesses.
The skirt recesses took ages as I had extruded it with angles, which caused me to struggle to then inverse 'emboss' the panel recesses. After a few attempts tho I got something that matched up with the original.

Next up then was the real fun part.....the panel details. I had to create a few different sketch layers in order to produce the recesses and then the protruding coin slots.

The Power coupling needed three sketch layers just for it alone. These tho I am hoping to be able to mirror to the rear of the model.
Funko Pop 3D

There's still a lot more to do, but it's really looking good to me so far.
Funko Pop 3D Body video
Created this short video of the panels being created.
#funkopop #astromech #thingiverse #3dprinting

October 16, 2018

R5-D4 - 4 years on

Posted up this picture on instagram last night, showing the difference four years on from when R5 was finished being built. When I say finished, of course I just mean fully painted & assembled, as there's always something you can update or improve on.

A lot has happened over those four years, conventions, charity events, club events, Midnight release events, TV apperance plus a few others VERY special moments.


R5-D4

Picture shows, on the left, 2014. Nice white, clean finished droid. On the right, 2018, a four year veteran of events, plus faded paint over time, two lots of applied weathering, plus bumps, knocks, dents, scuffs that have built up over the years of use, just through wear and tear.

There are two builder camps, those who build a clean droid and others who don't lol. I'm definatley in the dirty camp as it adds to the authentic film version people know. I have been asked many times if my R5 is THE R5-D4 seen in the film! Now that is a serious compliment!

April 12, 2017

Utility Arm pivot points - upgrade time 2017

This wasn't on my list of 'things to do', but due to 'little fingers' lol, one of the utility arms, location pads had come loose. So over the last few weeks, this has been one of the other mini projects for R5.

Not bad considering the amount of action they've seen.
Link to post I blogged way back: Utility Arm Pivot pins fixing.

There's the loose pads.
Black mesh screen removed to gain access to rear of arms

Next was to remove the central support piece (the piece above the upper pad).
This was made of MDF.....yes, I hang my head in shame lol. But it was all I had at the time to support the center area.

I then measured up and cut out a piece of plywood which the new thicker pivot pads will be screwed to.
 The pad is temp screwed into place.

Again, just to show position of pad and pivot arm point pads.
This pad is a bit to short, so cut a new longer one.

I may possibly need to modify the servo arms if they are to be fixed to the new bracket. Tho the black mesh will also need to be modified, so if to able to, the servos can remain on it.
not pretty, but will do for now, until servo positions finalised
Drilled and screwed the pivot pads in place.


I also used the old center support to re-cut it out of 8mm thick plywood. The plan is to fit it to the arm pivot pads to make one unit. The 'center support' can be see mid section of the utility arm opening (screw head)

Work then on the upper arm. And as per usual, nothing is ever a simply 'copy/repeat' straight forward process. The pivot pads had to be modified more to:

a) fit
b) have enough material to be screwed into onto the rear pad.

(a normal build probably wouldn't have these kinds of problems lol)

This was achieved and so work could then continue on with primer & this time, matt black paint.

The above pic shows how the pivot pads were 'recessed' under the with of the arm. This was so there was enough material to screw into.
And here's the upper arm pivots attached to the frame pad along with the 'center support' for the arms and the outer skin.

Now these are installed and are a lot firmer, I may need to upgrade the servos to more powerful ones to be able to more the arms. This I'll be testing soon.

March 07, 2014

Body Skin 5.4 - Silver groove painting & Clear coat

Hand painted the last recessed panels groove yesterday morning :)
R5-D4 body
I also touched up any other little bits, plus the inside face of the cut outs for the centre vents.
R5-D4 Centre Vents
So today, I set up R5's body in the spray booth in work and applied clear spray all over!

March 01, 2014

R5's weigh's how much!?!?!

Centre Foot & Leg
Way back in 2012, after finishing his centre foot (leg) build, i weighed it.
The weight was 4Kg's [foot shell, internals inc. wheel and the whole of the centre leg]


R2D2 R5D4 centre footR2D2 R5D4 centre foot

The recent upgrades i've made, inside cut-out of foot shell [see above], new lighter tho larger scooter wheel; internal mounting for wheel and brackets to connect to centre leg, may alter the final weight of the centre foot, but I can't see it being by much. So for now I'll use this weight.


R5D4 Dome, head.
Legs
I first weighed both leg's. Fitted with their shoulder disc's and bolts in place, they both weighed excatly the same.....5.5Kg's each!

R5's Dome
I also re-weighed R5's dome. Before the 3 recessed boxes or his dome cone were done, it weighed 4Kg's. After, with the cone & everything else added, eyes, rods etc, it now weighs 6.5Kg's.
I was a bit worried at first, till I read about others (aluminium) domes and their weights! :)

Feet
The feet, which are non motorised just scooter wheels at present, fitted with Battery Box & Braided hose, weigh in at 3.0Kg's each.

R5D4 Body
OK, here goes! The body, without batteries or anything......as he doesn't have electrics yet, weigh's 14.5Kg's.


Total weight of R5 at this stage is...........42 Kg!

February 17, 2014

Front Vents 2.5 - mesh fitted

Got round to bending, cutting and drilling the last piece of angle bracket. Marked and drilled upper mesh location holes. Screwed them back into place.
R2D2, R5D4, Astromech DroidsR5D4

February 14, 2014

Front Vents 2.4 - mesh

I wanted to make vent plates to block the view of R5's insides. So I marked up some perforated left-over metal, cut with metal cutters and drilled holes. Then used a grinder to remove sharp edges.
R5-D4 ventsR5D4 vents
These Im not sure to spray black or leave as they are??? Am leaning towards as they are.

February 07, 2014

Large Data Port [L.D.P.] upgrade 2.0

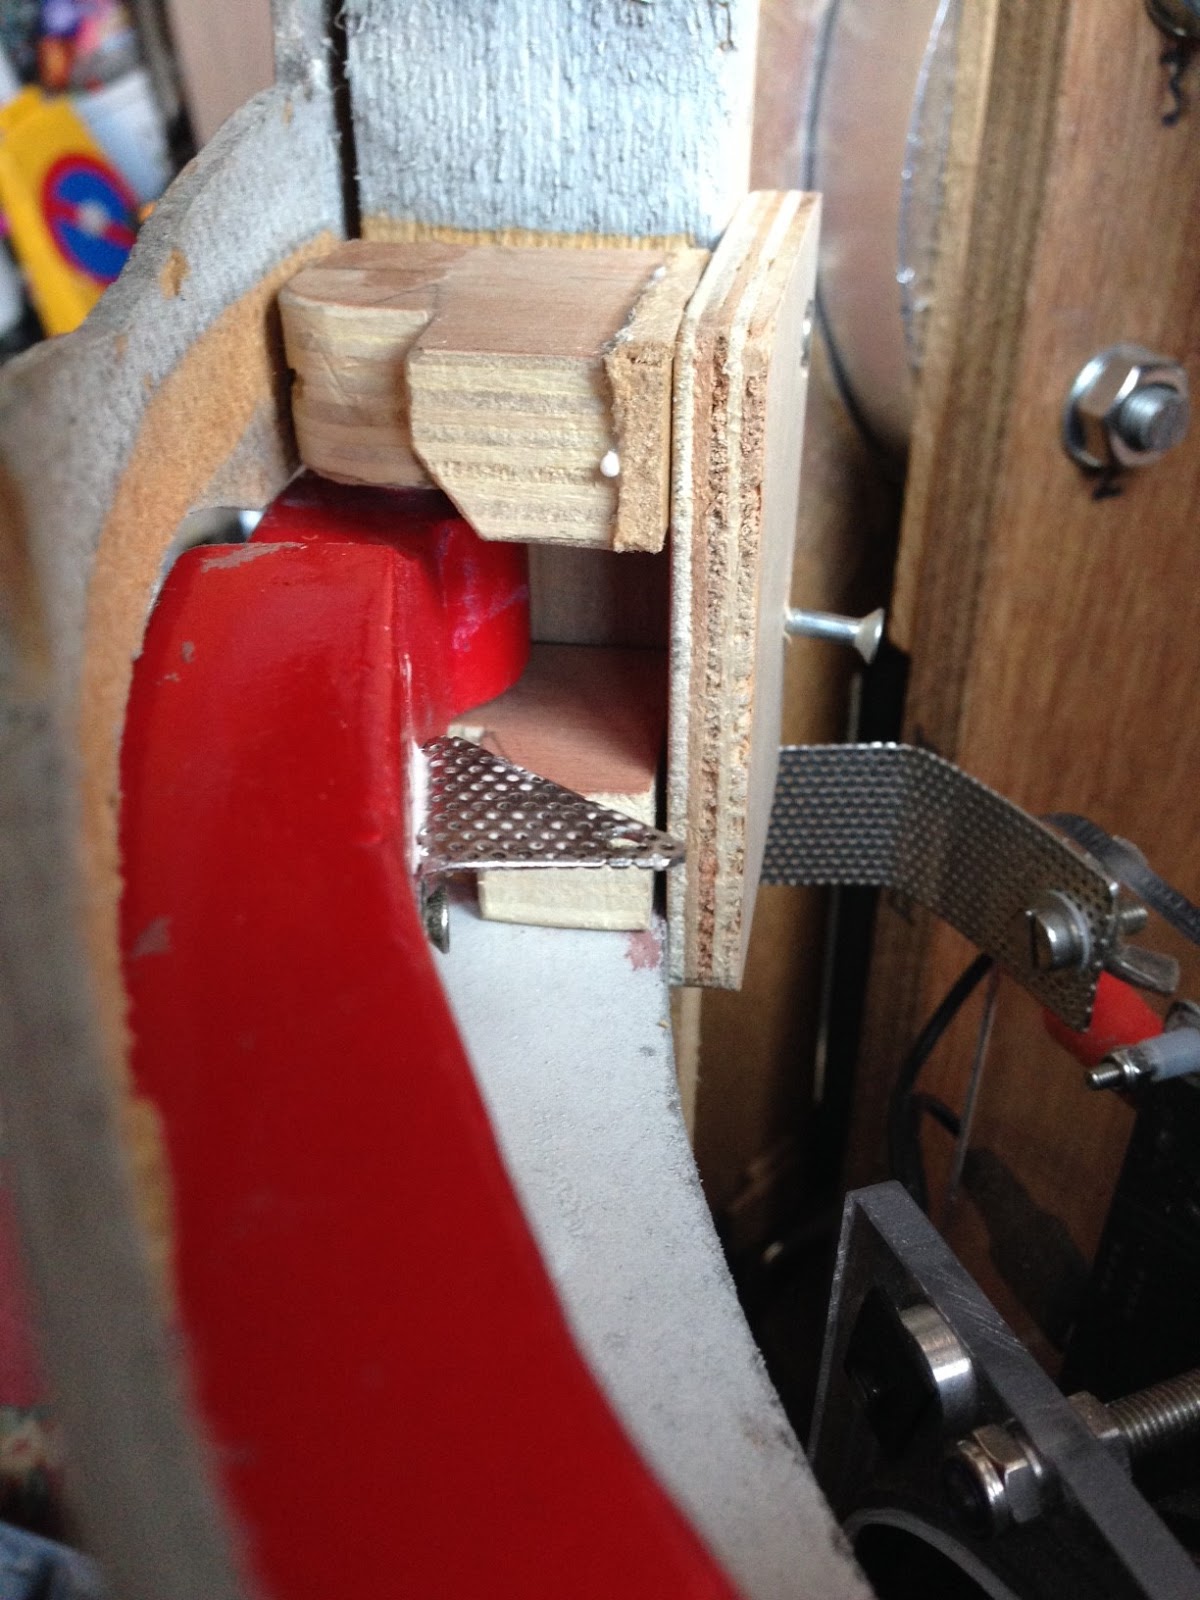
The large data port never did sit right, as it sagged. This was due to my location pin idea not being 100% effective. Even after it's first 'upgrade', last April, I still wasn't happy. So I added this tie strap to lift and support its top lip.
R2D2 Data Port

R2D2 large data port
And now there's no sagging :)

February 04, 2014

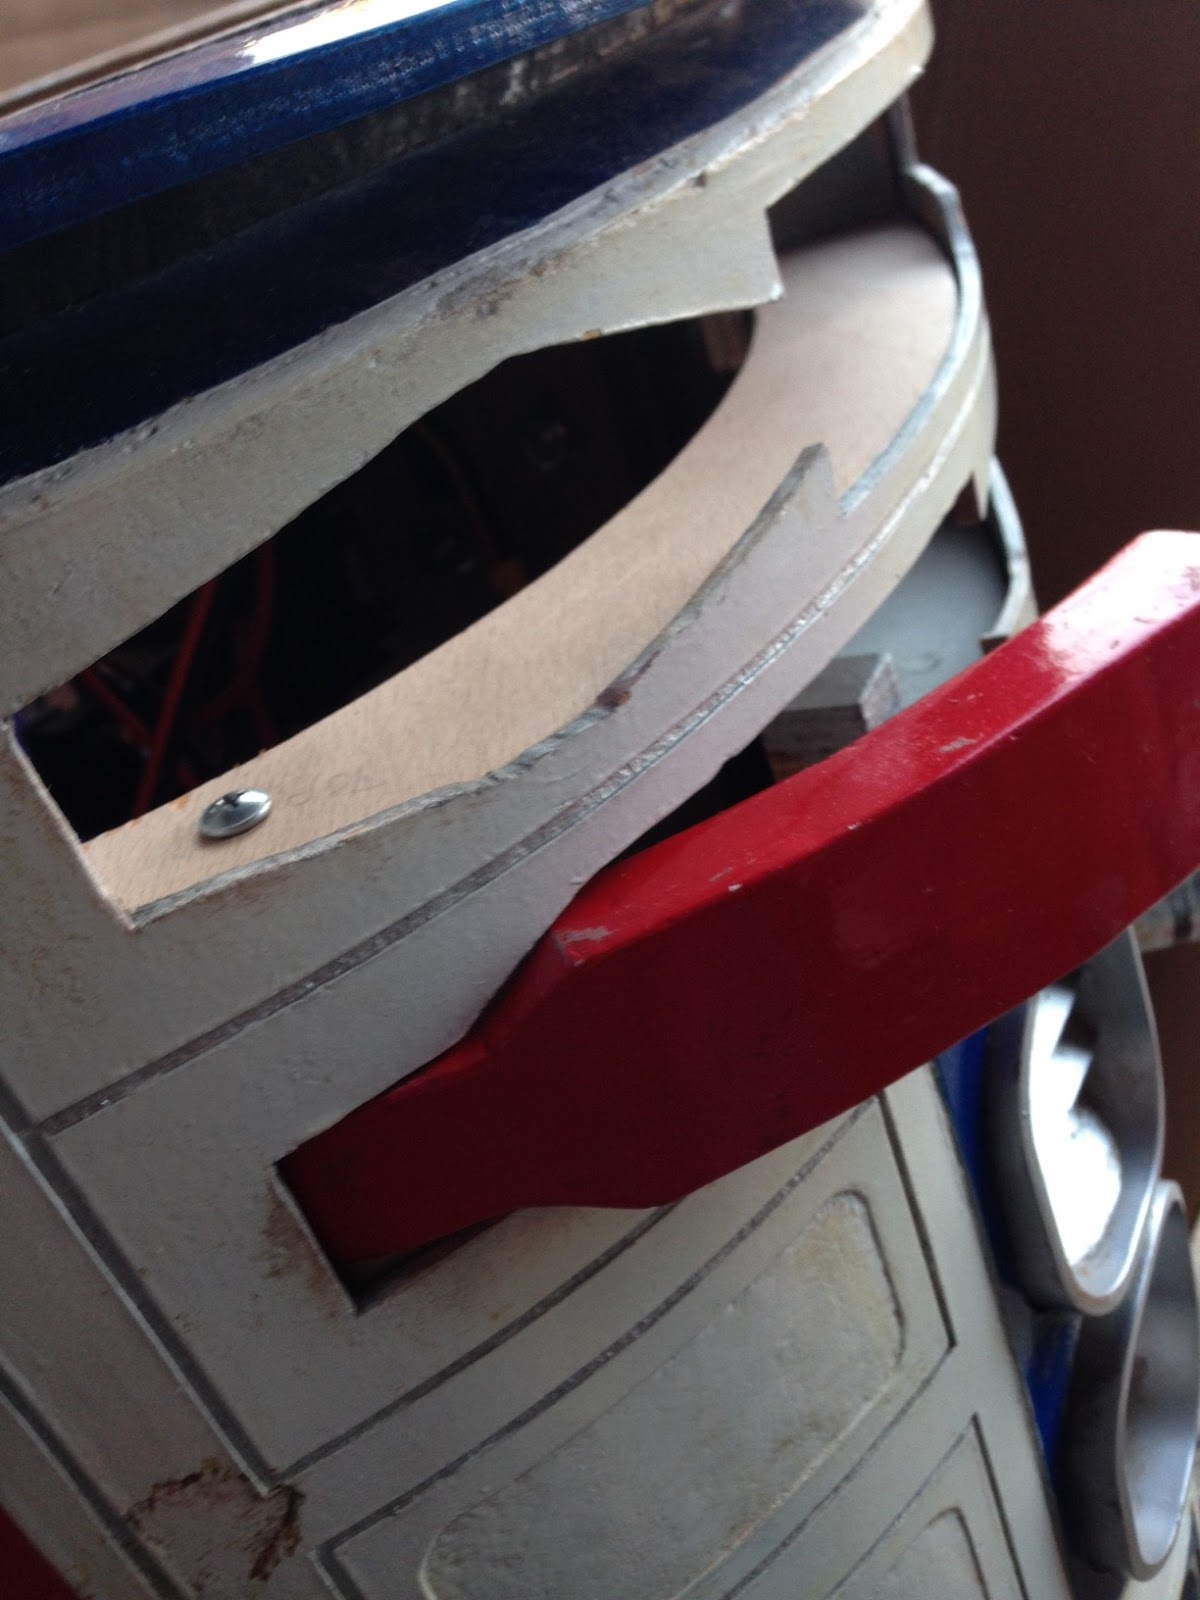
Body Skin 4.9 - Rear Pocket Vent build

Friday night I got some more work done on the last three panels & vents.

I finished off recessing the long rear panel. This took almost half an hour! Then a sanding all over the exposed wood, to flatten the now exposed fibres.

Rear Pocket Vent
As I already had the pocket hole, I used a piece of cardboard and inserted it through the opening. I then used a pencil to mark the curve of the skin on the inside. This was then transferred onto some hardboard and lengths extended to allow for the internal pocket walls to be fitted.

I then cut out two pieces the same, top and bottom, here they are glued together.
R2D2 Rear Pocket Vent
Next came the side pieces.
R2D2 Rear Pocket Vent
Applied watered down PVA glue on all the cut wood.
Ok, so here are the vertical slots in the Vent, being cut out. I've used a combination of Stanley knife Dremel.
R2D2 rear pocket vent

R2D2 rear pocket vent
Just one more slot to cut out tomorrow.

January 29, 2014

Body Skin 4.8 - The last area of R5 get's it's groove on.....

....................I've got to come up with some better titles!

I decided to not put off any longer the work that needed doing on R5's last remaining area of his body.

Brief HIstory of work:
When I first started marking out and grooving his skin, see pics below, it was all new to me. So I gradually worked my way through the build, learning as I went. I only got so far round his body, then fitting his skirt to the frame and then primer applied and before I knew it I was spraying him up white.....just to see how it would look :D.

So last night I disassembled R5 of his Dome and Legs and started work on the last panel work. With the use of a Stanley knife and my own special tool, I started to carfully score and then groove out the last 'recessed' panel. The grooving is fun, the recessing is NOT fun!

R5D4 Rear Pocket VentRear Pocket Vent

The vertical slot's I'll do later on.

Next, I started to score out the grooves.....
R5D4 Body skin

Then comes the fun bit.......grooving.
As the hardboard is made of fibers, when you score to a shallow depth, you break them and create an edge. Then when you use the 'Groove' tool, the hardboard peals off in strips. I then used a fine grade of sandpaper to smooth out the groove. Once all this work has been done, I'll apply watered down PVA glue to seal, and then another light sanding.
R2D2 body skin panelR2D2 body skin panel

R5D4 body

Then I started on the LEAST fav part of the panel work.....which is probably why I stopped at this point, my fingers were hurting! lol. I scored the inside recessed area and then used a second Stanley blade [not in handle*] to shave out the recessed area.
*caution when using blades not the way they were intended to be used!

R2D2 body skin

R5D4 body skin
And this is as far as I got before I......my fingers.....called it a night lol.

December 16, 2013

Front Vents 2.3 - Lower Centre Vent

Ive not been able to do much work at home, and it has been REALLY frustrating going out to the garage to get things and just having to glance at R5, say 'sorry buddy' and walk out again!

Today I'd had enough, the stars had aligned........somewhere, and i got 5mins (45mins) in the garage and thought I'd make a start on cutting out the lower centre vent opening. Well, I couldnt just cut out the hole, I had to go all out and make sure it would fit lol.

Used the dremel with drill attachment first, then gradually used it fitted with sanding drum to get final shape.

Next is to create a fixing bracket.

November 15, 2013

R5D4.......Assemble!

Yeah, it doesn't quite have the save ring to it as 'Avengers Assemble', lol.

Anyhow..... after I'd fitted the first Front Vent. I then started to rebuild R5.

I found that three of the t-nuts that were inside the legs had been pushed out. Luckily not enough to loses them and using washer and nut threaded the studding in and pulled them back into the leg. Must keep an eye on fitting these in future!! So one leg bolted, booster cover, leg strut, horseshoe and hub fitted. Next, the foot. Not the battery box as R5 is sitting on his skirt (centre foot removed) and there's not enough space, due to the stool he's on. Then on with leg No.2, with still un-completed Foot Shell.

I need to get the cone on the Dome finished off this week so I can possible spray him up ???

Front Vents - Fitted 2.2

Fitted top vent and bracket, found id not elongated the holes enough, but got it to fit in place eventually.

I've already marked out the lower vent hole, just need to have time to cut it out. Would REALY like ot get it done before his next event.......which is November 23rd @ the Fleet Air Arm Museum.

June 19, 2013

Body Skin 4.7 - Painting Silver Grooves

The other week I started to paint all the grooves on R5's body, silver. This is to give the effect of the skin being dual layered and the under layer is still aluminium. When I did this on the rear hatch, I used loads of masking tape to prevent paint from going on the white painted skin.

This time, I trimmed the small paint brush to a fine point, saving on masking tape and time.
Doing only this much, took over an hour to do. Time fly's when your having fun lol.
R5-D4
Not great images, but when viewed large, you can see the silver in the grooves.
R5-D4

June 14, 2013

R5-D4 Head & Body fitting with all components

As I had all the recessed boxes bonded into place, I wanted to test fit them all :)

I had found a Hex socket counter sunk screw for the single lower dome eye. I fitted the screw through an old 'thingy', that i've had in a tin for years lol. This is all then held with a nut inside the dome. i also fitted all the other components. inside the dome as well.
R5-D4 astromech Droid

I need to make up three spacer pads for the main Eyes. As theres not much holding them on the inside if someone accidently 'grabbed' or' leaned' on them, worse case synario. So that's my lunchtime job for today.

And I had to then test fit everything.......again :)
R5-D4 astromech Droid

R5-D4 astromech Droid


I also started on painting the grooves silver. A very steady hand! Lol.
R5-D4 astromech Droid

And then I test fitted everything together......
R5-D4 astromech Droid

R5-D4 Astromech Droid
Forgot to 'test fit' his Antenna tho lol.

Then It all came off and I finished off a can of primer on the Dome.
R5-D4 Astromech Droid
.......and then started touching up with wood filler.