Showing posts with label woodwork. Show all posts

November 24, 2025

Treadwell WED-15 : Mast Storage Box build

September 2025

As the title suggests, this is a box that will store Treads Mast, and also for transportation to events etc. I won’t have to worry about it being knocked etc.

Started again on this, (September), I copied and modified the 3D lid corners etc from the head box build.

List of parts:
  • Base corners 3D printed [already printed - 2024] but were reprinted in TPU.
  • New lid parts, based on 6mm thick MDF, head box used 4mm.
  • New design for lid corners & lid edge pieces - 3D printed.
  • 6mm thick MDF, due to box length.
  • 30mm x 30mm black plastic angle, for the joint edges.
  • Fake carbon fibre wrap.
  • Clasp latches (didn’t use).
  • Foam padding.
  • Strap material (already have).
And so it begins…. 25/10/25
Base board cut to size

Next up was cutting the right angle plastic strips. These will be fixed through to the board.
Next was drilling corner feet location holes. These were originally going to be pop riveted like the head box but the thicker wood meant countersunk bolts and nuts.

Started with the base board, cut to size. Used the last pieces of carbon wrap from the head box on it. It has 3D structural support angles that will help to strengthen the sides/base. See picture below.

These are all drilled and bolted along with pop rivets fitted. Next up was the first end panel, cut/covered/holes drilled and bolted to the 3D printed base corner piece.
 

The lip/lid corners/lengths needed a redesign [picture above, right] from the head box as the lid didn't need additional support/strength due to the MDF's thickness.

Needed to buy some more wood lol, this will complete the remaining long side and the lid itself.


The foam strips I had in the garage from a previous project.

Assembling the base corners I noticed that the strain on them was more than on the head box, and the recessed corners caused the bottom half to split. So I re-printed them in TPU.

With the second sheet of wood I was able to complete the other side and start on the lid piece. Redesigned the 3D printed lid edges. I also drew up and printed off some strap catches out of TPU and also some, flexible hinges, again out of TPU. These will be secured in place with bolts etc.

Next was to TPU print some carry handle fixing points.


I hand stitched the edges to secure the straps onto the fixings. These straps were long enough to take the load and were fixed at furthest points possible, for balance etc.

Final pieces, to cover the lid in vinyl wrap, weather protection for the wood mainly, and two velcro lid straps.
I’ll post up some finished photos in a follow up Blog post, probably in the Xmas event next weekend.

Prusa account - free 3D stl files.
I'll upload the 3D files from this project to my account [link here].

October 17, 2024

Magazine article about building my R5-D4 (......back in 2018)

Back at the end of March 2018, a fellow builder, Nik H, who happens to work at a magazine publishing company, asked if I'd be interested in writing a piece for his editor. He's proposed the idea to her and she was very interested in it.

lol


So I started writing how I went about building R5-D4 out of wood. Trying to condense three years plus work & to simplify it down to 500 words was a definite challenge lol. I also sent in photo's of the build.

.... unfortunately tho, this didn't get published.

October 2024:
I do still have the transcript, so I may post it up one day lol.

July 18, 2024

Treadwell WED-15-77: transport sledge (part 2)

Wrote this the week before the Mshed event.....

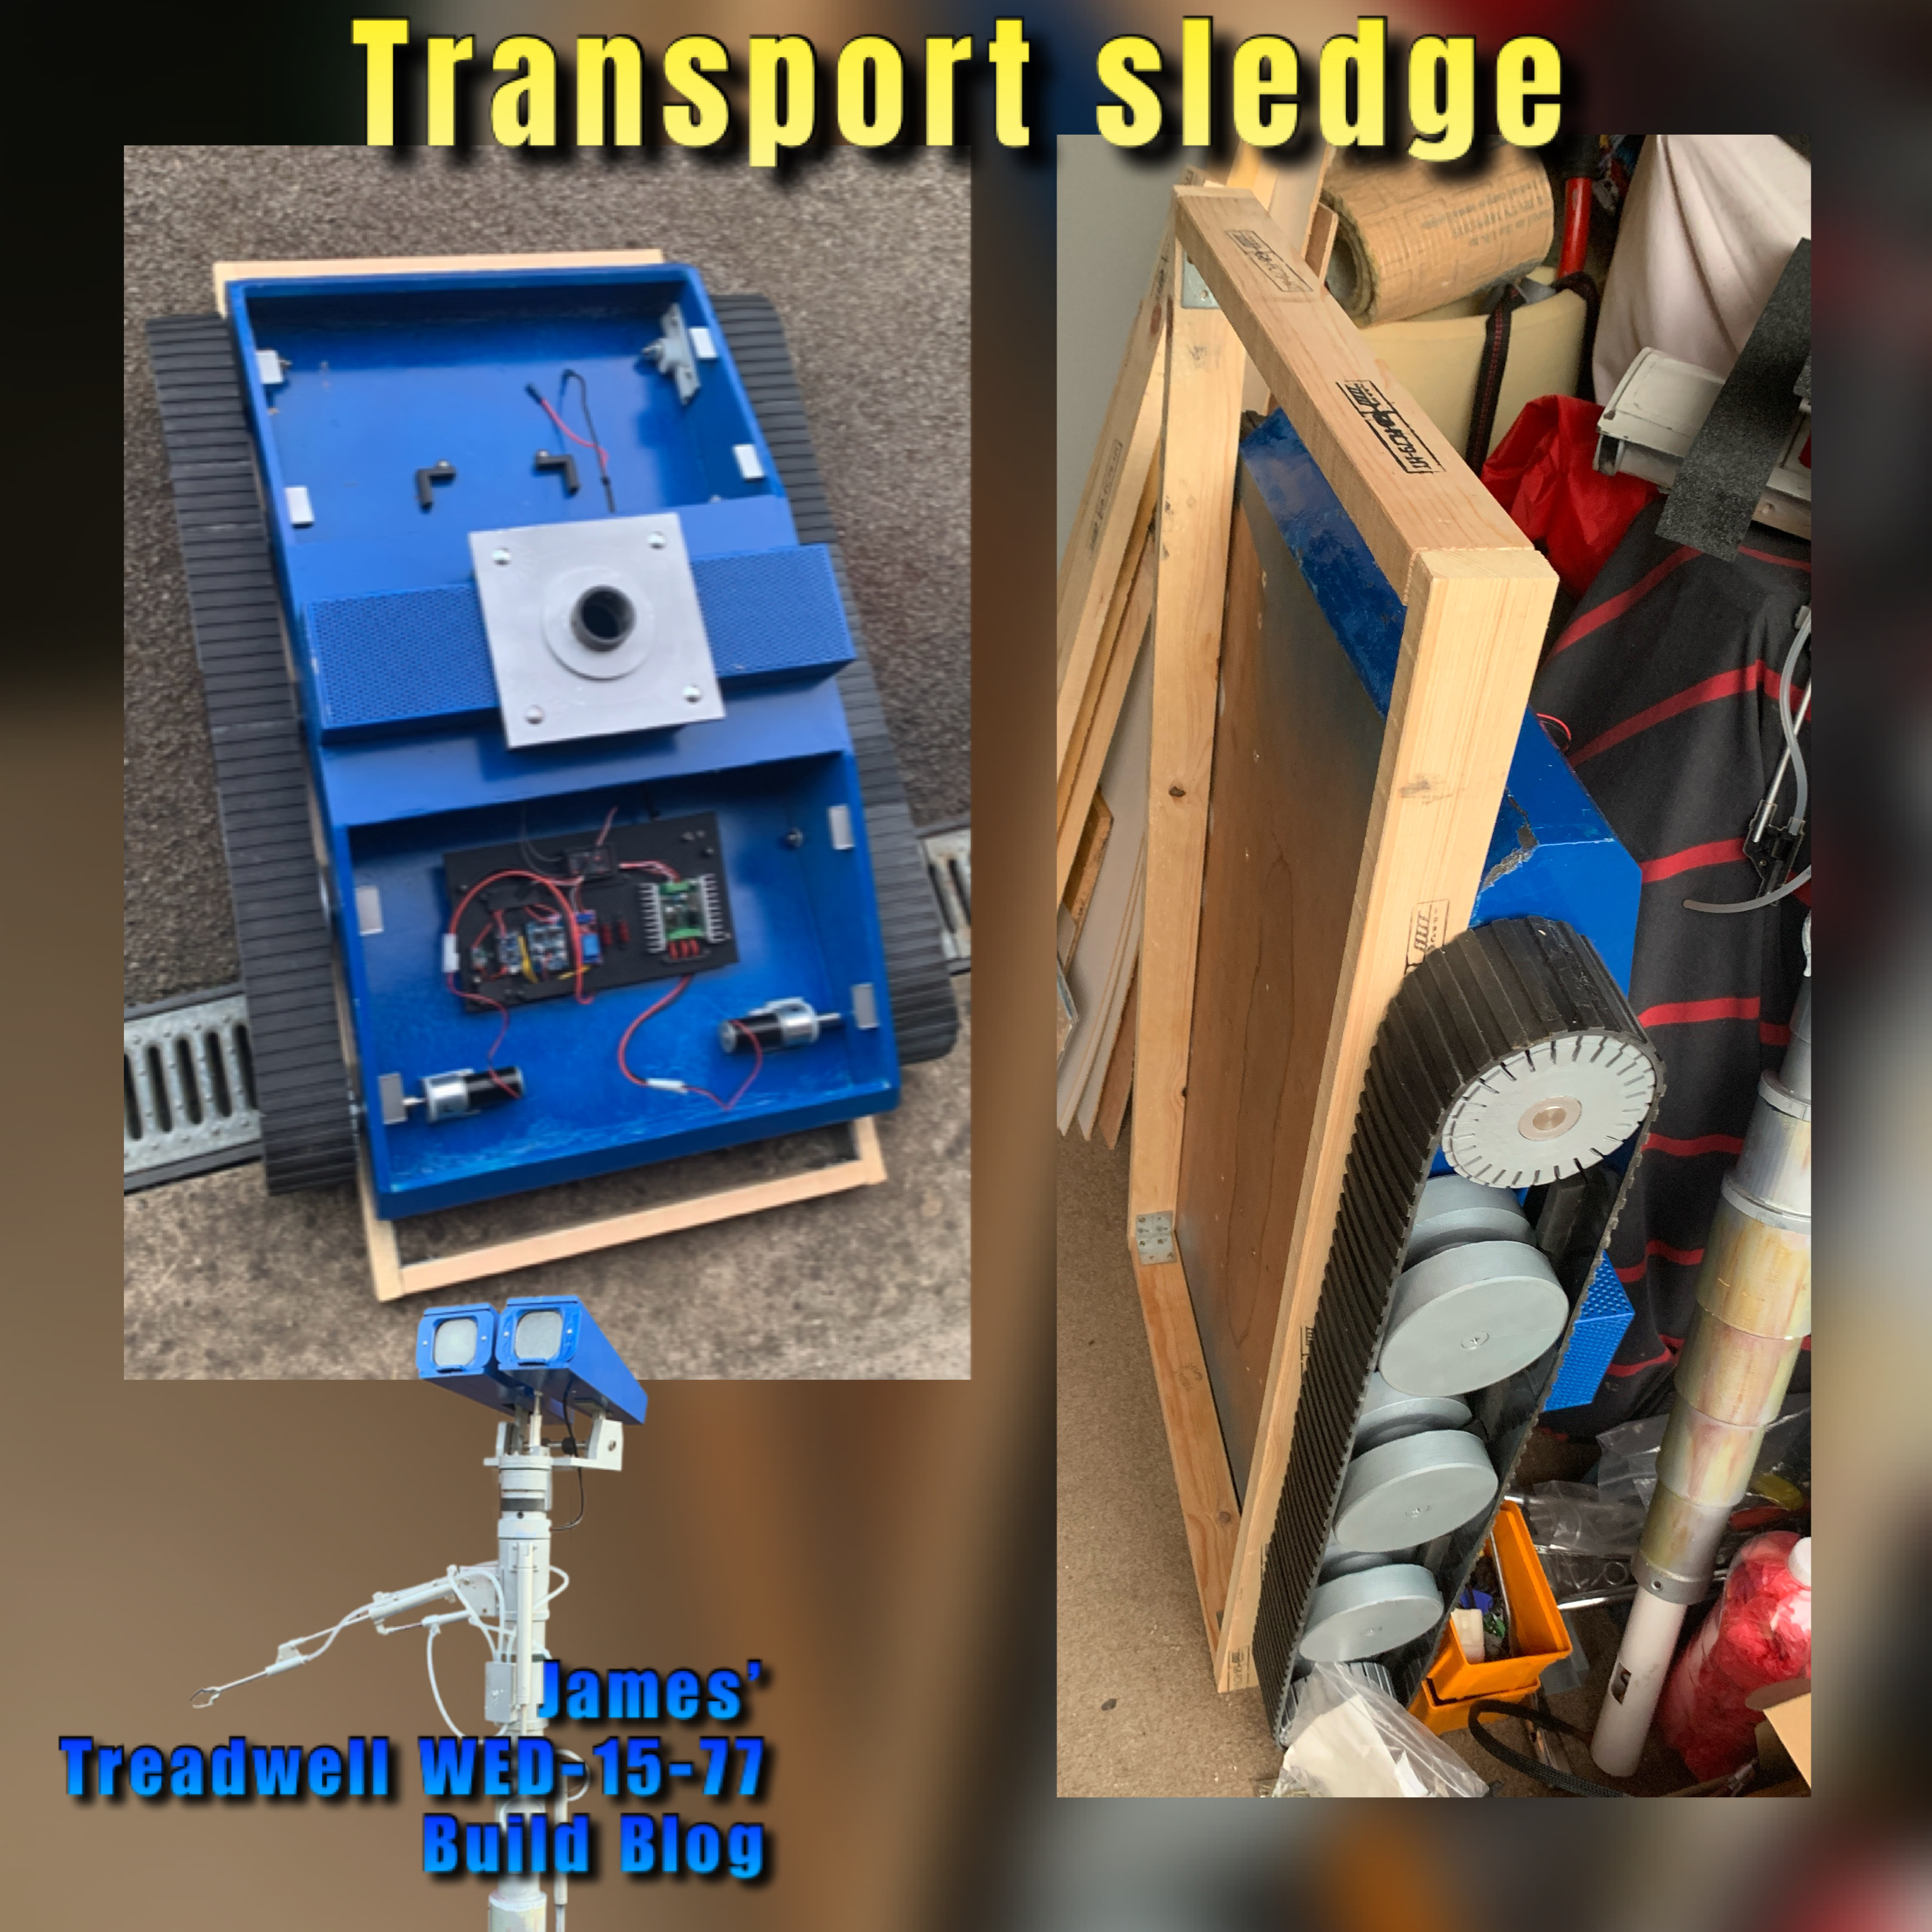
The bottom edge needed strengthening supports, so added two angular sides pieces.

The foam i had from work was cable tied on in place. A top one will also be fitted, more for protection when the whole unit is on the roof bars.

I needed to add some securing straps to keep WED on the sledge.

I added some wheels for easier movement and obviously a handle.

For protection and to look better lol, I needed to paint the sledge, so after a light sanding, primer coat, I finished it off with the same Blue paint I used for WED. I was going to go with Black, but changed my mind lol.
This is the only picture I have, from painting and at all lol. Must do better 😂

June 25, 2024

June 08, 2024

Treadwell WED-15-77: transport sledge (part 1)


So I’m going to need something for WED-15 to transported on safely. Not just at events but to them as well lol.

This is going to combine the two needs, hopefully, in one.

The idea is that the WED sits on the sledge and has restraints and wheels, this takes the strain off the tracks.


Then the sledge itself has location points so that it can be safely secured to my cars roof bars.


I picked up some straps, unfortunately not in blue lol.

The sledge also has padding planned on both ends to protect the base ends of WED and be painted as well…… TBD.

March 09, 2024

Treadwell WED-15-77: Part 25

 March 2024

I started this build back in November 2021:
Link to part 1 and now it’s coming to be completed this year 2024.

I will be creating a page viewable via the top tabs (PC) or via the drop down menu on your phones which will have links and photos to these posts.

This month:
  • Spray Painting
  • 3D printing
  • Rubber track moulding (YouTube)
  • Re-assembling
  • Electrical installation and testing
Painting the base:
I stripped the base of everything not made of wood lol, a pain, but it means I don't have extra weight and also I don't have to worry about something getting knocked by accident.
I then masked off the paint I wanted to keep and sprayed the bare wood with primer.

Some of the area's not sprayed are because these are going to have panels covering them, as painting neatly wouldn't of been easy. Here’s the masked off areas, spray primer work.


Once happy with the primer, I applied the blue paint.

A clear coat was going to be applied once dried, but the order didn't arrive, so this will have to be done at a later date.

Painting extras:
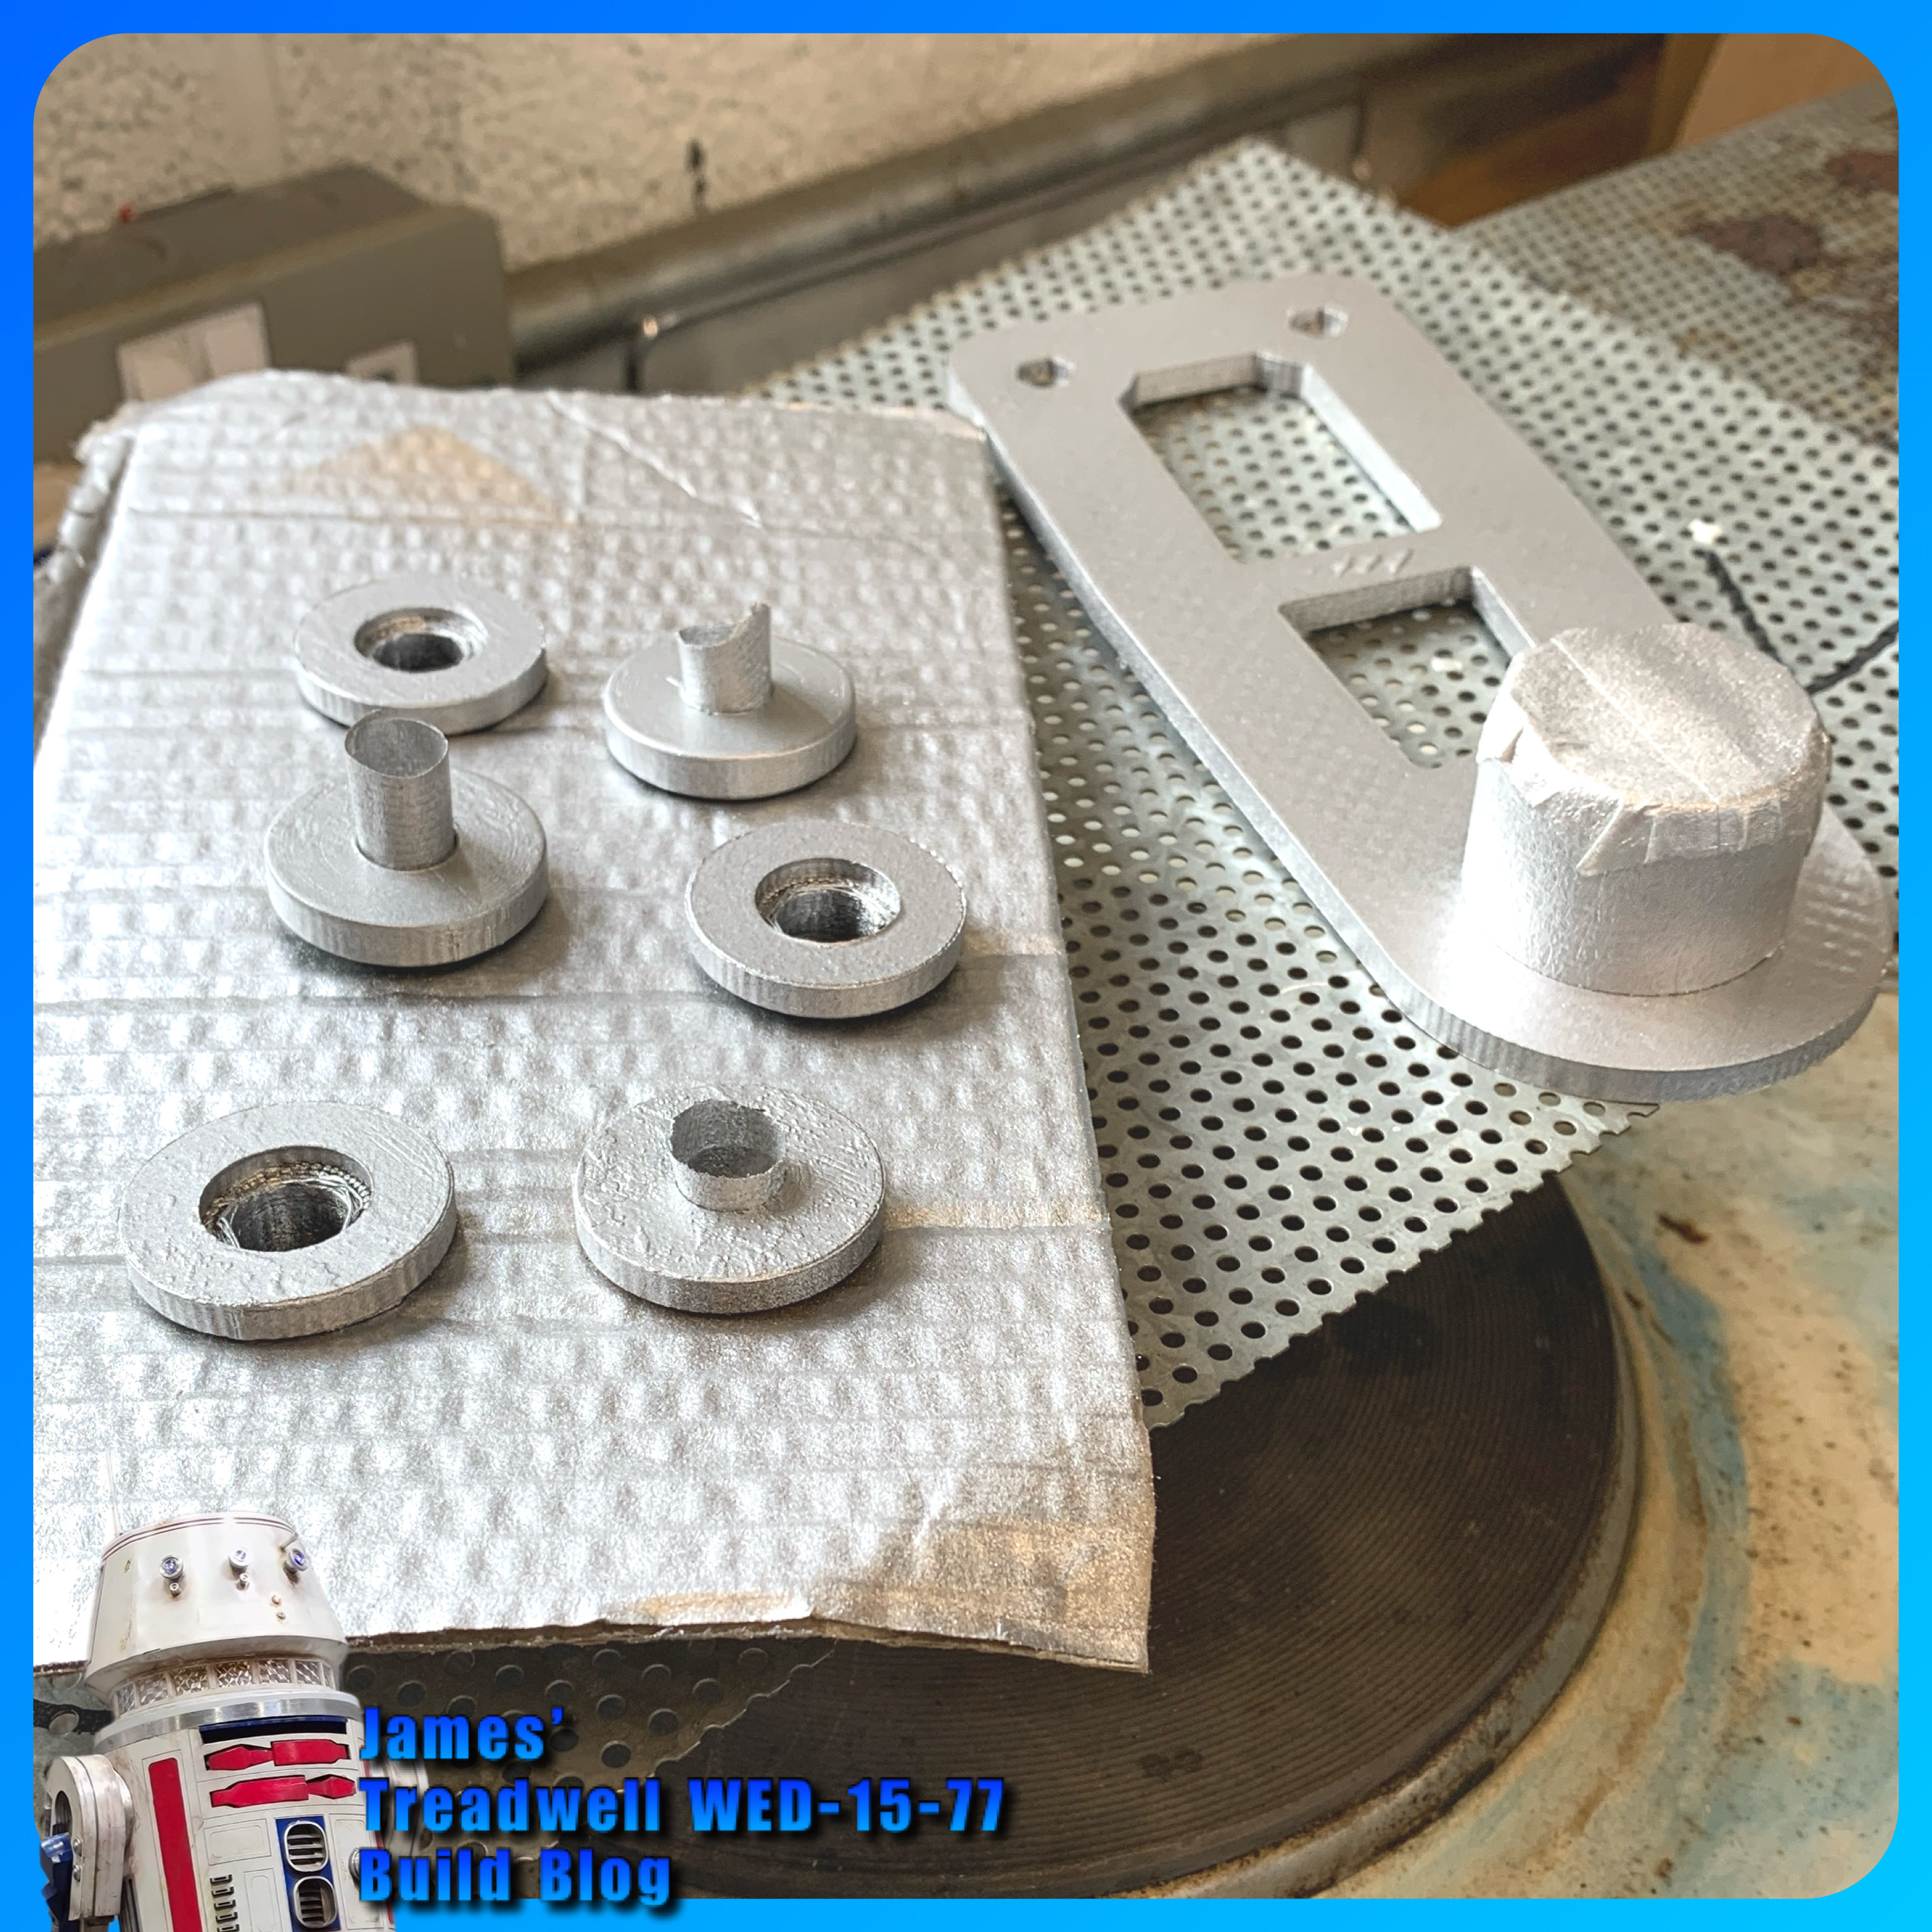
The one remaining wheel, plus the front wheel brackets and the lid supports, all got a coat of silver (not Plasti-kote) paint.


Also sprayed up were these missed wheel bushes and the mast base support.


Servo connections: block plug or just loose.
(Planned work, now next month’s schedule)

Tracks:
Ordered a single batch of two part mix of the mould mixture, to create the tracks with. I thought, if I need more, I can buy more.
The new track mould I printed last month didn’t print out very good (lifted off bed so not flat). Later, after a few failed prints, I found that the nozzle wasn’t as clean inside as I had thought, even with hot and cold pulls. So I didn’t reprint it as I already had two moulds anyway.

I used my original moulds (green filament) ones. Dusted with talcum powder as a release agent. I had seen this done, but don't think it works too well in this application lol. Read on for what I eventually used.

Here are the track moulding in progress. I made a video of this now up on my YouTube channel.

In the video, the track that couldn’t come out of the end of the mould was due to the filament that didn’t have support and had sagged, so the fluid mix was absorbed into it, bonding it together.

This part of the mould has been removed (cut out) and sealed with superglue.
Only one of the two mouldings poured, cured, bit disappointing really and don’t know why?? = after a few more attempts, I figured out that the mixture wasn't mixed properly and so hadn't cured properly.

Here is the joining plate with two ends, of already moulded track in position. Mixing up and pouring into this, joining plate, joins these together.

The poured join. Inside doesn't look great, but that's not important.

This was another poured moulded section.

Here is all the track made so far, these will all be joined when the second delivery of mix arrives.

The mixing and moulding process improved as I went along. I now have enough moulded to complete one full set of tracks, but will have to order a second batch of mixture.

Guide teeth:
I did have a go at moulding a ‘guide tooth’ onto a piece of track.
This first attempt, didn't work. The rubber didn't bond to the back of the track like it does with the joining sections, as I had expected. Once released from it's mould, the thickness (height) effected it's ability to flex with the thinner track when moving over (around) the drive wheels at both ends. So am going to have to look at something else or another mould idea.

Glue:
I did find and test out some special loctite glue which can be used on rubber.

This seems to work, still testing, but this could be what I need.

Mould Release:
Here’s the mould release agent I used, found a can in work:

The following picture was the last of the mix I had to bond together two pieces of the track. The rest went into one and a half track mould.

Video of the track coming out of the mould on my YouTube channel.

Test laying the track on the wheels:


Re-assembly:
As the build progressed, little snags appeared. One being my choice to use nylock nuts and washers to secure the front wheel brackets. The protrusion restricted the required clearance and they would catch on the inside face of the wheel.

Plus i needed to trim the bolts down in length, and use normal nuts with thread lock.

Not to waste the nylock’s, these were swapped over on the mast base support bracket.

Electrical:
I needed to move the power switch to the outside panel for ease access. This meant unsoldering the switch on the panel, adding a new plug connection and fitting the switch into its new location.

I drilled a dia 20 hole and fitted the switch just behind the mesh panel.

I finished off adding the power cable from the battery to the board, via the switch. And (test) connected up to the battery……

…..we have lights on the components.

Will the next Blog post be the final one…..????

February 04, 2024

Treadwell WED-15 : Head Box build - part 2

January:
Note: Handles arrived, 😂 lol but the weight of the box isn’t enough to overcome the springs in them 🙄😂. So I went back to my original idea of 3D printing recessed handles.

The first test one was okay but my middle finger knuckle would make contact with the edge opening. So revised this for version two.
Printed version 2.

Marked position and drilled/cut out opening.

Was a nice snug fit.

Just needs a dust off and pop new plastic pop rivets in. The metal ones were to much and started to damage the plastic handles. These plastic ones, just help hold the handles in place.
On to handle no2.

Time to cut the foam.

First piece being test fitted.

Next pieces.

The sides will need cut outs for the handles.

Picked up some spray glue to stick the foam in with once all pieces are cut.

Mike's Droid R2-TNGO : conversion upgrade Part 2

Thursday lunchtime I popped up to see Mike as he wanted to have his new droid MOT’ed.

New legs cut from wood.
New motor inner foot shells.
New metal outer foot shells.
New centre leg.
New Dome gear setup.
New batteries…….

A solid upgrade from two leg to three legs.
The electrical system was half new, wires for the motors and battery hookup, with the main Padawan 360 setup, including sounds, being all on a board that is a simple unplug and remove from one droid, and fits into another droid.

Mike showed me the new batteries he had bought, lifepo ones, these were SUPER lightweight!!!


Saturday was its first event. Mike had a great time and got to meet another Mike.
Mike Quinn with Mike Berry and R2-TNGO