Showing posts with label R5-D4's Ankle details. Show all posts

September 03, 2020

R5’s centre leg - ankle detail update

 When I originally fitted the ankle detail, I hadn’t permanently fix it to the leg. I just used hot glue. It lasted surprisingly well. But as the retaining strap is used in this area for transportation of R5, it eventually got knocked off.

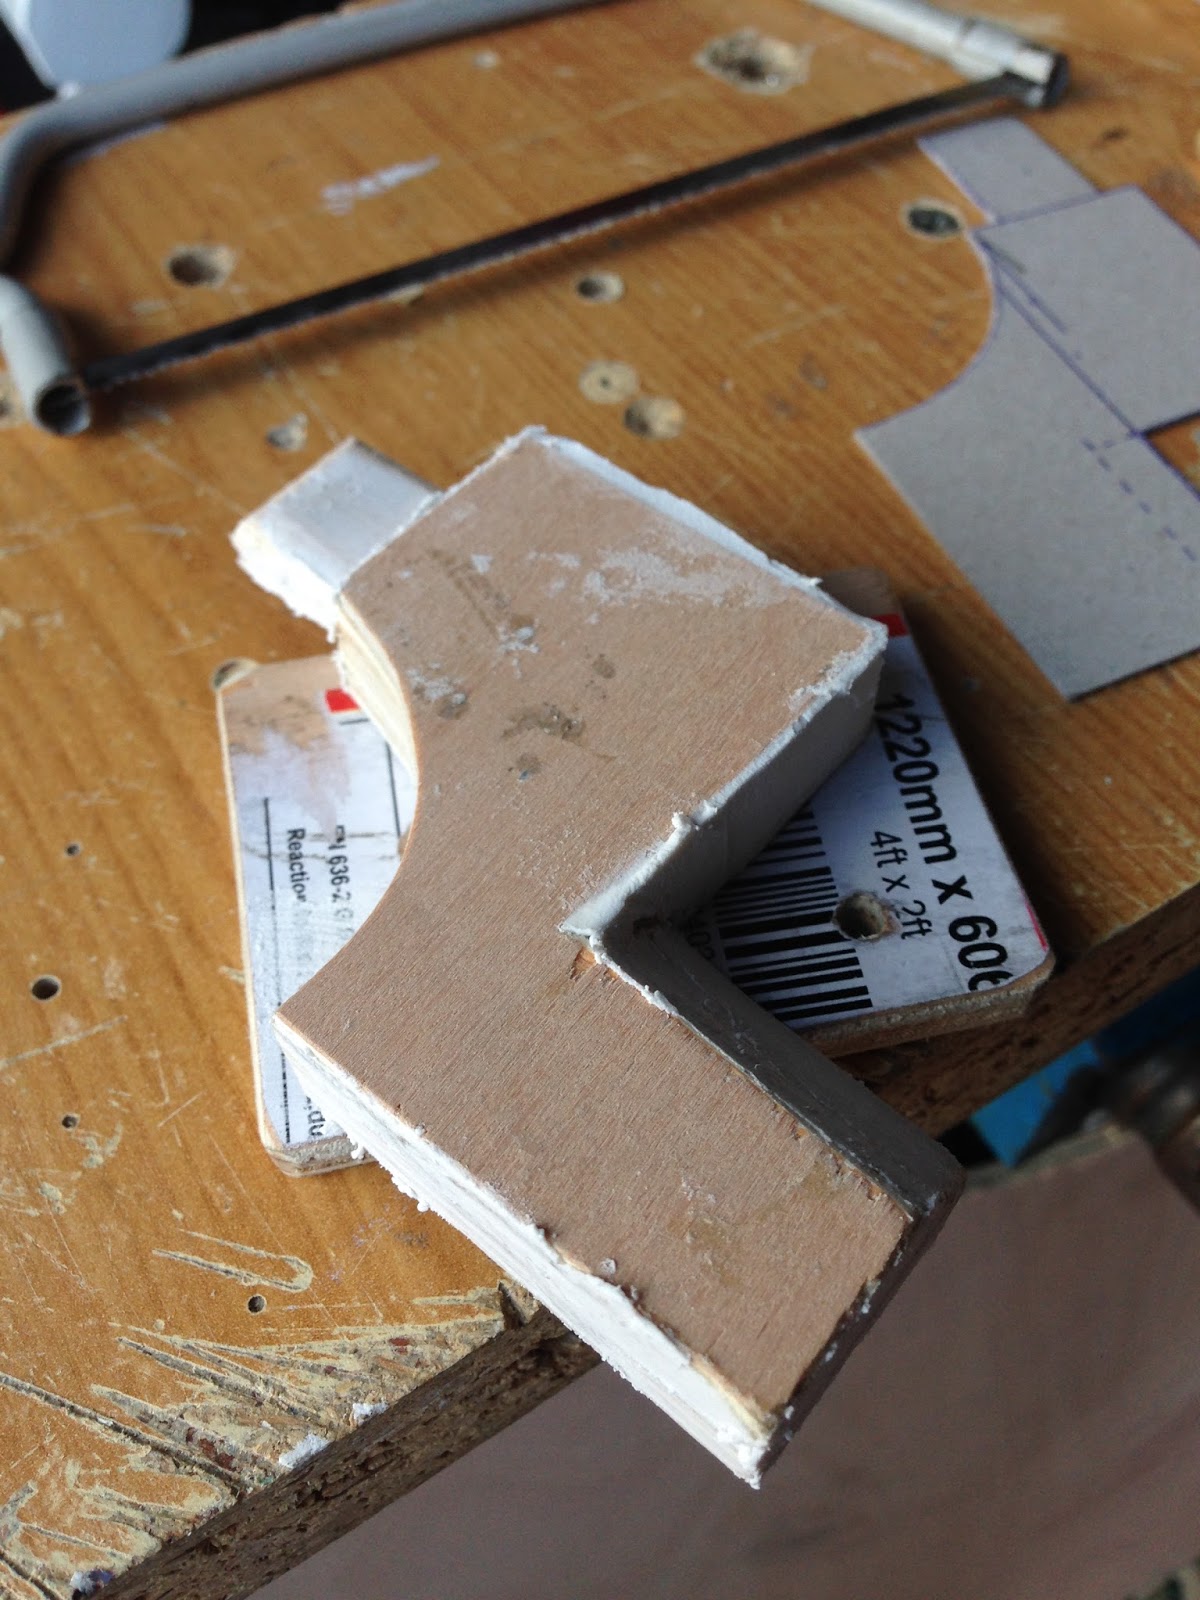
So it was time to fix in place properly. I made a cardboard template to mark suitable hole locations with.

Cardboard template

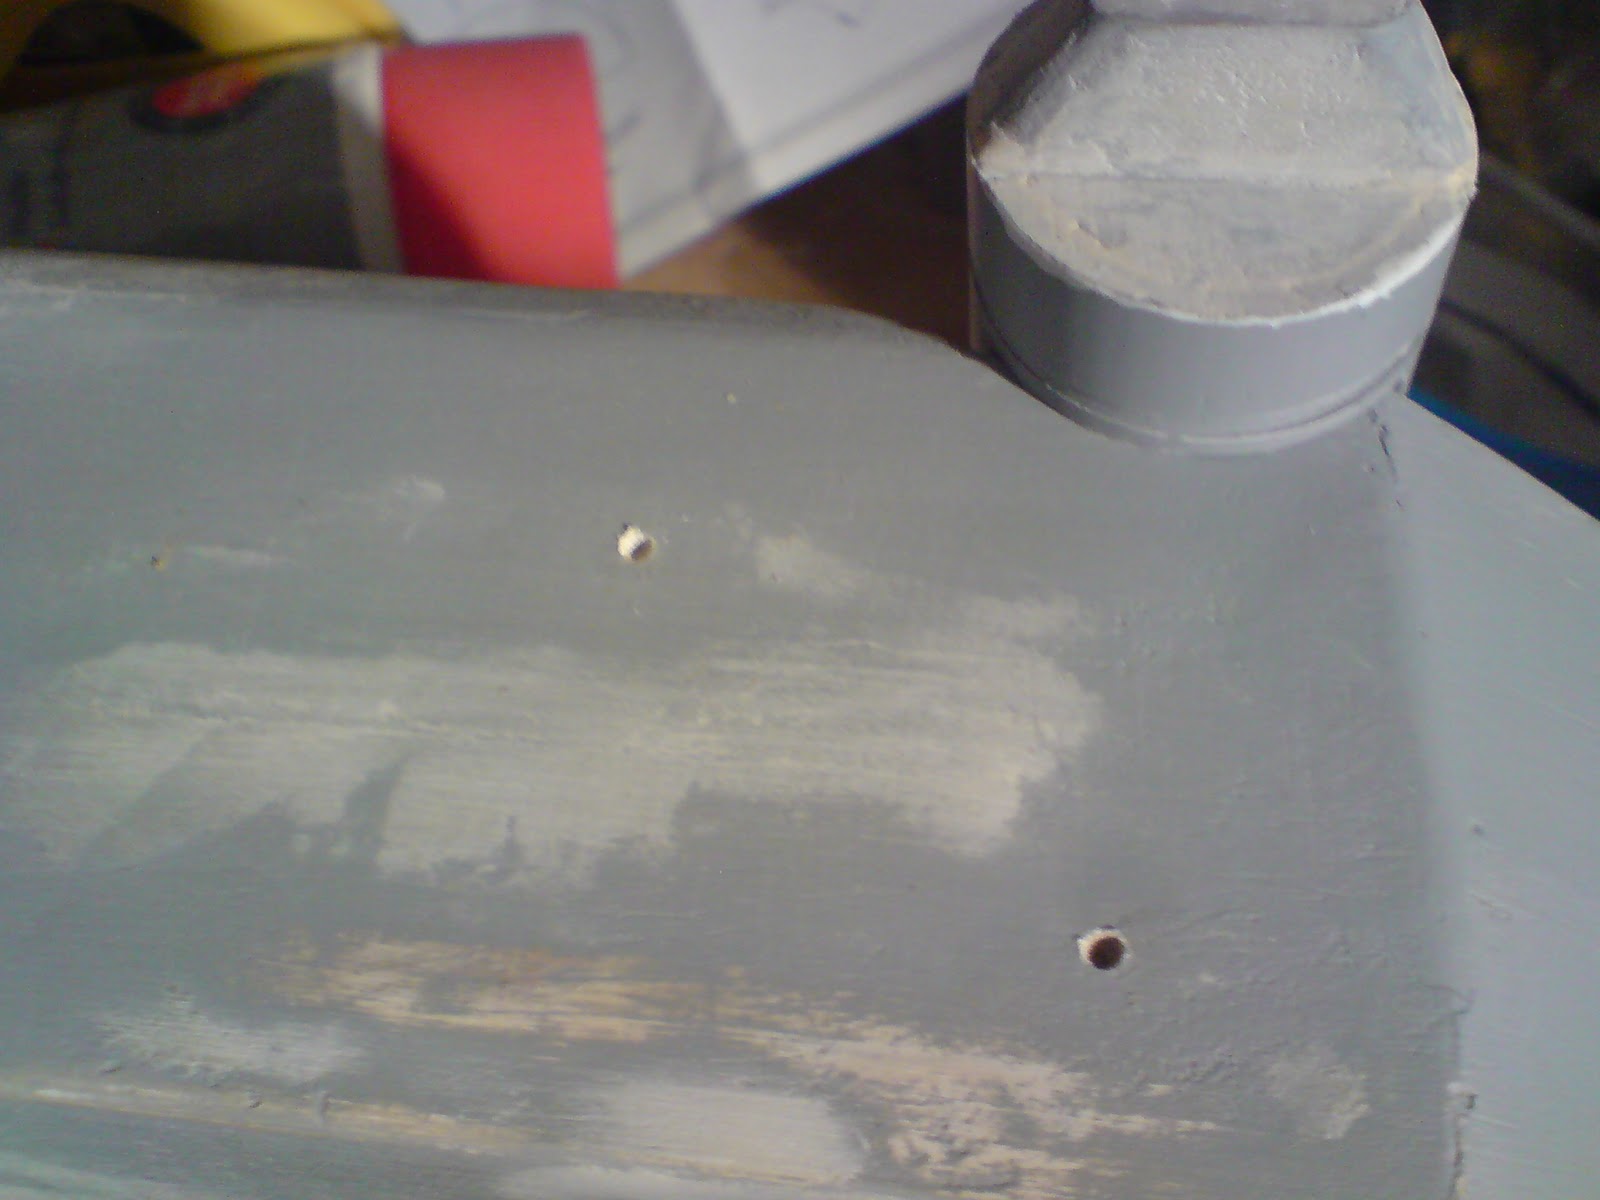
I had to redo the hole position as I forgot the drill wouldn’t be able to reach the upper hole location, so moved it down a bit.

Of course this was after I’d already drilled the ankle detail lol.

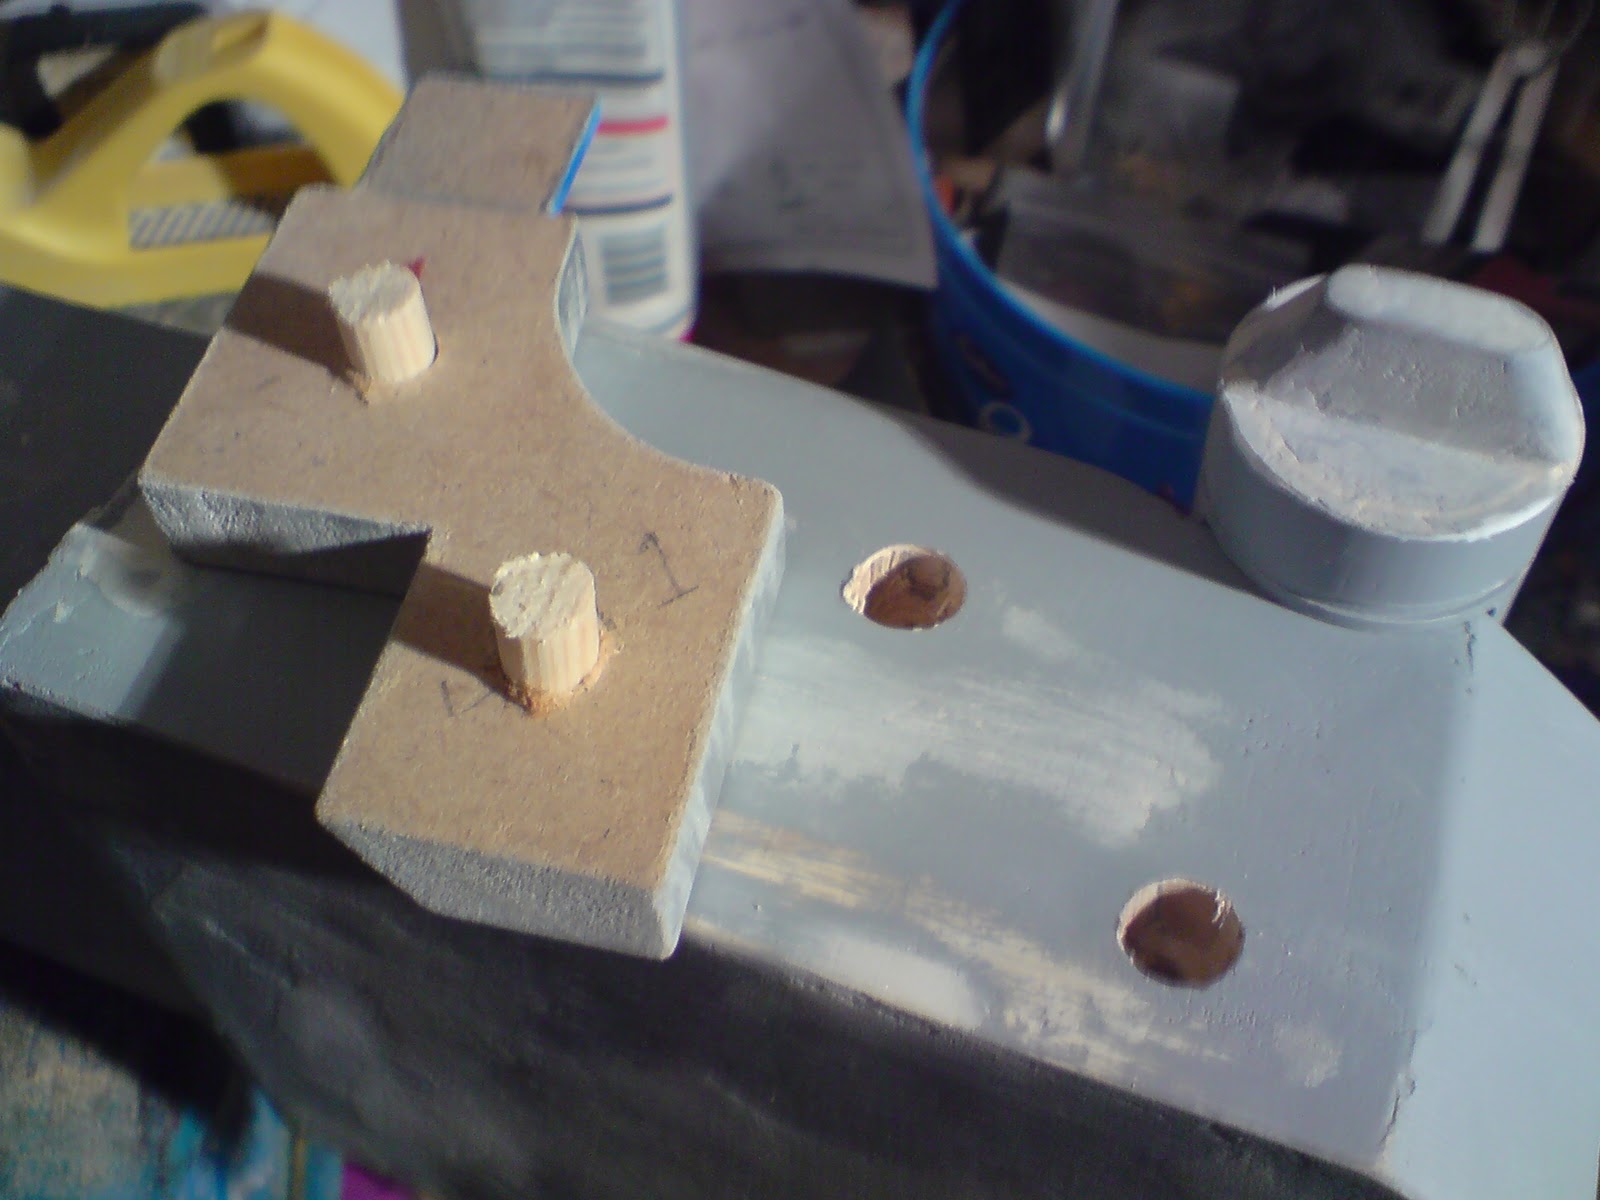
Ankle detail with location dowels

So the upper hole was plugged. It didn’t have to but it did for me.

I didn’t need to glue in as the holes/dowels were a tight fit.

Ankle detail in place

Ankle detail

Next up: finishing installation of the electricals.

June 05, 2017

Centre Leg - Film version **UPDATE 1.4**

So i got home from work Friday 26th and gave the components a lite sanding over the primer paint.

I then set up my hi tech spray booth........My cardboard box......and set up the components for spraying. After a few coats, I left them to dry. It has been very hot here in the UK the last few days, so it wouldn't take long to dry.
r5d4
new all white components
Saturday again the weather was fair, after a massive thunder storm early hours of the morning.
Out came my spray booth and i got on with clear coating the components. Again, these didn't take long to dry. A few hours later, I started to fit the components onto R5's centre leg and foot shell. They all fitted.
r5d4 centre leg

I dug out a tube of silicone sealant, but it had gone off at the ends. I cut it open to find the inside middle was still okay, so I scooped the good stuff out and used some to fix the front and rear ankle details onto the centre leg. Applied some masking tape to secure in place till it had set.
r5d4 centre leg
silicon applied to fix ankle details in place
r5d4 centre leg
ankle details taped into place till silicone set


r5d4 centre leg

r5d4 centre leg
The new centre leg & foot shell, pre-weathering

r5d4 centre leg
Rear ankle detail taped into place
Just back from a weeks mini-break..... Next up was to weather the new components to better blend in.

May 25, 2017

Centre Leg - Film version **UPDATE - 1.1 - ankle details**

I already had the plans for the ankle details, which are available via www.astromech.net forum, so it was just a case of marking up some wood and cutting them out and shaping them.

detail pics:
Drew up a template and marked out on the wood the 'detail'.
Notice that only one of them has the upper 'tab' marked on it.

Next up was gluing the two pieces together.........then cutting out the details...

And here's the first on.

I sanded the edges and faces, before applying wood filler to the cut sides & faces.
Had to stop for food, then I was back out in the garage, marking up the second 'ankle detail'.

And here they both are, cut out and wood filler applied.
Left to dry over night, before sanding and extra wood filler where needed.

.....these versions as with the ankle cylinders, don't have any blue (that can be seen in the photos), so will be just white. Which is fine as they are going to be weathered to blend in with the centre leg.

The top 'tab' would normally be blue (or dependent on your choice of droid colour) and also there's a small rectangle recess, which would also be coloured accordingly. 

** I uses normal everyday tools, the hand saw as can be seen in the pic .
The most 'hi-tech' tool I have is a borrowed jigsaw,
meaning these projects are not beyond anyone's abilities to try **

Centre Leg - Film version **UPDATE - 1.0 - ankle cylinder**

A long time  ago.......... ;-) I realised that my nagging conscious wasn't going to let me sleep anymore lol.

This (zoomed in) image of R5 rolling away from the droid lineup, shows R5's alternate centre leg/foot shell.

The obvious things you can see is that there are:

  • no side crescents on the foot shells.
  • the ankle cylinder & wedge, are white (no silver or blue, like the outer leg)
But when you look even closer, you can just make out that the 'centre leg' is actually fitted with 'ankle details'. Well it would do wouldn't it, as it was an outer ankle unit.

For more on this, check back on my first blog via this link below:


So, as I already had a spare ankle cylinder.....as my original centre leg was built to the club plans (based on R2 and all Astromech's having a 'standard' build) & before I fully knew about R5's centre leg incident during filming (see the link above for more). I thought I'd do a little bit of upgrade work.

So I dug out the spare cylinder/wedge and checked it would fit the centre leg fixings I already had installed. Yep, me and the plans in perfect synic lol.

Next I sanded the cylinder and then primer sprayed it ready for the next stage.
R5D4

Next I'll spray it up with Satin white from Plasti-Kote, once I've finished the other parts.
This and the primer I bought from The Range (shop in the UK).

April 26, 2013

Battlestations!!! ;)

What with R5 being on display this Saturday, am a little nervous, to say the least!!

Been trying to get as much done and finished before the big day, so yesterday, I sprayed up Leg No.2 white. I gave it a few coats, but as the can was running out, decided to concentrate on the outside/front. I won't clear coat it till the whole leg has been sprayed, but it still looks good.

I also sprayed silver the second Hub, that didn't turn out great the first time. And the rear strip for the Ankle Bracelet.

Then last night I started to assemble all the components I had for it. I first screwed into place the main Ankle Bracelet. It's screw although countersunk, is also covered when the Booster Cover is in place. Next on was the Booster Strut, which sits in the hole of the Bracelet and an angle bracket secures the top block to the leg. The Booster Cover then is just a push fit with the dowels, into the leg. The Ankle Cylinder [with wedge & holder pre-attached] are push fitted into place, along with the two Ankle Details. The Hub is also just pushed into place for now. And lastly the Horseshoe goes on.

Lastly, I started to dirty up the whole leg.


**UPDATE**
I've now fitted the Large Data Port, touched up the Octagon Ports edges with metallic blue, fitted the lower vent pocket mesh screen.

Outer Foot No.2 - UPDATE
Been working on the crescent detail, to finish off the top section of the shell. Also drilled out the knurled hose fitting holes and added the top strip detail. Only going to be able to primer it up for the show tomorrow.

January 27, 2013

Main Leg 2 - 2.5 Ankle Detail work

Busy weekend:

Drilled the marked areas on both the Ankle Details and on the leg itself. Marking was done using a cardboard template :). Available dowel was cut and glued into the Ankle Details but not into the leg as this still needs to be sprayed and a few more bits to be finished on it.


January 31, 2012

Leg Assembly 2.1


Sprayed leg white. I was only going to spray the lower/ankle area, as the Hub hole and horse-shoe dowel location holes, still need to be cut out and drilled. But it was looking good, so gave it a few coats ;-D
Once dried, I test fitted some of the other parts......

January 28, 2012

Leg Assembly 2.0

Enlarged booster cover slots to the correct width size. Then re-sprayed with primer.

Marked position of where holes are going in leg for booster cover and used a dia 10mm drill. This will allow for PVA glue and alignment.

Also drilled seconed ankle detail for fitting of dowels. Then drilled into leg. Which i had already template marked.
Sprayed 'booster cover' with metalic blue. Gave it a few coats. Looks good :-)

Silver paint applied to grooves, slots & recesses with a modelers paint brush. Wear'n'tear marks added along edges.


December 20, 2011

Leg Assembly 1.8

Finished Sanding leg, for now.
Made a cardboard template to mark holes for fixing 'ankle details' onto the leg. Drill holes positions then mirrored over onto the leg, picture below.


Drilled diameter 10mm holes into the leg. Drilled diameter 8mm holes into the Ankle Detail. Cut diameter 9mm dowels and fitted them into the Ankle Detail. The larger holes in the leg will allow to line-up the detail.

Ankle Detail, temp, in place

Test fitted 2nd Stabiliser into leg, recess required trimming of excess wood filler, on the edges, to fit.
Mock-up

October 05, 2011

Spraying up stuff

Well, it wouldn't last long before I HAD to do some work on R5 :-D

Bought some white and clear spray paint the other weekend, well I was getting some matt black spray for the Proton Pack build, so thought two birds with one stone.

Finished off wood filler and sanding and grey primering and silver spraying of the Cylinders...... and then got on with the clear spray finish.

Sprayed up both Ankle cylinders made so far, the front Wedge plates made so far and the four Ankle Details.
And am happy to say, I am well pleased with the results :-)

Look at the shine on them Cylinders lol

The rear of my Ankle Cylinders, dowel's to fit into Centre Leg
More work has been done, just need to post up, cylinders to centre leg next.....

September 19, 2011

Leg cut out & painting components.....

1.5hrs to mark out and cut out first main leg. Three pieces thick, two 18mm + one 8mm = 44mm thickness [guide dimension only]

Picture below has the wood template fixed on still, but rain stopped play at this point. I cut out the centre piece's stabiliser socket. I'll use this as a guide to cut out on the other two main pieces


Next, i'll screw the leg pieces together. There is a lot  of shapeing and wood fillering to be done.

~~~


I sprayed up the one Octagon Port, Coin Slots and the top parts of the Ankle Details [and inserts].
All these components had previously been sprayed with white primer. The results were not what I expected. Where as the Cylinders had been primered grey, the 'dark' under coat made the metalic blue the 'shade' I wanted. The white primer made the blue a whole shade lighter!! I had already un-masked the Octagon Port back plate.


The other components I might re-mask, re-prime in grey and re-spray in blue to get the shade I want. As for the Octagon back plate, this one might have to stay this shade and be fitted to R5's rear.

I then spent another hour shaping the octagon port walls, cutting out a cylinder wedge side template out of cardboard, cleaning off tape residue on coin slot face.


May 31, 2011

Ankle Details - ready for priming

Sanded these smooth. Cut out some small pieces of metal which fit into the recess. Once they've been sprayed up, I'll glue these into place. Bought plastikote white primer.

Ankle Details...
Ankle details, before primer.

May 20, 2011

Ankle Details

Cut out the other three ankle 'detail'. Just need to shape to finish them off.