Showing posts with label episode 4. Show all posts

May 26, 2017

Centre Leg - Film version **UPDATE - 1.2 - centre foot shell**

With all the other work going on, the part that would need some real thought was the new side foot shell panels.

The original ones I made, were screwed onto the main shell, so these new ones will be too.
Centre foot shell with side panel removed.
Semi-circle at top of opening
is there to help remove the centre leg securing bolt.

First panel cut out, next was to apply watered down PVA glue.
This helps seal the wood for spraying, strengthens it as well.
Once done and dried, a light sanding of the edges & faces was carried out.

I marked out the second panel,

And then primer sprayed up the lot.

Next will be to spray up the lot in white.

May 25, 2017

Centre Leg - Film version **UPDATE - 1.1 - ankle details**

I already had the plans for the ankle details, which are available via www.astromech.net forum, so it was just a case of marking up some wood and cutting them out and shaping them.

detail pics:
Drew up a template and marked out on the wood the 'detail'.
Notice that only one of them has the upper 'tab' marked on it.

Next up was gluing the two pieces together.........then cutting out the details...

And here's the first on.

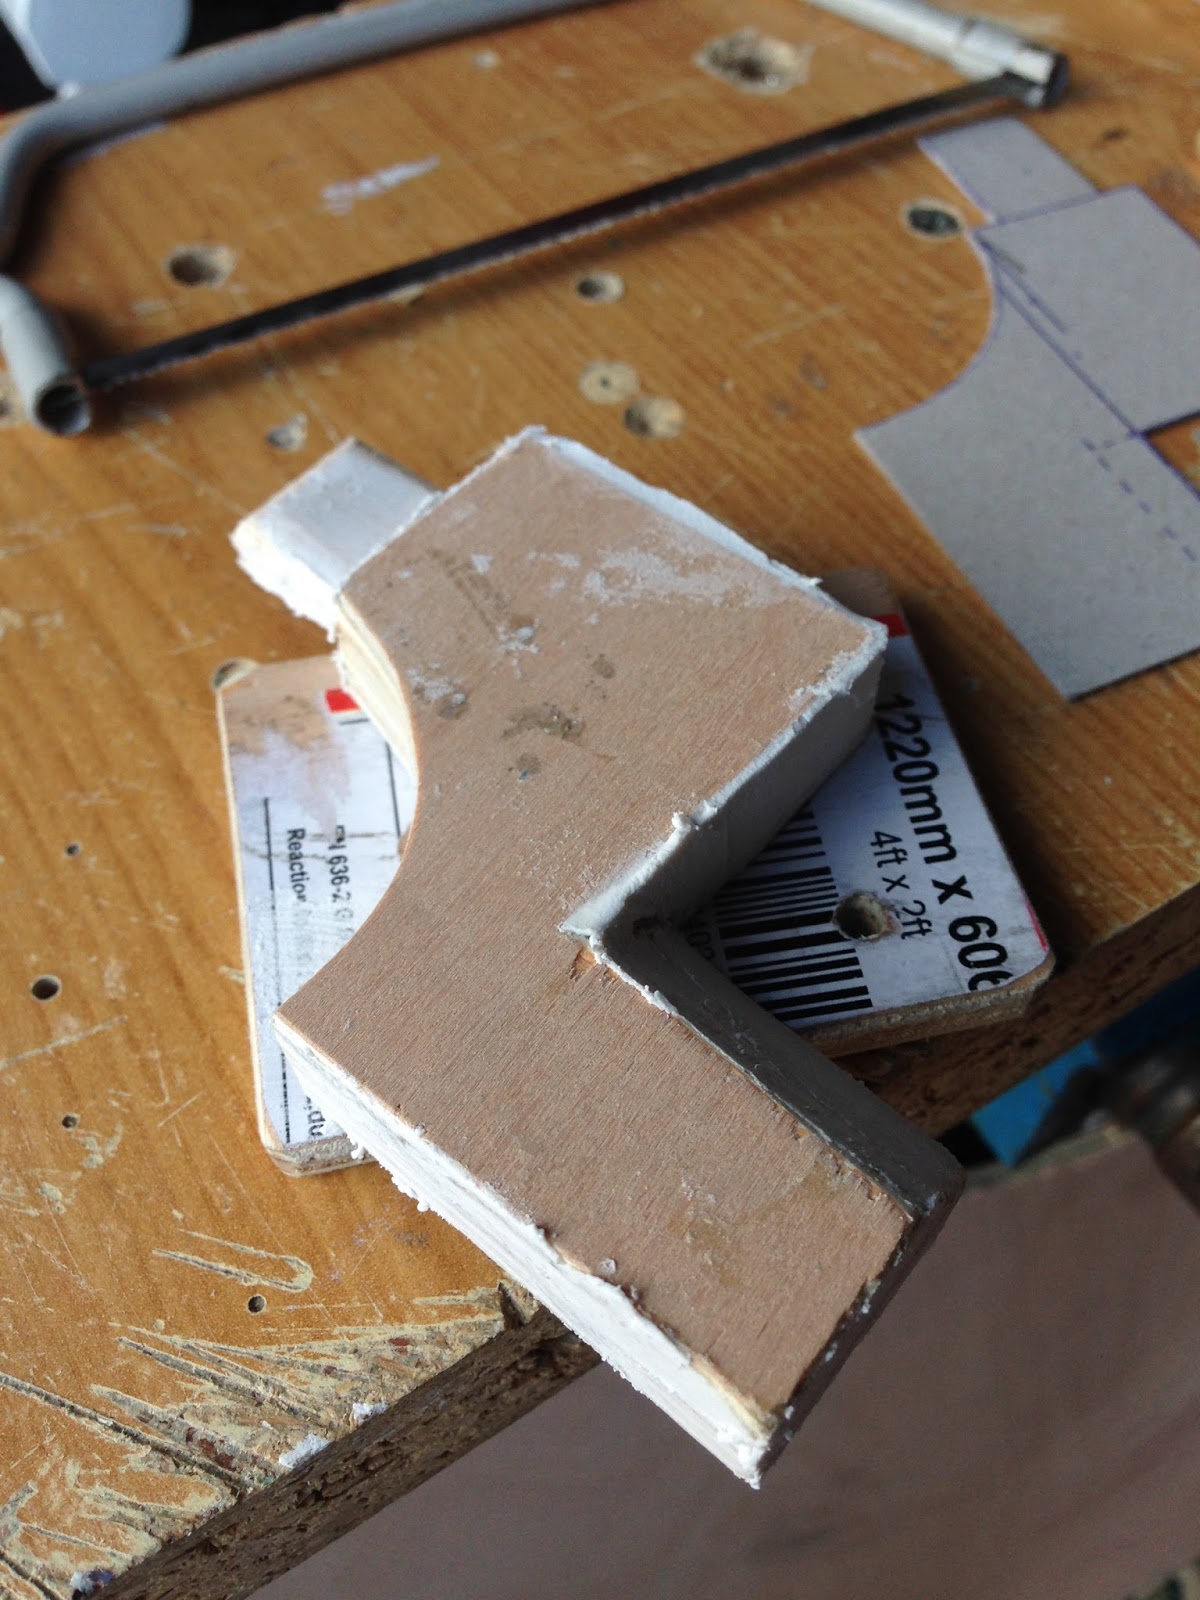
I sanded the edges and faces, before applying wood filler to the cut sides & faces.
Had to stop for food, then I was back out in the garage, marking up the second 'ankle detail'.

And here they both are, cut out and wood filler applied.
Left to dry over night, before sanding and extra wood filler where needed.

.....these versions as with the ankle cylinders, don't have any blue (that can be seen in the photos), so will be just white. Which is fine as they are going to be weathered to blend in with the centre leg.

The top 'tab' would normally be blue (or dependent on your choice of droid colour) and also there's a small rectangle recess, which would also be coloured accordingly. 

** I uses normal everyday tools, the hand saw as can be seen in the pic .
The most 'hi-tech' tool I have is a borrowed jigsaw,
meaning these projects are not beyond anyone's abilities to try **

Centre Leg - Film version **UPDATE - 1.0 - ankle cylinder**

A long time  ago.......... ;-) I realised that my nagging conscious wasn't going to let me sleep anymore lol.

This (zoomed in) image of R5 rolling away from the droid lineup, shows R5's alternate centre leg/foot shell.

The obvious things you can see is that there are:

  • no side crescents on the foot shells.
  • the ankle cylinder & wedge, are white (no silver or blue, like the outer leg)
But when you look even closer, you can just make out that the 'centre leg' is actually fitted with 'ankle details'. Well it would do wouldn't it, as it was an outer ankle unit.

For more on this, check back on my first blog via this link below:


So, as I already had a spare ankle cylinder.....as my original centre leg was built to the club plans (based on R2 and all Astromech's having a 'standard' build) & before I fully knew about R5's centre leg incident during filming (see the link above for more). I thought I'd do a little bit of upgrade work.

So I dug out the spare cylinder/wedge and checked it would fit the centre leg fixings I already had installed. Yep, me and the plans in perfect synic lol.

Next I sanded the cylinder and then primer sprayed it ready for the next stage.
R5D4

Next I'll spray it up with Satin white from Plasti-Kote, once I've finished the other parts.
This and the primer I bought from The Range (shop in the UK).