Showing posts with label Shoulder Stabaliser. Show all posts

April 04, 2014

Under Shoulder Stabiliser

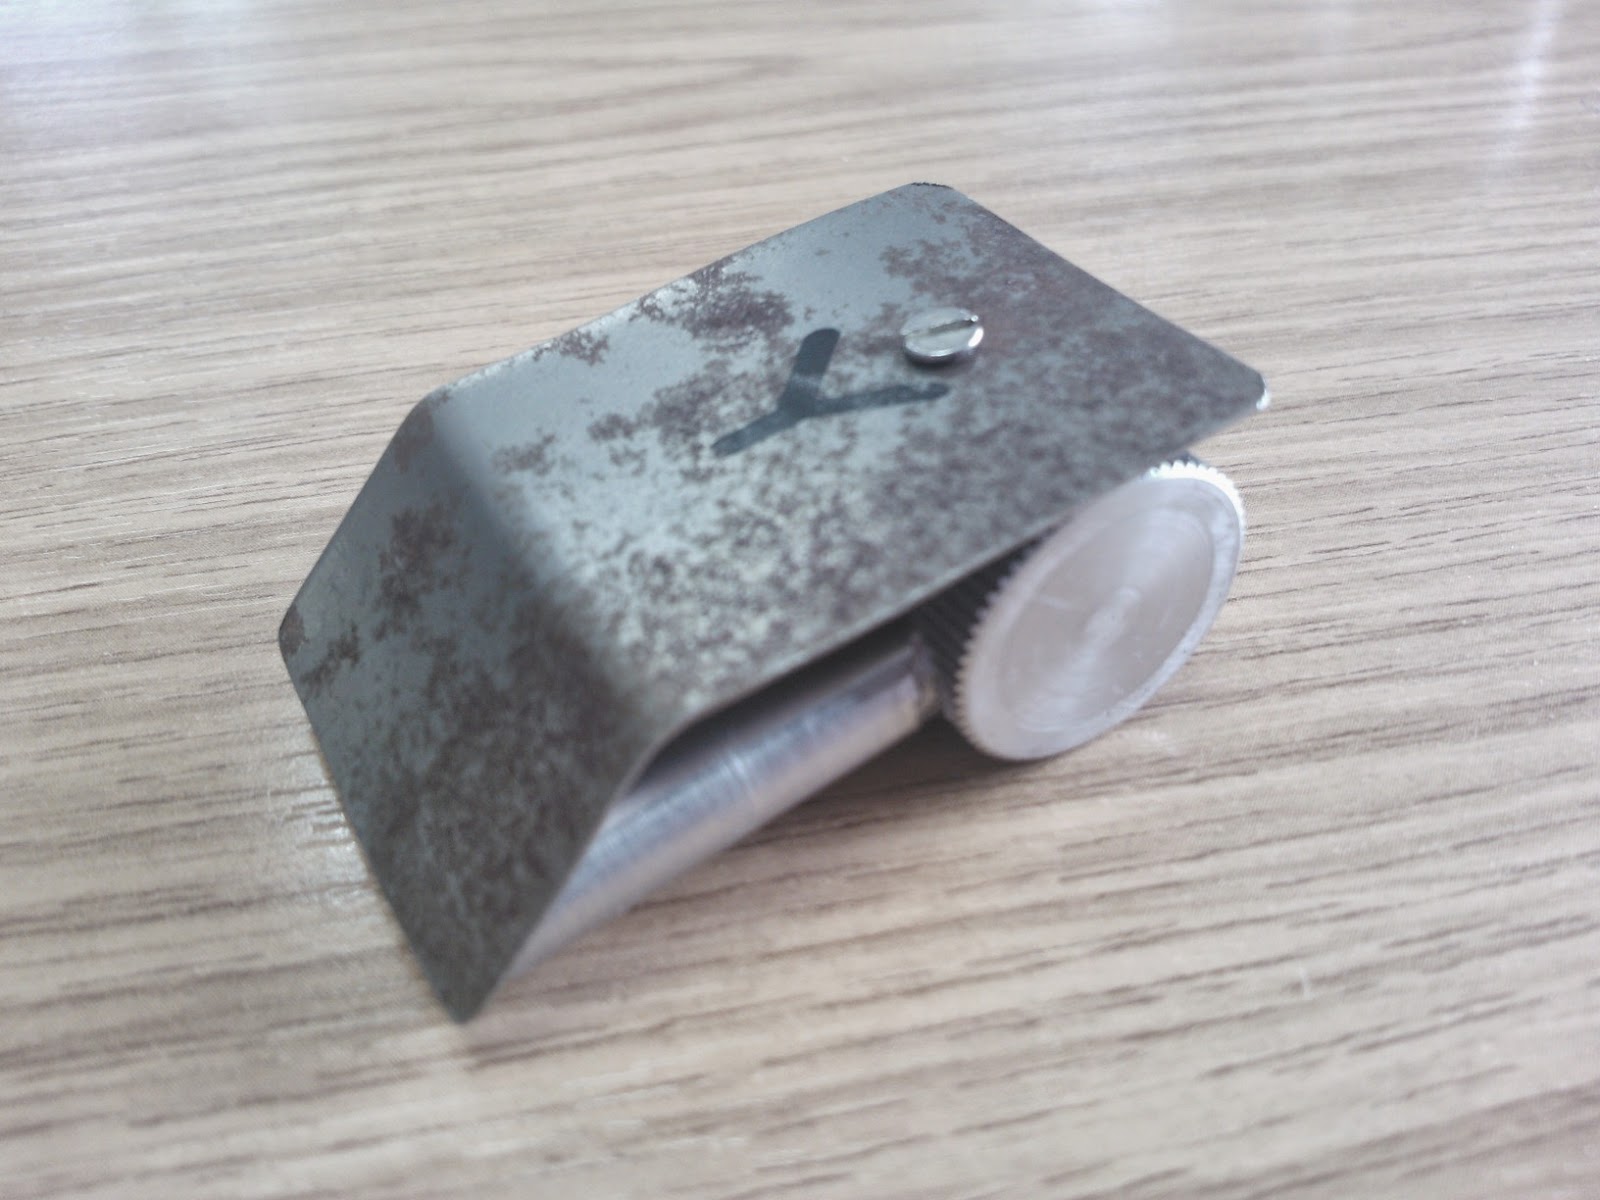
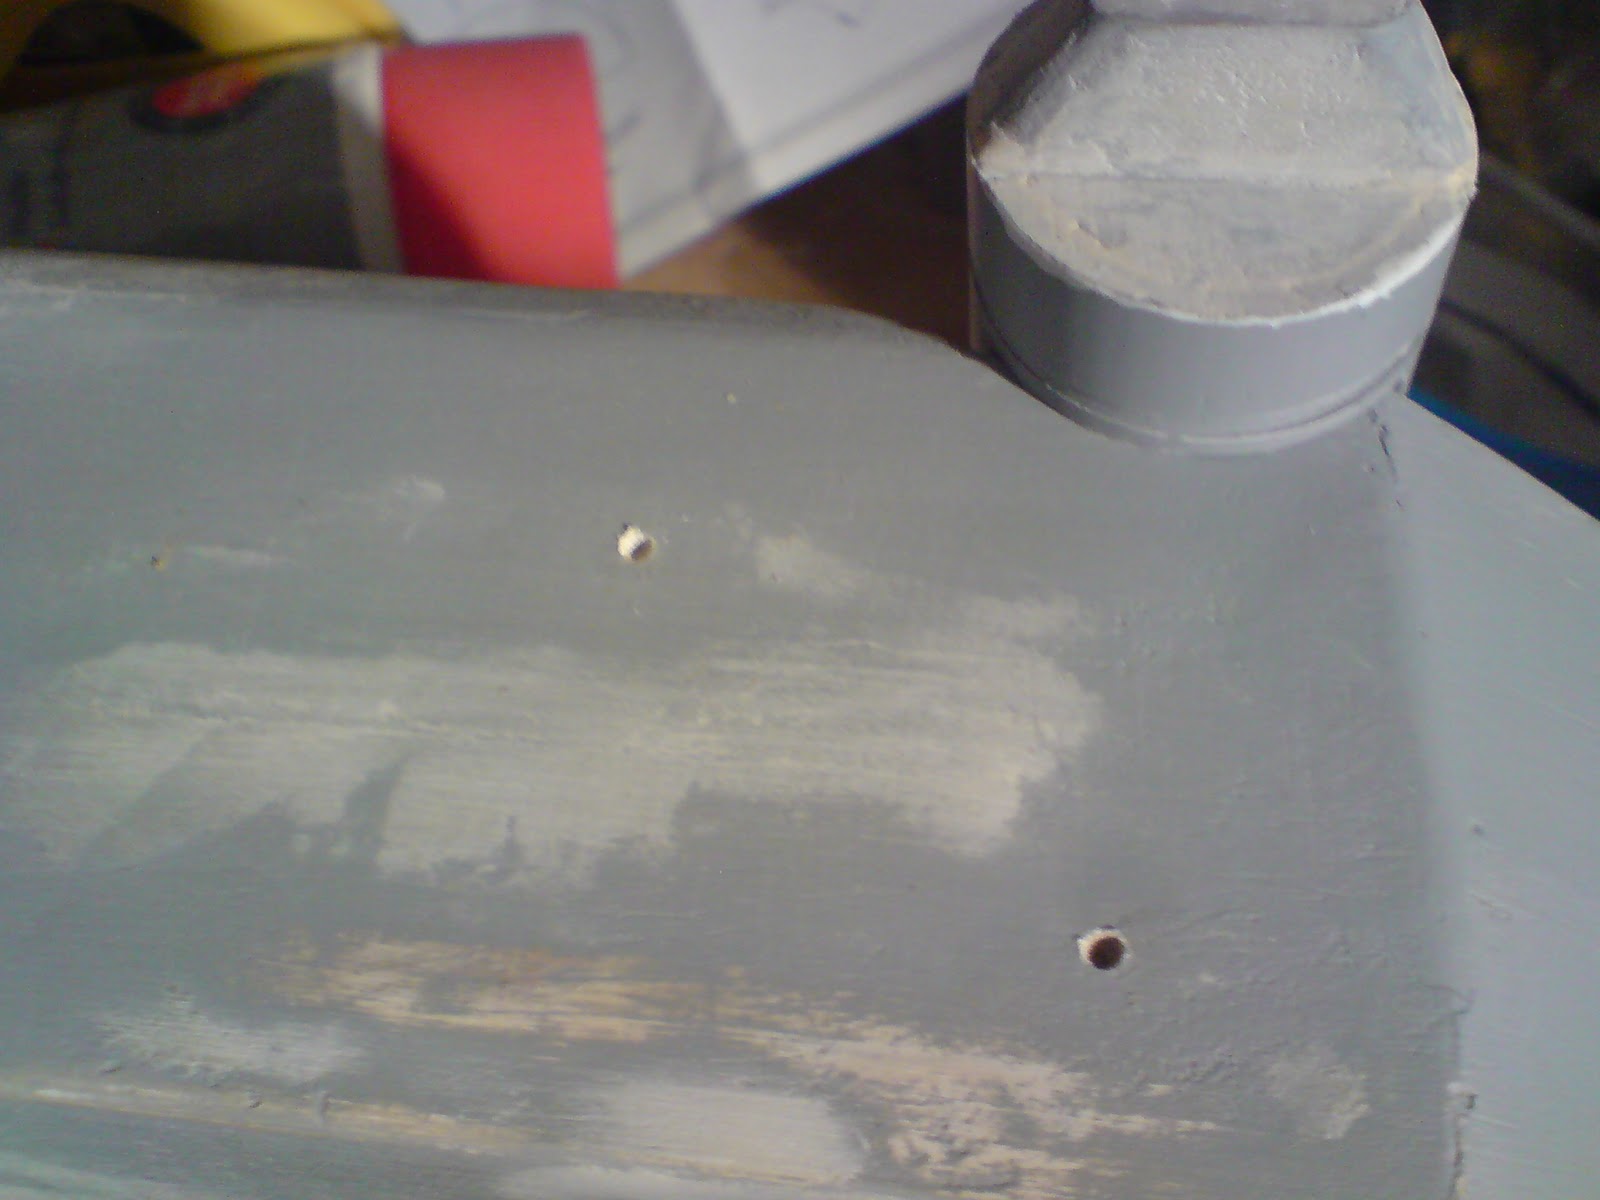
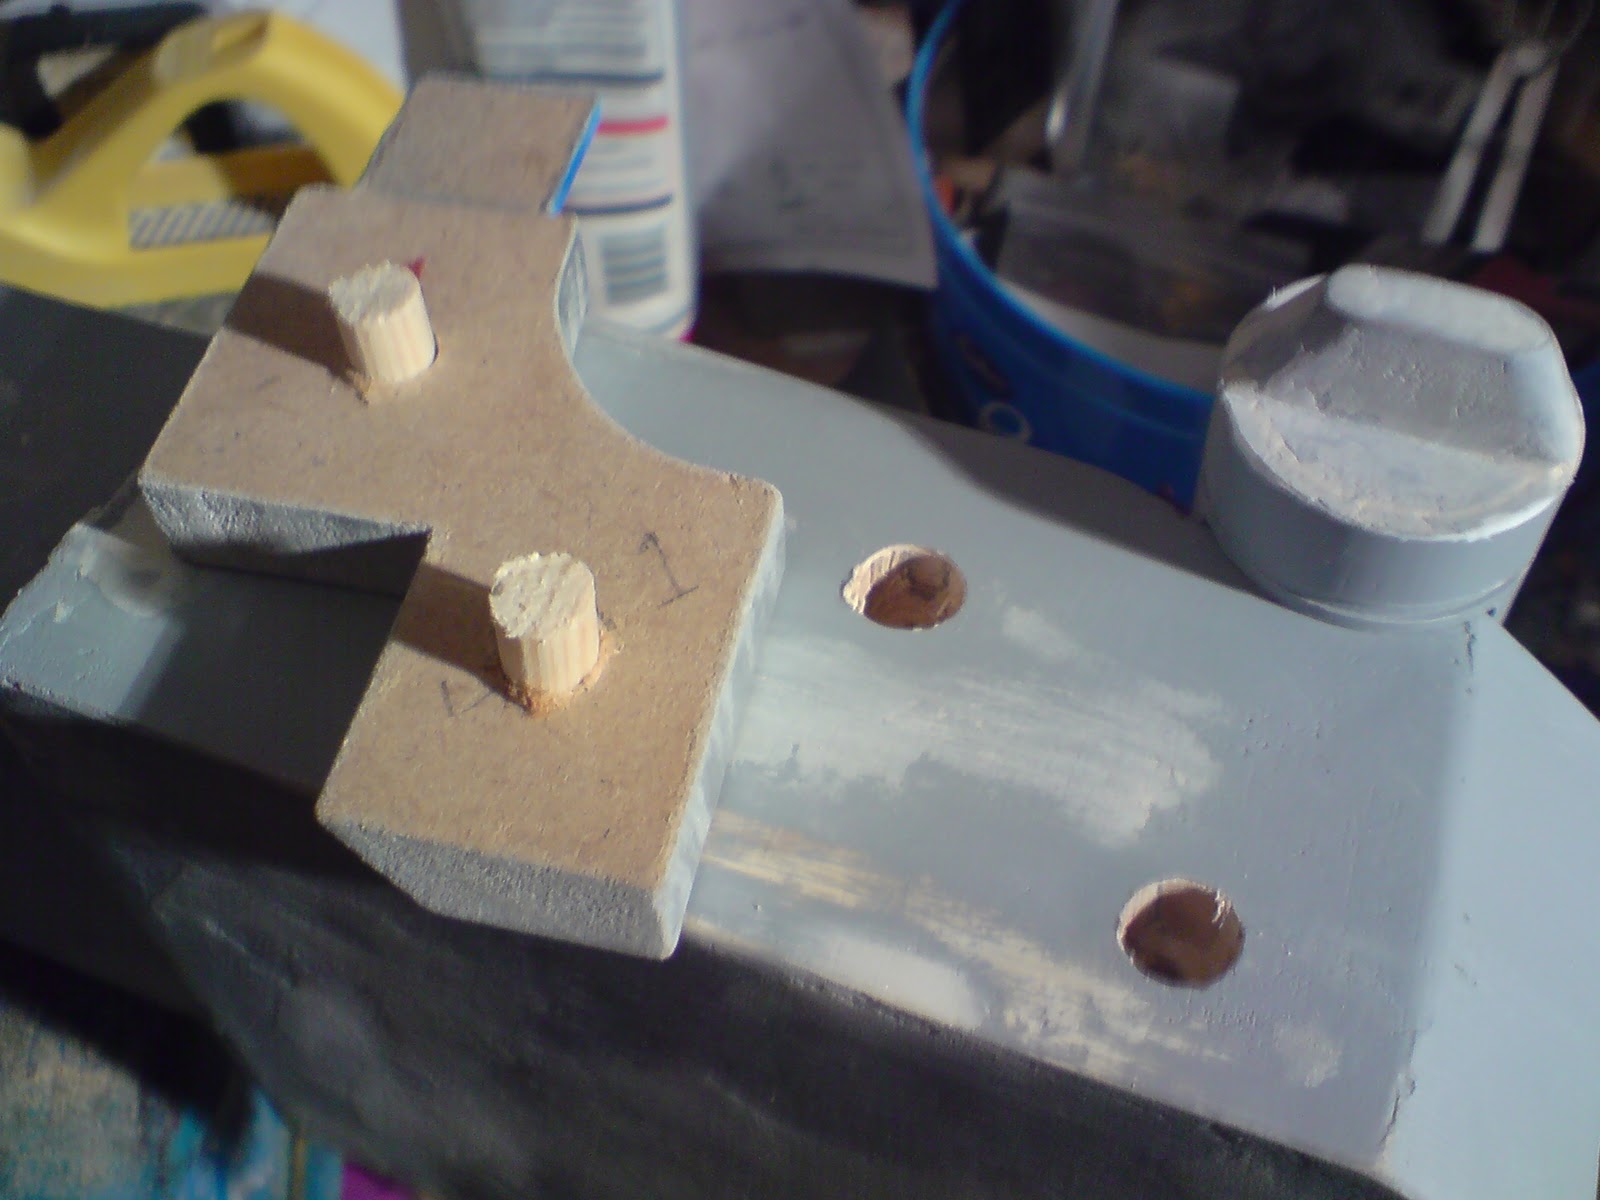
Finally got round to fixing this onto the recessed plate, that I made up. Plate has a clearance hole in it and then I've drilled and tapped a 6BA thread into the Stabiliser and screw fitted.
R5 Stabiliser

R5-D4 detail

R5-D4 detail
This unit then gets silicone applied to it's back and pushed into the recess.
Still have to machine up the last one tho.

November 21, 2012

Main Leg 2 - 2.2


Main Leg 2 secured ready for holes to be marked


Under Shoulder Stabiliser sockets & cable channel view
Leg holes being drilled for T-Nuts to be fitted
First I marked and cut the recesses which will be for the Under Shoulder Stabiliser sockets.
Screwed the cut out centre section, to allow cable to be routed through the leg, all together with it's inside & outside parts. Next I screwed the lower rear piece onto the ankle area. I then marked and cut these off.

last night I then fixed both legs onto R5's body, via shoulder hubs (discs). Then new leg was held in place with a single studded bar, whilst it was angled and its leg holes were marked ready for drilling. Dia 12mm holes were then drilled through the 'inside' part of the leg.  The 'middle' part had clearance holes drilled for the 'T-Nuts' to fit. I also drilled a hole through all for the centre hub to fit in.

September 09, 2012

Leg 1 update

Clear sprayed Leg No1 up, don't know or remember why I'd not done it before now, apart from the Horse shoe, it's completed ??? lol
 
Then I fitted the Ankle Cylinder/wedge/cylinder holder combo in place, this just clips over the holders [click here for how I made these]. Then glued on the Ankle Details. Used silicone sealant to hold the ends of the Ankle bracelet on, then screwed it down. The screw will be covered by the Booster cover. I then fitted and screwed the Booster Strut in place and finally used sealant on the dowels again, to fit the Booster Cover in place.

Astromech Droid Leg R5D4 R2D2

Drilled and threaded some holes in the shoulder stabilisers and clearance holes in the metal back plate. Then screwed in two cut down 6BA screws to hold in place. Thought this would be easier to hold them in the leg when the back plate is silicone'd into the shoulder socket.
R5D4 Shoulder Stabiliser
 

March 02, 2012

Painting Main Leg - UPDATE


Main Leg:

Next I painted silver groove around the leg &then the inside edges of shoulder stabiliser sockets, as these would still be seen when the plate is fitted.


February 22, 2012

Under Shoulder Detail

Decided that the under shoulder sockets for the Stabilisers, definatly needed covering up! Wasn't going to attempt to filler/smooth them out any more. So am going with the 'silver' look version.

I made a carboard template of the socket and transfered the outline onto some thin metal plate. I then bent them to fit and will glue them into place with araldite once painting has been completed.

Had to do a bit of filling round the edges of the shoulder plates for them to be a push fit into their recesses.
Socket plate
Socket plate in place
Just a mock-up of stabiliser fitted.
All will then be glued in place once leg is finally sprayed up with clear.

February 03, 2012

Shoulder Stabiliser - continued [No2 complete]

Machined up two more of the straight knurled piece for R5's stabilisers.
Next, drilled holes for it in both the stabiliser legs and fitted it in.
R2-D2 Astromech, R5-D4

January 03, 2012

Leg Assembly 1.9 - Leg Groove & Ankle Slot

Sanded and added more wood filler to curved ankle faces. Mainly to hide the wood grain!!

I marked out the position of leg 'groove' with a straight edge. Then I clamped it on as a guide for my dremel with router attachment. It produced a realy clean groove. I then moved the guide around onto the other three sides. I used my '9901 tungstan carbide cutter' (for metal use), as it is all I had.

Worked on leg stabiliser holes. Removed excess wood filler. Primer applied to leg groove and rear leg section.


Cut out ankle slot. Scored the outline, then 'chiseled' out, I use this term loosly lol. Next I
cleaned up with my dremel router attachement, then applied wood filler.
see Ankle Cylinder update for explanation of this pic

December 20, 2011

Leg Assembly 1.8

Finished Sanding leg, for now.
Made a cardboard template to mark holes for fixing 'ankle details' onto the leg. Drill holes positions then mirrored over onto the leg, picture below.


Drilled diameter 10mm holes into the leg. Drilled diameter 8mm holes into the Ankle Detail. Cut diameter 9mm dowels and fitted them into the Ankle Detail. The larger holes in the leg will allow to line-up the detail.

Ankle Detail, temp, in place

Test fitted 2nd Stabiliser into leg, recess required trimming of excess wood filler, on the edges, to fit.
Mock-up

November 10, 2011

Shoulder Stabiliser cut-out


This shows the first part of the Shoulder Stabiliser cut-out. The central red outlined part was cut out on the middle piece.


I then chiseled out the outer and inner leg pieces to match.


Below are two test pics of the Stabiliser in place :)


Need to add recess' for the legs to sit into


Repeat three more times :)

September 09, 2011

Shoulder Stabaliser - completed 1st one.....

Finished off the 1st stabiliser last night. After almost chewing up the centre knurled piece, I managed to recover it to be usable. We'll just put it down to 'battle damage'    :-D.

 I'm thinking about leaveing the legs long and not machining the angle onto them. The reason for this is that I'll drill two location holes for the legs to fit them into, in the stabiliser reces. Glue will then secure it all in place.

I've seen this done before and it does look good, more 'real'. Weather it will look this good on mine is another thing :-D


Only another three more to make :-)

September 08, 2011

Shoulder Stabaliser update

Drilled the two 'leg' pieces on the 1st Stabilier. Used the vertical Millier, just for ease, a piller drill would of been just as good if I'd of had the time.

I drilled to a suitable depth and test fitted the central knurled piece. It's ends needed to be shortened, which I had allowed for. So onto the lathe..... But during turning the ends shorter, I tried to take to much off as it pulled the knurled piece out of the chuck :-( aaaaaaaaahhhhhhhh!!!

Luckily it wasn't damaged to much :-S and managed to salvage it enough for it to be used still..... phew!

Next time I'll machine the knurled part stubs shorter and make the holes deeper, the glue [if needed] will keep it all in place.

September 07, 2011

Shoulder Stabilisers

Machined up the first central knurled part of the Shoulder Stabiliser.


Only another three more to make. Next, to drill holes for fitting into the legs.

August 03, 2011

Shoulder Stabilier update 1

Started on making the other components needed to build the Stabilisers.

Drilled out the main body to depth, it was a tight fit, but the bar fitted into the holes, and was then cut to length required.


I think I'll leave the angle until last, just in case.

Just a quick update, here are the three so far....

August 01, 2011

Shoulder Stabaliser out of aluminium this time.......

Started making the Shoulder Stabilier's out of aluminium. Turned down a length of material and then straight knurled it all the way along.


Then I added the grooves (not to spec. but close enough)


Then parted each one off.

May 06, 2011

Shoulder Stabaliser out of wood.......

Bought some dowel in B&Q, in an attempt to make some 'shoulder stabilisers' for R5. But first drilling attempt didn't go so well. Will see if i do any better using works pillar drill tomorrow. Failing this, I'll make them out of scrap aluminium bar in work. This would also save on having to spray them silver!

Got in work early this morning to be able to do some more milling of the centre vent....... but someone else was setting a job up on the Milling machine! How inconsiderate lol :-D
So won't be able to carry on with that till next week now :-(

So lunchtime, I'll see if I can machine up parts of the stabilisers out of aluminium.....