My first year of building has now passed and R5 is still a work-in-progress lol. I've learned a lot and am still learning. This build has not been made in any specific order, more, what materials and free time has been available, and making use of that time.
My kids have stopped nagging me 'is R5 finished yet?', mainly short attentions than lack of interest, it's just their age lol. But I have gained a few interested adults.
Droid Builder

January 31, 2012
Leg Assembly 2.1
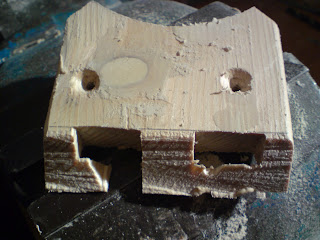
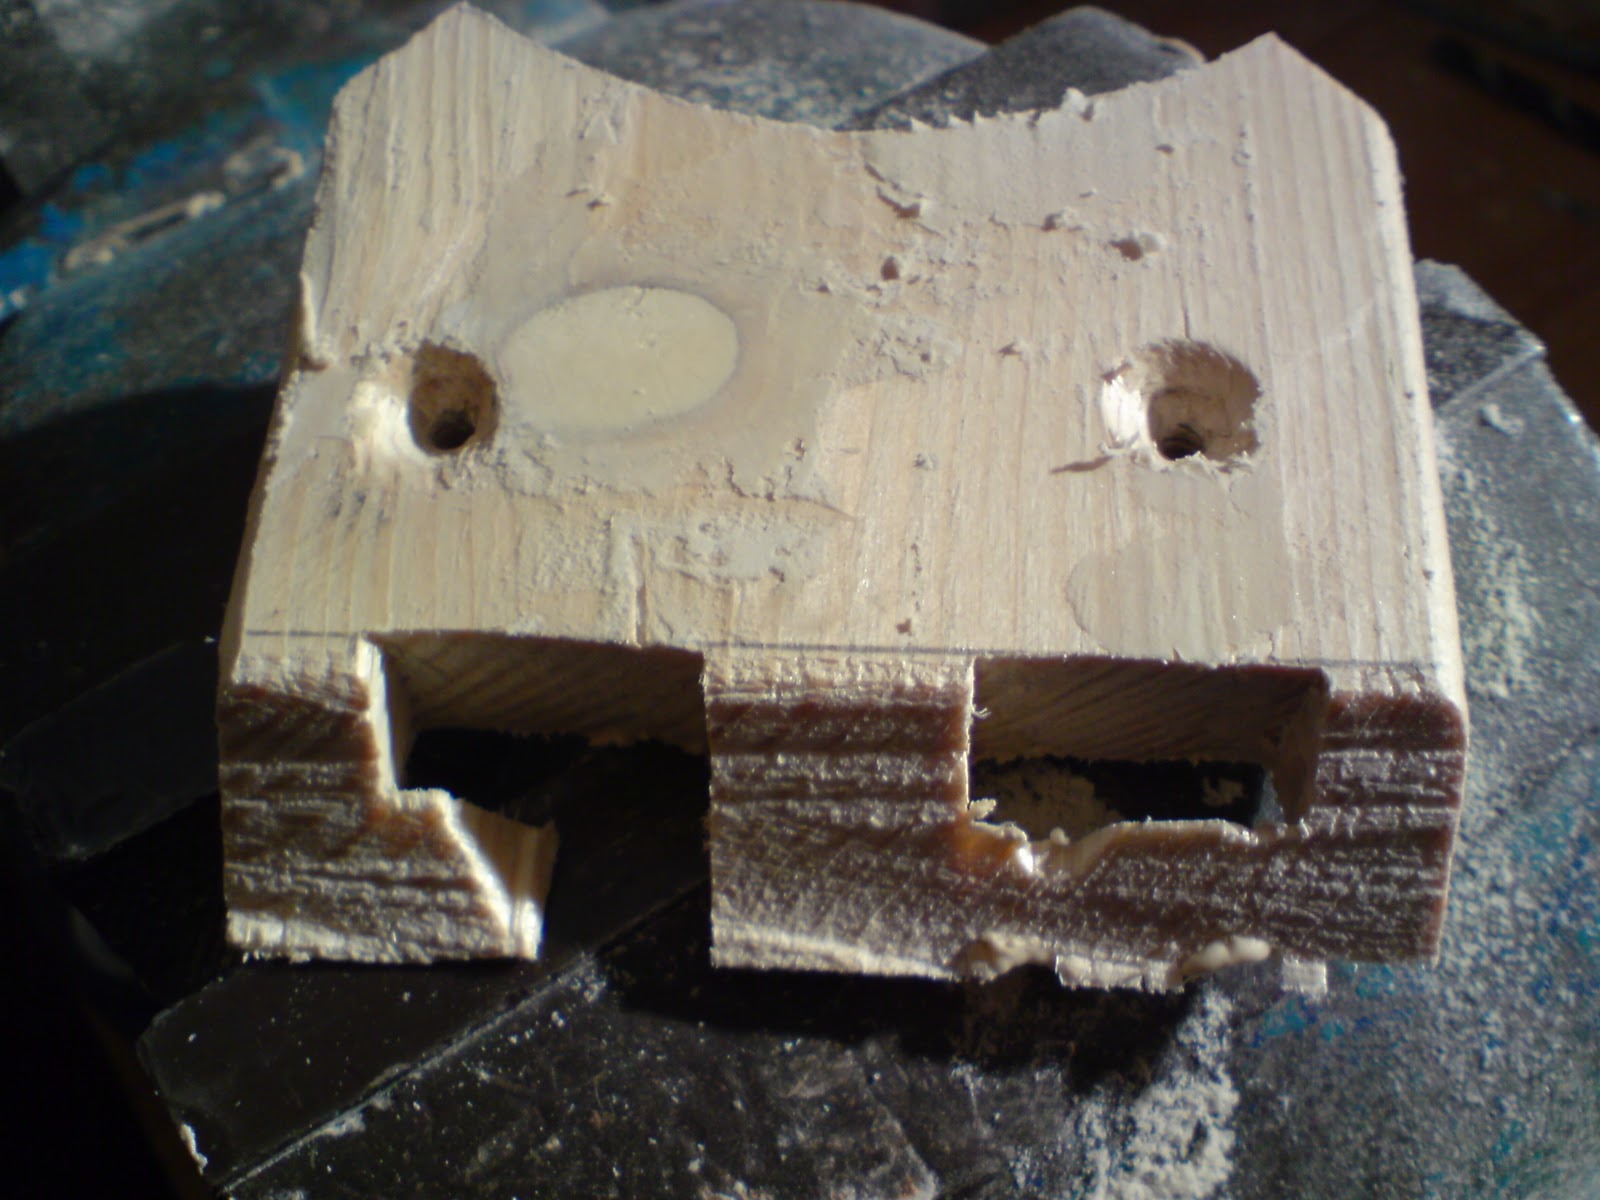
Sprayed leg white. I was only going to spray the lower/ankle area, as the Hub hole and horse-shoe dowel location holes, still need to be cut out and drilled. But it was looking good, so gave it a few coats ;-D

Once dried, I test fitted some of the other parts......

January 28, 2012
Leg Assembly 2.0
Enlarged booster cover slots to the correct width size. Then re-sprayed with primer.
Marked position of where holes are going in leg for booster cover and used a dia 10mm drill. This will allow for PVA glue and alignment.
Also drilled seconed ankle detail for fitting of dowels. Then drilled into leg. Which i had already template marked.
Sprayed 'booster cover' with metalic blue. Gave it a few coats. Looks good :-)

Silver paint applied to grooves, slots & recesses with a modelers paint brush. Wear'n'tear marks added along edges.

January 26, 2012
Leg Booster Cover Unit 1.6
Made a little progress this week. Made a cardboard
template up for fixing dowels. Crafted the two remaining lower front grooves.
Applied wood filler & did MORE sanding to curved/slot detail of booster
cover. Primered with several light layers. Cut up four dowels roughly 20mm long (dia9mm).

Next: using the template, I marked & then drilled four holes & push fitted the dowels into rear face of booster cover.

Extra work done:
I also trimmed excess resign from base 'insert' I fitted the other week. Sanded, then applied
wood filler to gaps.
January 23, 2012
R5-D4's Motivator - Bought Item!
Early birthday present came the other day, from the wife ;-), R5's motivator! Purchased from Don Jarr (via e-bay).


Had originally drawn up ideas to make my own Motivator, search my labels for past posts. Then I saw a picture of of a Motivator on another R5, sprayed up silver (picture below). And was impressed!! So, adding to the continuity of the Motivator, I decided that this would be a nice touch.
 |
| Chromed Motivator [not my R5] |
I will go down a slightly different finish route, as my Motivator will show years of use. So it will be dirty........... well it had blown! ;-D
I'm also planning on adding a Mesh grill to the top bore & a long locking bar to fit down through the motivator to hold securly inside R5's dome.
January 16, 2012
Leg Booster Unit & 'Dog House' 1.5
Fixed 'dog house' onto booster cover using P40 resin.
 Then drilled two counter sunk holes in underside of ankle bracelet. The original plan was to screw up into cover. Changed this to screw down into the ankle block. Next, I marked strut position on bracelet & then drill a 10mm diameter hole for its location stub.

 Stub's on both struts needed to be shortened by a few milimeters. This was expected as I didn't know how I was going to fit them in place. There are a few alternative ways on how to secure in place. So the stubs were turned down, on a lathe in work.
Test fitting of strut. Screw into leg for square top piece support.

Used dremel to cut slots in booster cover. Ooops, the collet came loose & the bit cut too deep at the end of the cut :-( Can be seen in pic below.


Sorted out a spring to take up the gap in the leg section. This will fit between the upper and lower strut sections. Not sure if I will actually need it, at the moment as on test fitting [see below] assembly went well. This will also make assembling a lot easier.
Drilled and tapped M5 into rear of Strut square tops. These are to have M5 Bolts screwed into them. Bent some metal to fit behind the square top block to secure it to it and the leg.
Drilled and tapped M5 into rear of Strut square tops. These are to have M5 Bolts screwed into them. Bent some metal to fit behind the square top block to secure it to it and the leg.

Used dremel to cut slots in booster cover. Ooops, the collet came loose & the bit cut too deep at the end of the cut :-( Can be seen in pic below.

Fixed with wood filler, phew (not shown in pic). Marked positions of the four grooves at base of cover.

Then started with dremel, then a round file (below).


Lastly I fitted my dremel up with a sanding wheel and made a start on the top block's curved eadge. (below) This was re-done in resign after the wood attempt failed.

Did some more sanding and filling.
January 10, 2012
Leg Booster Unit & 'Dog House' 1.4
Second Slot........not!
Was planning on cutting out the other slot [this I did] & angle from radi edge. But due to the weakness of the material, the angled edges broke apart, so I went to Plan B.

Plan B: to remove ALL of the 'slot/radi' section & apply resin & then re-do slots & radi.
I did apply wood filler on patches of the cover, to fix saw cuts & join lines. I also squared up some of the edges.
Marked up and then cut out the 'dog house'. Sanded and filed to fit the square top of the booster strut and also to fit the booster cover :-).

Picture of booster cover, dog house and booster strut
January 07, 2012
Leg Booster Cover Unit 1.3
Cut out top piece to be fitted. And added some marking guides.
 Drilled and counter sunk two screws.

Using Coping saw, cut back marked radius. Then cut out front radi, on angle. Cut the two side angles, these will need some wood filler. Then spent the next 30mins filing radi to blend in with each other lol.

Marked where slot holes will go. Then started on the first slot.
 I used an 6mm diameter drill and cut out using a junior hacksaw [remove/re-fit blade]. Finished off with some filing. I removed the knot from the top as it was loose and didn't want it messing things up.


Using Coping saw, cut back marked radius. Then cut out front radi, on angle. Cut the two side angles, these will need some wood filler. Then spent the next 30mins filing radi to blend in with each other lol.

 |
| Starting to take shape |
Marked where slot holes will go. Then started on the first slot.

Shoulder Hubs came today.....
I know I said I would be making everything on R5, that I possibly could. But I've been tempted by these for months now via regualer notifications off ebay lol.
So decided to buy a set.

They came today. They are REALY good!!
He sells other R-unit parts and other prop components.
Oh yeah, he is based here in the UK too!
So decided to buy a set.

They came today. They are REALY good!!
He sells other R-unit parts and other prop components.
Oh yeah, he is based here in the UK too!
January 05, 2012
Leg Booster Cover Unit 1.2
The other night I cut the Booster to the correct width. Then started to cut out the middle section with the jigsaw. Was making a little bit too much noise lol. So switched over to using my Coping saw. Then the blade broke! And my spare blades were for another saw.
I then drilled out as much of the upper middle section as I could. Then cut out the rest with a hacksaw. Next, using my trusty saw, I cut the angles onto the front faces.


I then drilled out as much of the upper middle section as I could. Then cut out the rest with a hacksaw. Next, using my trusty saw, I cut the angles onto the front faces.

From this [above] to this [below]

After using the sander in work.
Marked on booster where wood filler needs to be applied.
January 03, 2012
Ankle Cylinder / Wedge No3 - 1.3 - paint
Sanded the wood filler smooth, then sprayed primer all over.
 Masked off into sections and then sprayed silver.


Once dried, re-masked off and sprayed with blue metallic paint.

 A mishap with the masking tape ment i had to redo one silver side of cylinder :-(
So sanded, re-primed and then silver sprayed again!
Cylinder holder attached with a screw. fitted,looks good. Finally finished off with clear lacquer.


Once dried, re-masked off and sprayed with blue metallic paint.


So sanded, re-primed and then silver sprayed again!
Cylinder holder attached with a screw. fitted,looks good. Finally finished off with clear lacquer.

Leg Assembly 1.9 - Leg Groove & Ankle Slot
Sanded and added more wood filler to curved ankle faces. Mainly to hide the wood grain!!
I marked out the position of leg 'groove' with a straight edge. Then I clamped it on as a guide for my dremel with router attachment. It produced a realy clean groove. I then moved the guide around onto the other three sides. I used my '9901 tungstan carbide cutter' (for metal use), as it is all I had.
 Worked on leg stabiliser holes. Removed excess wood filler. Primer applied to leg groove and rear leg section.
Cut out ankle slot. Scored the outline, then 'chiseled' out, I use this term loosly lol. Next I
cleaned up with my dremel router attachement, then applied wood filler.

I marked out the position of leg 'groove' with a straight edge. Then I clamped it on as a guide for my dremel with router attachment. It produced a realy clean groove. I then moved the guide around onto the other three sides. I used my '9901 tungstan carbide cutter' (for metal use), as it is all I had.

Cut out ankle slot. Scored the outline, then 'chiseled' out, I use this term loosly lol. Next I
cleaned up with my dremel router attachement, then applied wood filler.

see Ankle Cylinder update for explanation of this pic
Subscribe to:
Posts (Atom)