Droid Builder
Extra Projects & Event Page's
- Home
- Event: Droids @Mshed Bristol 2026
- Event: Droids @Mshed Bristol 2025
- Event: Droids @Mshed Bristol 2024
- Trading Card Dispenser (version 2) - TCD [2020/2022]
- Trading Cards
- R5-D4's ....Bad Motivator development
- R5-D4 - silver neck details
- R4-D4 - Dome [wood build]
- R0-D4 Dome [wood build]
- 3D Printing - Star Wars stuff
- *** Star Wars Shoes ***
- Event's 2018
- Event's 2017
- Celebration Europe 2016
- Celebration Europe 2023
- Event's 2015
- Event 2014 - Chippenham Sci-Fi
- R5-D4 - events page - The beginning (2013)
- ** R5-D4 patch **
- R5-D4 Photos
- Costume for my Son - Han Solo -
- Costume for my Son - Boba Fett
- Droid Caller - Han Solo style
- Scanning Crew Container - Transmitter Storage Box
- Stormtrooper - me
- Rogue One - trading card storage box
- Rogue One
- GOUD-4 Messenger Droid - Solo ASWS
- Jabba’s gate prop for Celebration 2023
- Treadwell Droid - WED-15-77
January 13, 2024
Workbench upgraded: reorganisation of everything.
September 26, 2021
Workbench upgrade - new shelf
October 05, 2020
Well Hello there.....
.....yes, it’s been a long time since my last blog post. A busy home life has been the reason. Had to convert half my garage into a usable area for my Son. This required new shelves being put up & new lights and sockets being installed.
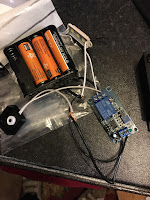
Another little project I was working on was installing an outside light to illuminate the garage door handle. Late nights in the dark, holding things etc and trying to find the key hole to lock the garage door.....no more! I wired up a timer delay off relay I had, along with a strip LED. So as I leave the garage, I can press the button and be able to see to lock it. This setup runs off 12volts.
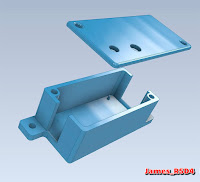
And I designed and printed up my own brackets for some plastic sheeting i’ll be using for an enclosure, more on that in the future.
Did a rewire on Mikes dome switches to change their illumination orientation, I've not posted that yet but will do shortly.
I designed up a 'stop/reset' switch for the Tevo as the open hole was just annoying me lol.
Link will eventually work to Thingiverse......
I have been able to do small amounts of updates to R5, but these will hopefully take up more of my time now that these other projects have been completed.
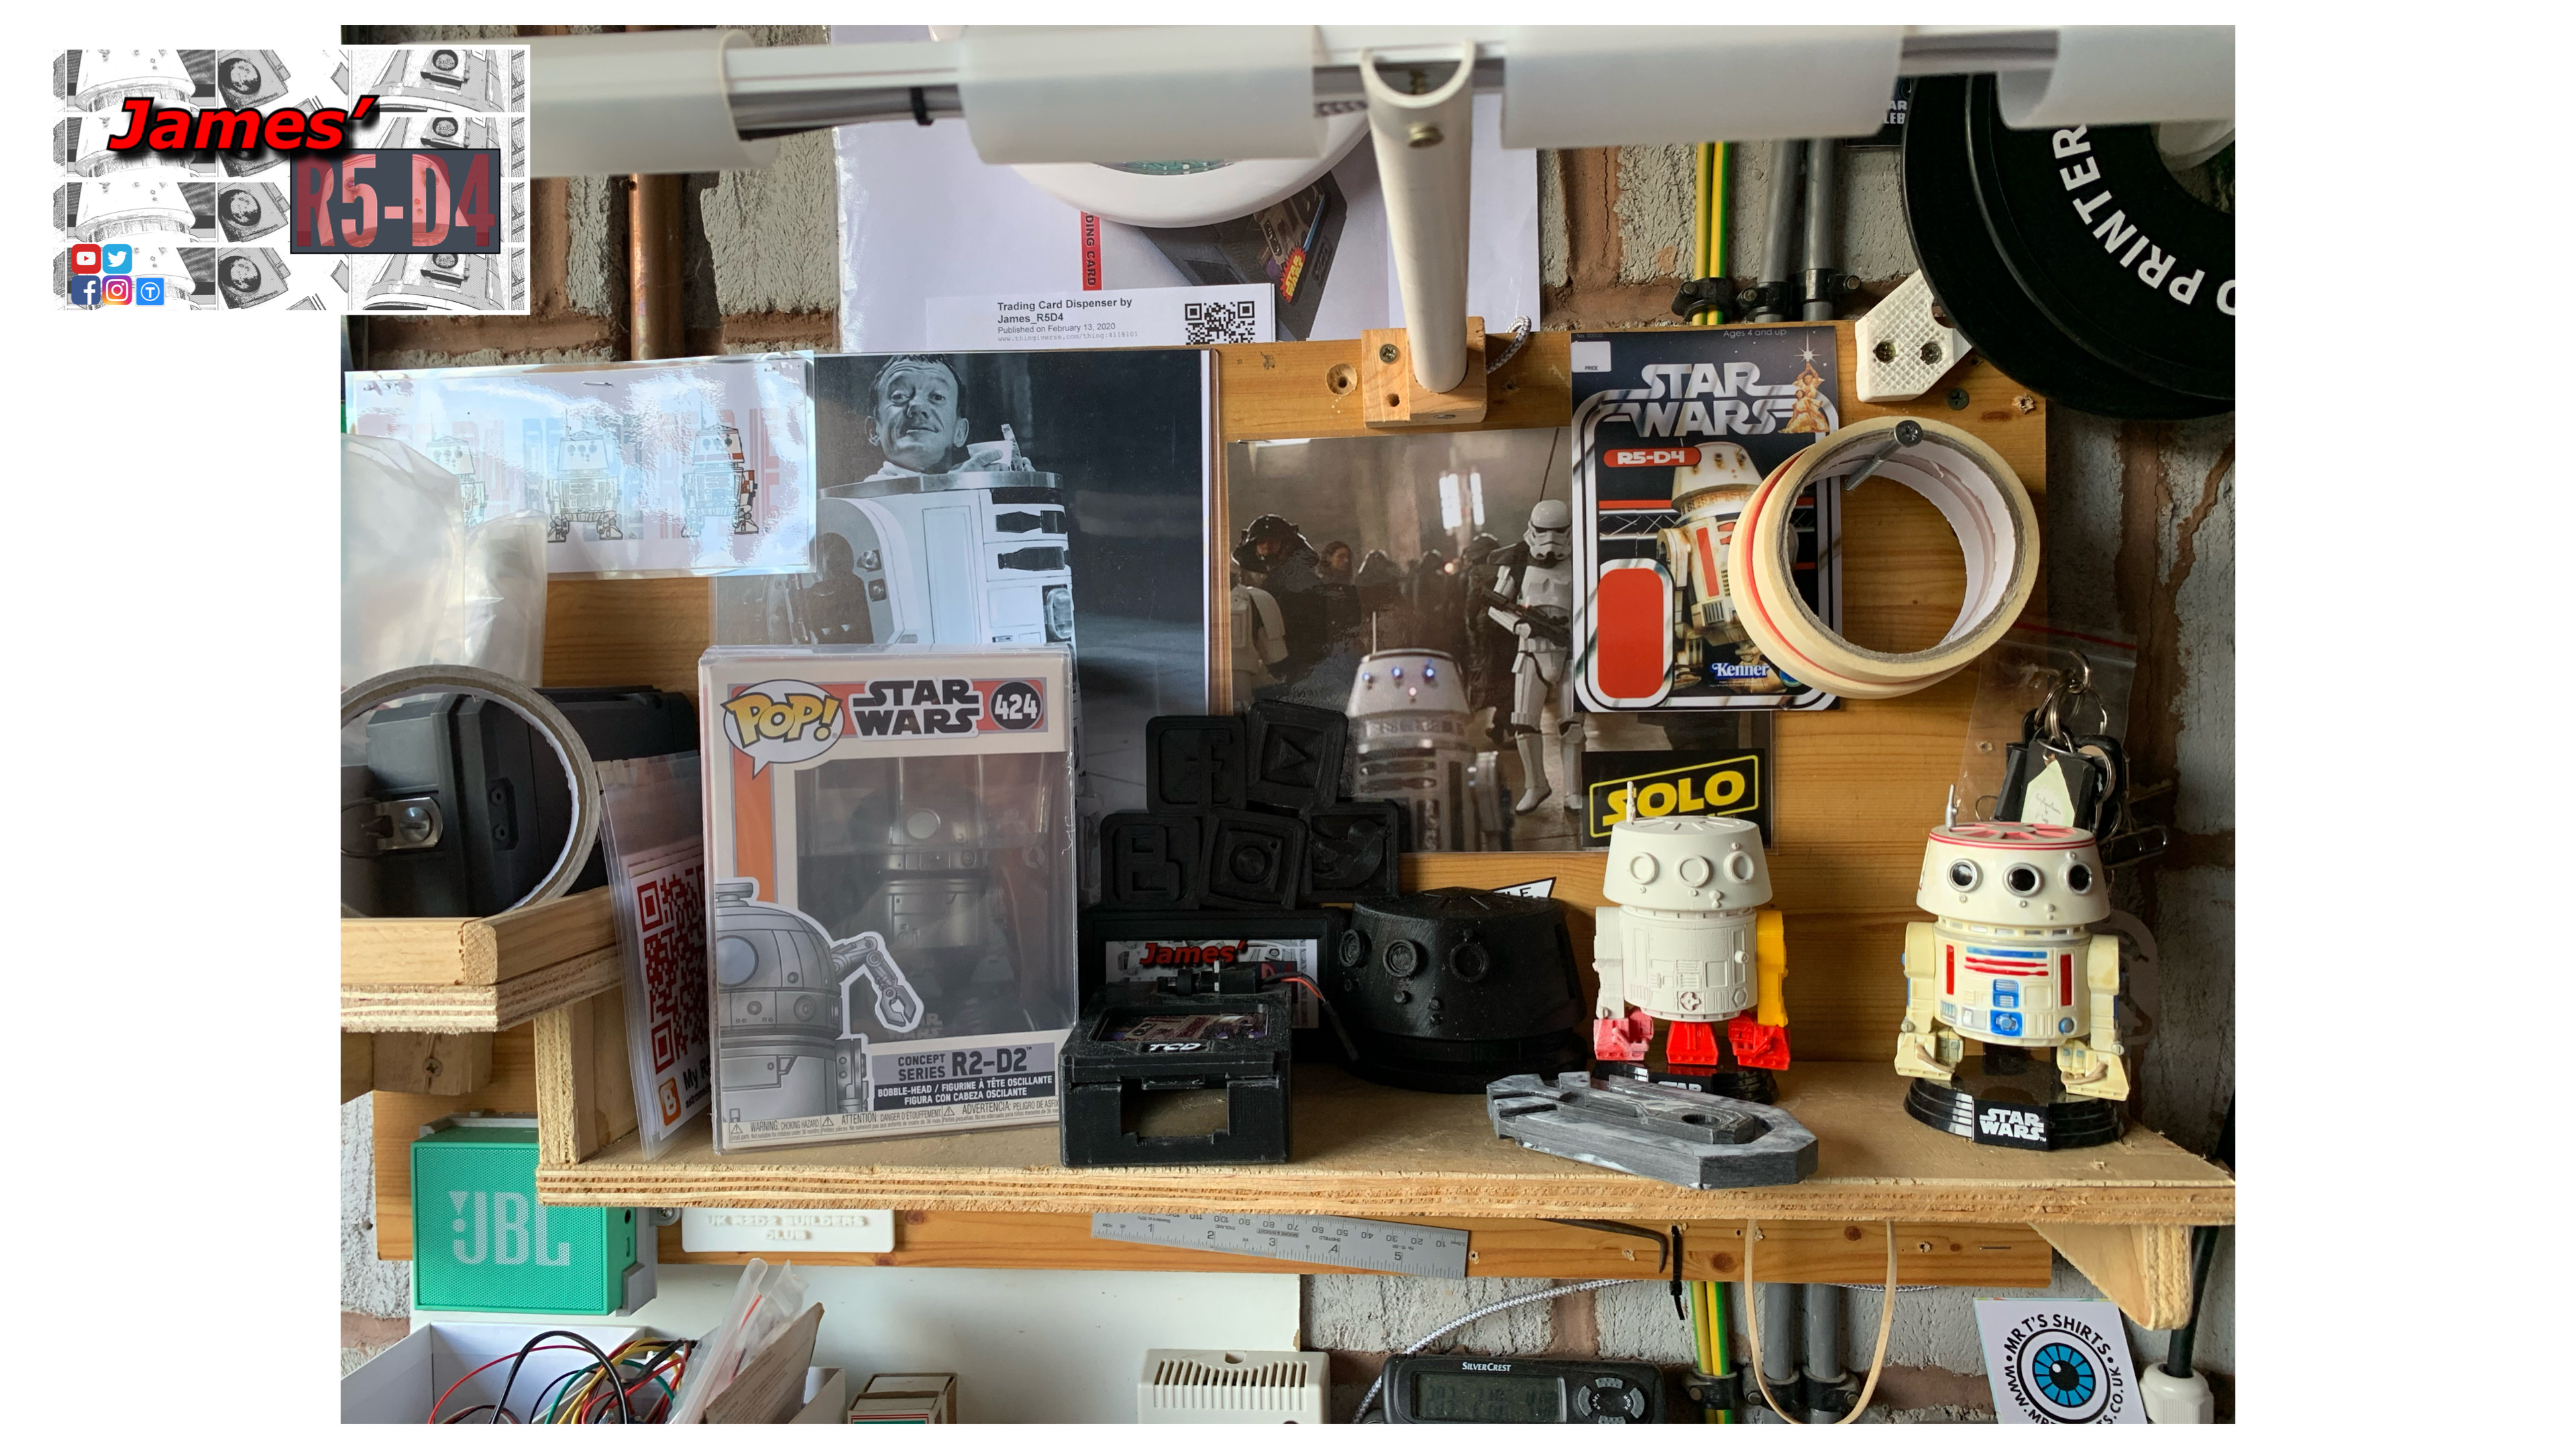
Lastly for this post....a recent picture of my workbench area.....
August 04, 2020
Workbench lockdown 2020 - new paint & finished seat

After cleaning off dirt and chipped paint, I started with painting the vice.....and then the visible parts of the metal bench framework. There’s still some parts I need to paint, but so far it’s looking good.
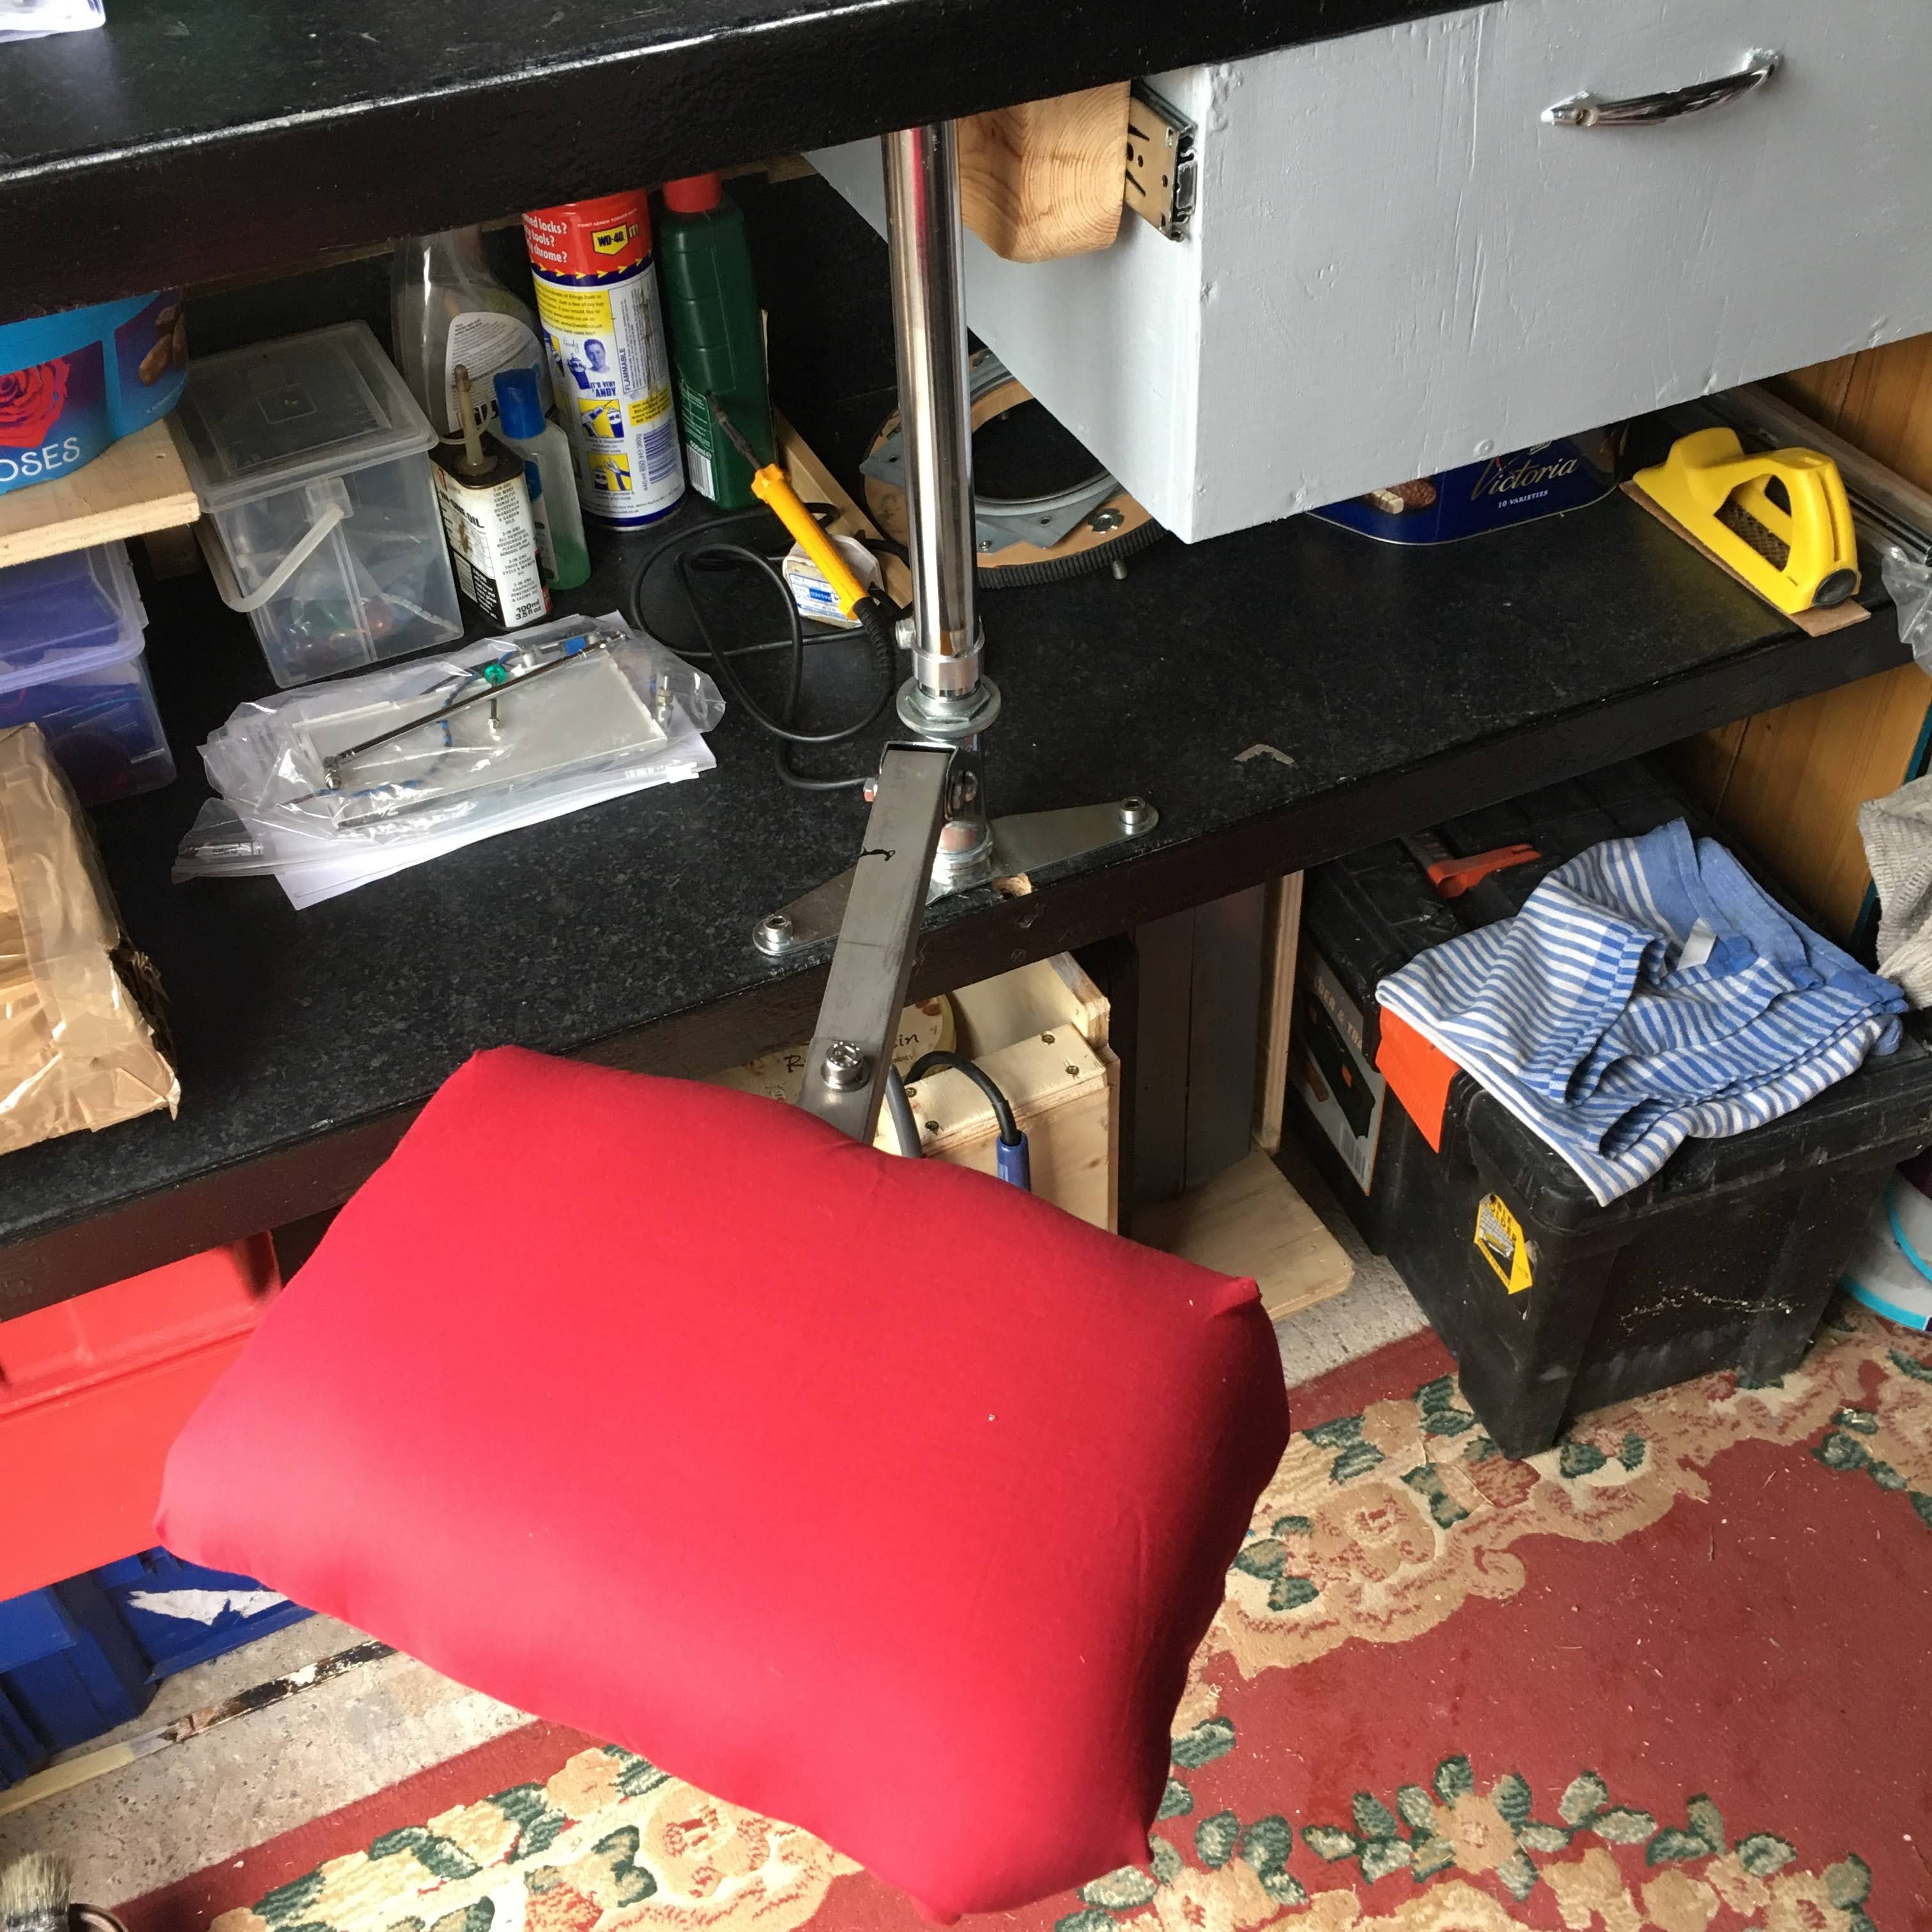
The seat needed modifying, the arm was just a few inches to short, so when sat on the seat my long legs would hit the bench. I found a extra piece of the steel angle and some flat plate. Had to buy a carbide tip drill bit to drill the holes through, then clamped the pieces together.
Next up I used some 18mm thick leftover wood stapled on some thick foam that I had for the dome bag projects. To cover it I used some of the material also used for the bags.
It’s not bad and is actually comfortable to sit on.
July 23, 2020
Workbench Lockdown 2020 - storage unit
Was going to start on fitting a sliding shelf for storage under the draw. I can put all my electronics/electrical components in/on it for easy access.
But before I made a start, I instead started on making a wheeled storage unit for under the bottom shelf. I wanted it to hold my drill and drill bit boxes and anything else could be stored in it.
I cut the base and fitted casters I already had. The above picture shows the short side opening for the drill and bits boxes.
July 14, 2020
Workbench Lockdown 2020 - Bench drawer & shelf
| completed workbench drawer....wood filler waiting to be sanded |
LOL, now I usually draw up plans.....but not this time. I already had some not really usable (probably grade 'D') plywood sheets, that I knew I wouldn't use, but didn't want to get rid off, just in case. And this was their time to shine lol.
Measured up the area, and marked all the pieces for the drawer onto one sheet.
Not having a circular saw, only a jigsaw, I used a straight piece of metal clamped in place as a guide and got cutting.
The sides, front, rear where screwed into the base and probably should of looked at sorting the poor quality wood out with wood filler and glue.....but more on that later.
The drawer runners I wanted and for once, where bought at local ScrewFix store [pay online, click and collect, due to COVID-19]. These were ball bearing runners, 450mm for £6!! They can take a load up to 45kg!
Next, I found some large pieces of 2"x4", thought would do for support. These were screwed to the underside of the bench's worktops and the drawer runners added. After watching one video in particular, I learned that the 'tabs' on the sides of the runners allow for the whole unit to 'align' itself if the gap at the sides is to large. Never knew this!
I was going to get all creative and fancy with making up a drawer handle out of dowel, but found this old handle what came from my parents old 'under the stairs' cupboard and thought, YES, that's a nice touch and a reminder to my past. It's also has a low profile and is not ever going to get something caught on it!
Inside the main drawer I wanted some way of having smaller tools that I use readily to hand without rummaging. So I remembered that I had a pair of small draw runners that I had bought years ago as part of R5's bad motivator pop up idea. These were perfect and after measuring and cutting out some more wood, I created this small shelf/tray for inside the main drawer. I was going to place it centrally, but then decided that the rear for it to be pulled forward would be better. This then allows full access to the main lower area, but also when the tray is pulled forward, you can see the rear area for all those things that usually get pushed to the back of a draw and forgotten lol.
I cleared out more junk again, re-organised stuff and added a shelf so things weren't just piled up on top of other boxes etc.
Looks fancy, and it is a bit, but I know how annoying having 'support legs' in the way can be lol.
Went looking in the back of garage for paint tins colour choices....but nothing really suitable, so will have to get something I actually like.
And here's the bench progress so far.
......before I cleared everything away lol.
I added a thin scrap piece of wood centrally on the lower shelf to stop things getting pushed under the draw itself and possible getting wedged. I'm planning on possible adding a second slide tray/drawer mounted there.....for what, I don't know yet. The three containers stacked on the floor (purple) fit just right under the new shelf.
As per usual, I've already started drawing up and sourcing mini LED lights to mount under the shelves etc. These will come next or before painting of the drawer/new shelf wood.
This was my weekend....which was delayed starting due to having to sort out the dishwasher that kept tripping the electrics.
More workbench build work updates coming soon.....
June 24, 2020
Workbench lockdown 2020 - extra shelf
The rear got boarded (white) to stop things falling down the back/side. I didn't get fancy with the curved end support, it was a scrap piece I had that was just right size.
I added a small lip, to stop things rolling off.
Workbench lockdown 2020 - Bench seat
As there's limited space in my garage, I started looking for small, tall, compact stools. A few popped up but some of the prices were ridicules.
So I looked on You Tube for DIY ideas and found some good ones. But I really liked the idea of a swivel bench one. What could I use tho that I had available in the garage.....
Some old broken, kids scooters. Well, one of them was steel version now Aluminium, so I went with that one.
After removing the wheel from the forks and stripping everything down to check it over. I opened out and bent the forks flat. I then filed down a M12 or M15 nut (I can't remember now) and push fitted it into the top of the cut down steel scooter tube.
(It is now the correct height to fit between the upper and lower bench shelves)
Next up was location. I drilled down through the bench and the metal angle of the frame. This was so some of the studding could be threaded down through the bench into the captive nut in the frame.
The angle of the scooter was too steep, so I used a piece of angle steel, to form the extension arm seen in the next picture. This was held in place with two of the scooters bolts and spacers.
The bent flat forks had holes drilled under them into the bench and bolts fed through them.
I wanted to re-use the original stool seat, but how to fit it all together.
I started by cutting out a piece of square wood, this was for the seat brackets to fit to and then the wood would be connected to the angle steel arm.
The hole in the seat was for access to the pivot bolt. The pivot bolt uses the scooter wheel bearings to help swivel and space the seat up a bit.
Yes it takes my weight.
Yes it pivots out of the way.
I might have to modify the actual seat in the future.
Hope the above video clip works.....
June 12, 2020
Workbench lockdown 2020 organised
| small shelf |
This word great...... and I started getting carried away with making stuff again. hahaha. I needed a soldering iron station, that I could move around, so after a bit of searching for material under the bench, I made this up...