Showing posts with label box. Show all posts

November 24, 2025

Treadwell WED-15 : Mast Storage Box build

September 2025

As the title suggests, this is a box that will store Treads Mast, and also for transportation to events etc. I won’t have to worry about it being knocked etc.

Started again on this, (September), I copied and modified the 3D lid corners etc from the head box build.

List of parts:
  • Base corners 3D printed [already printed - 2024] but were reprinted in TPU.
  • New lid parts, based on 6mm thick MDF, head box used 4mm.
  • New design for lid corners & lid edge pieces - 3D printed.
  • 6mm thick MDF, due to box length.
  • 30mm x 30mm black plastic angle, for the joint edges.
  • Fake carbon fibre wrap.
  • Clasp latches (didn’t use).
  • Foam padding.
  • Strap material (already have).
And so it begins…. 25/10/25
Base board cut to size

Next up was cutting the right angle plastic strips. These will be fixed through to the board.
Next was drilling corner feet location holes. These were originally going to be pop riveted like the head box but the thicker wood meant countersunk bolts and nuts.

Started with the base board, cut to size. Used the last pieces of carbon wrap from the head box on it. It has 3D structural support angles that will help to strengthen the sides/base. See picture below.

These are all drilled and bolted along with pop rivets fitted. Next up was the first end panel, cut/covered/holes drilled and bolted to the 3D printed base corner piece.
 

The lip/lid corners/lengths needed a redesign [picture above, right] from the head box as the lid didn't need additional support/strength due to the MDF's thickness.

Needed to buy some more wood lol, this will complete the remaining long side and the lid itself.


The foam strips I had in the garage from a previous project.

Assembling the base corners I noticed that the strain on them was more than on the head box, and the recessed corners caused the bottom half to split. So I re-printed them in TPU.

With the second sheet of wood I was able to complete the other side and start on the lid piece. Redesigned the 3D printed lid edges. I also drew up and printed off some strap catches out of TPU and also some, flexible hinges, again out of TPU. These will be secured in place with bolts etc.

Next was to TPU print some carry handle fixing points.


I hand stitched the edges to secure the straps onto the fixings. These straps were long enough to take the load and were fixed at furthest points possible, for balance etc.

Final pieces, to cover the lid in vinyl wrap, weather protection for the wood mainly, and two velcro lid straps.
I’ll post up some finished photos in a follow up Blog post, probably in the Xmas event next weekend.

Prusa account - free 3D stl files.
I'll upload the 3D files from this project to my account [link here].

October 17, 2024

Treadwell WED-15-77: mast box build (not yet made)


March/April 2024
With the tracks completed
(at the time of writing this), and after making the head box, I needed a storage/transport box for the ‘mast’ section.

This was going to be built using the same design as the head box. I 3D printed the corner pieces again and then modified a copied version into a middle section.

I bought some more carbon fibre wrap and plastic edging.

October 2024: this still hasn't been built yet.

February 04, 2024

Treadwell WED-15 : Head Box build - part 2

January:
Note: Handles arrived, 😂 lol but the weight of the box isn’t enough to overcome the springs in them 🙄😂. So I went back to my original idea of 3D printing recessed handles.

The first test one was okay but my middle finger knuckle would make contact with the edge opening. So revised this for version two.
Printed version 2.

Marked position and drilled/cut out opening.

Was a nice snug fit.

Just needs a dust off and pop new plastic pop rivets in. The metal ones were to much and started to damage the plastic handles. These plastic ones, just help hold the handles in place.
On to handle no2.

Time to cut the foam.

First piece being test fitted.

Next pieces.

The sides will need cut outs for the handles.

Picked up some spray glue to stick the foam in with once all pieces are cut.

September 18, 2022

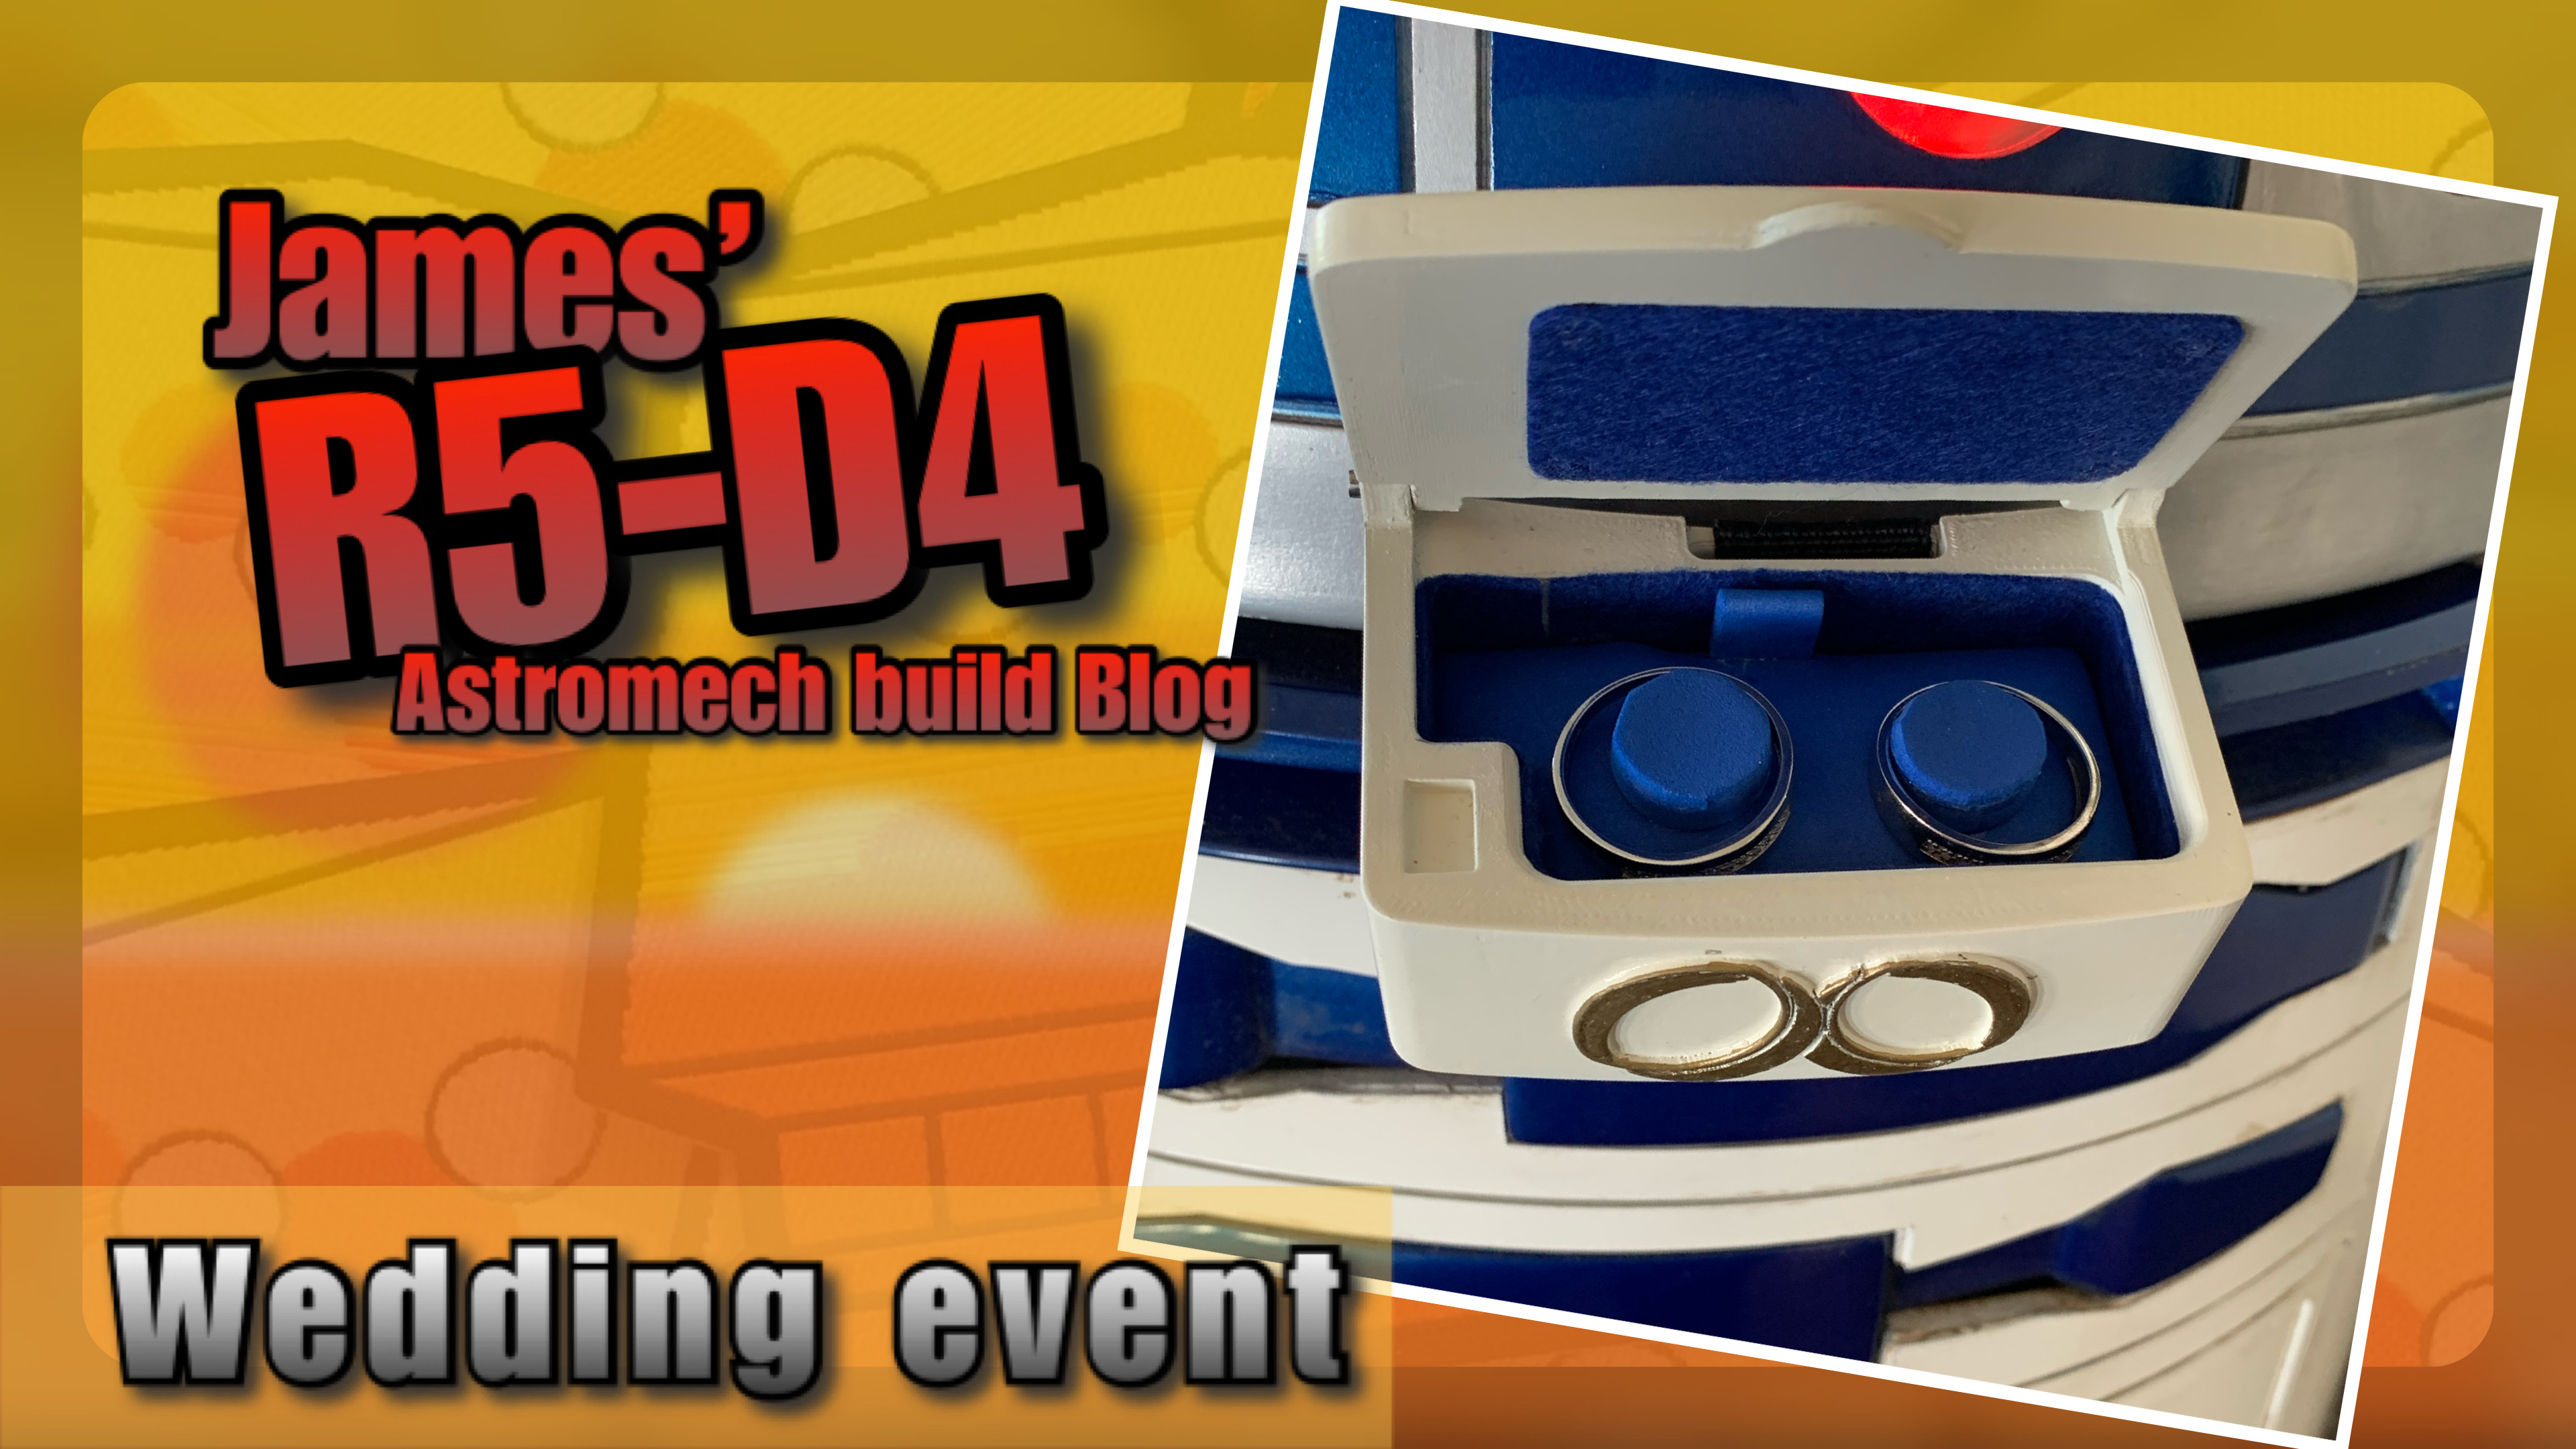
Wedding event: 1st one

September 17th was a special day. It was mine and Mike’s first time attending a wedding celebration.

Mike with his R2-D2 & me with R5.

The event was in Clevedon, and the sunshine was out.

Our attendance wasn’t a surprise for the couple but was for their guests lol.


The ring box was attached to Mike’s R2. His utility arms don’t open, but I thought I’d still be able to attach the strap…. Managed to after a few attempts, need to incorporate a multiple choice for future attachments.

Rather than struggle with doors, steps etc, the droids were positioned at the sides of the isle at the rear.

The rings had been placed inside the box, and when invited by the registrar, R2 rolled down the isle to deliver them. After the rings were removed, he then returned to his original position and waited till the end of the ceremony.

Afterwards, the droids escorted the wedded couple and guests, outside into the sunshine for photos etc.

We stayed for an hour outside before making a move to leave.

We had a great time and so did the wedding guests.

……thanks Mike 😂, it’s a glamorous job 😂


July 23, 2020

Workbench Lockdown 2020 - storage unit

More organising & making.

Was going to start on fitting a sliding shelf for storage under the draw. I can put all my electronics/electrical components in/on it for easy access.

But before I made a start, I instead started on making a wheeled storage unit for under the bottom shelf. I wanted it to hold my drill and drill bit boxes and anything else could be stored in it.
wheels, storage box

I cut the base and fitted casters I already had. The above picture shows the short side opening for the drill and bits boxes.
storage box

The above picture shows the unit almost complete. The wood is not very good, (hence the clamp and PVA gluing layers together), but it was free a few years back and now it’s being put to good use.
I have a ratchet set but wanted it vertical for easy access. So cut up some of the scrap material and made a bracket that the box slides down into.
storage box
Ratchet tool box with handle, had a wood fitted strip to help retain it in place. Can be just seen in above picture.

Next up I added some fold-able shelving. I wanted to be able to utilise the depth of the box, without restricting access to the lower, not used to much, area. Some left over wood, just the right size, some supports and a pair of hinges I've had for ages lol. The two pictures below, show before & after with shelf in use
shelf shelf

And a quick video showing it in action lol.
shelf
I had bought some LED lights to help see under the bench and illuminate the shelves as the ceiling lights cast shadows.
Under bench lighting
These are really bright and will come in handy.

Lastly, for now, I wanted somewhere to have my soldering irons in reach. So made up a holder that slides over the edge, the cables just go into the box.
.......pic
soldering iron holder

I've still got plans for more upgrades...

September 06, 2017

Trading Cards Box - UPDATE - compartment 1.3

After filing, primer spray & then matt black spray, the insert looked like this....

Once it was all dried I then sprayed some red into a cup so I could hand paint the text to finish off.

I hot glued a strip of foam into the bottom of the box, under where the cards will sit. I found this helped to make taking them out as when you push down on them, they tip slightly due to the foam compressing.

And here's the insert fitted (press fit in only) into the box.
I tried the insert with a stack of my cards and it all fits and looks great!

And as someone commented on my Instagram account.....yes, R5 does fit :D

Trading Cards Box - UPDATE - compartment 1.2

So here is the glued together parts.
Test fitted the bottom section inside the box.

Here's the top:

And then glued together, fitted inside the box:

Next up is to paint, filler, sand, more paint......you get the idea lol.

September 05, 2017

Trading Cards Box - UPDATE - compartment 1.1

In my last post, I said I wanted to look at padding out the box as I didn't want the cards rattling around inside and getting damaged.
The Rogue One Trading Card box
As you can see in the picture above, the cards aren't a tight fit!

I didn't like the idea of padding as it can be untidy once cut. So as we still have the 3D printer in the office, I got to measure up and designed an infill compartment for it.


But before I printed it off in full, I just printed the top section first.

This way I could check the fit. The corner angles weren't bang on, but then I decided that the recessed look was better.
(Originally the top section was going to be flush with the top of the opened box.)

I then had to reduce the inside piece to fit the new height.

Doing this in two sections was also a good idea as it meant I didn't have to dig out the support in the recessed text section. And super gluing the two pieces together was made easy by the fact the pieces were held in place by the insides of the box.

November 06, 2014

Custom box for radio transmitter - 1.3

Forgot to mention that I fitted some raised feet to the base of the box.
For grip and to not scratch surfaces.
scanning crew box
Here is the second side details fitted. Applied some wood filler into gaps all over the box.

Next, the lid.
I had some ideas about using perspex and illuminating parts with LED's, but realised that am getting carried away lol. So I'll stick with just a single piece of thin wood, with shaped ends, that will be sprayed up to match the look of the scanner crew container (toy).

I added some recesses to the lid edges to help lift it off.
scanning crew box

Next:

  • Foam for inside.
  • Work on a curved piece of wood for lid.