Showing posts with label micro motor. Show all posts

October 17, 2024

Treadwell WED-15-77: Part 28


July 2024:
Here was to be the final instalment of the Treadwell build 😀
Recent work has been mostly focused on making the sledge to transport WED on, via the cars roof rack.

Sounds:
Needed to fit a speaker and wasn’t happy with my original position idea. So decided to fit in inside the ‘logic housing’.

Position located:

How to find the centre of a circle lol

Dug out this adjustable hole cutter. Think I last used this to make the holes in R5’s legs!

Making a start on the hole.

One hole cut out.

Speaker fitted with its spacer ring, that I had previously made for the GOID-4 messenger Droid.

Re-installed the ‘Logic housing’ (the hole cutter wouldn’t fit inside it).

I had added longer leads from it to reach the amplifier board.
Just need to finish off some connections and save some sound files. Keep forgetting these last two pieces. Needed to buy a proper servo controlled switch, similar to the one used in R5, but this ones a single and much smaller.
Another tweak, was the addition of a volume (potentiometer) to boost the sound. When I couldn’t hear it at Mshed event, I knew I had to install one.
3D printed the knob from a file on the Prusa printables website.

Had to rewire the signal to volume dial to amp to speaker wires.

Claw arm servo:
The new micro servo arrived sooner than expected lol, but I had already started on a modified 3D printable housing to fit a new metal geared SG90 size servo. It didn’t take up much more space , but i had to reposition the securing screw, and add a second one.

I used brass knurled threaded inserts & M3 screws.

I made a slot in the side to allow the servo horn some freedom. This once finished, could be covered.

I needed to add a slot in the claws tube to allow some flexibility for the wire that connects to the servo horn.

I also added a location hole for a screw.

Next was to remove the servo plug so that it could connect with the servo lead.

Almost forgot about painting it…..
Primer applied after some sanding.

Weathering:
Dug out the paints and got to adding brown, yellow and ochre.

Then black to give the dirty oily look.
At the Mshed event, I was asked by some of the builders if Tread was metal construction, they were surprised to hear the upper section was all 3D printing.

Upgrades:
I know I said this was going to be the last post on this build, but I have a few more tweeks to do with things I wasn’t happy with, so there’s more to come.


July 25th…….
Wheels:
The original wheels were spaced away from the base, as can be seen in these two  photo.

original deleted scene SW ANH
remade version for the prequals
    

So I decided to draw up some spacers and 3D printed them. This along with some more substantial axle bushes with bearings in, to better support and properly align the wheels. And finally, some new axle's at over 180mm in length!
March 31, 2022

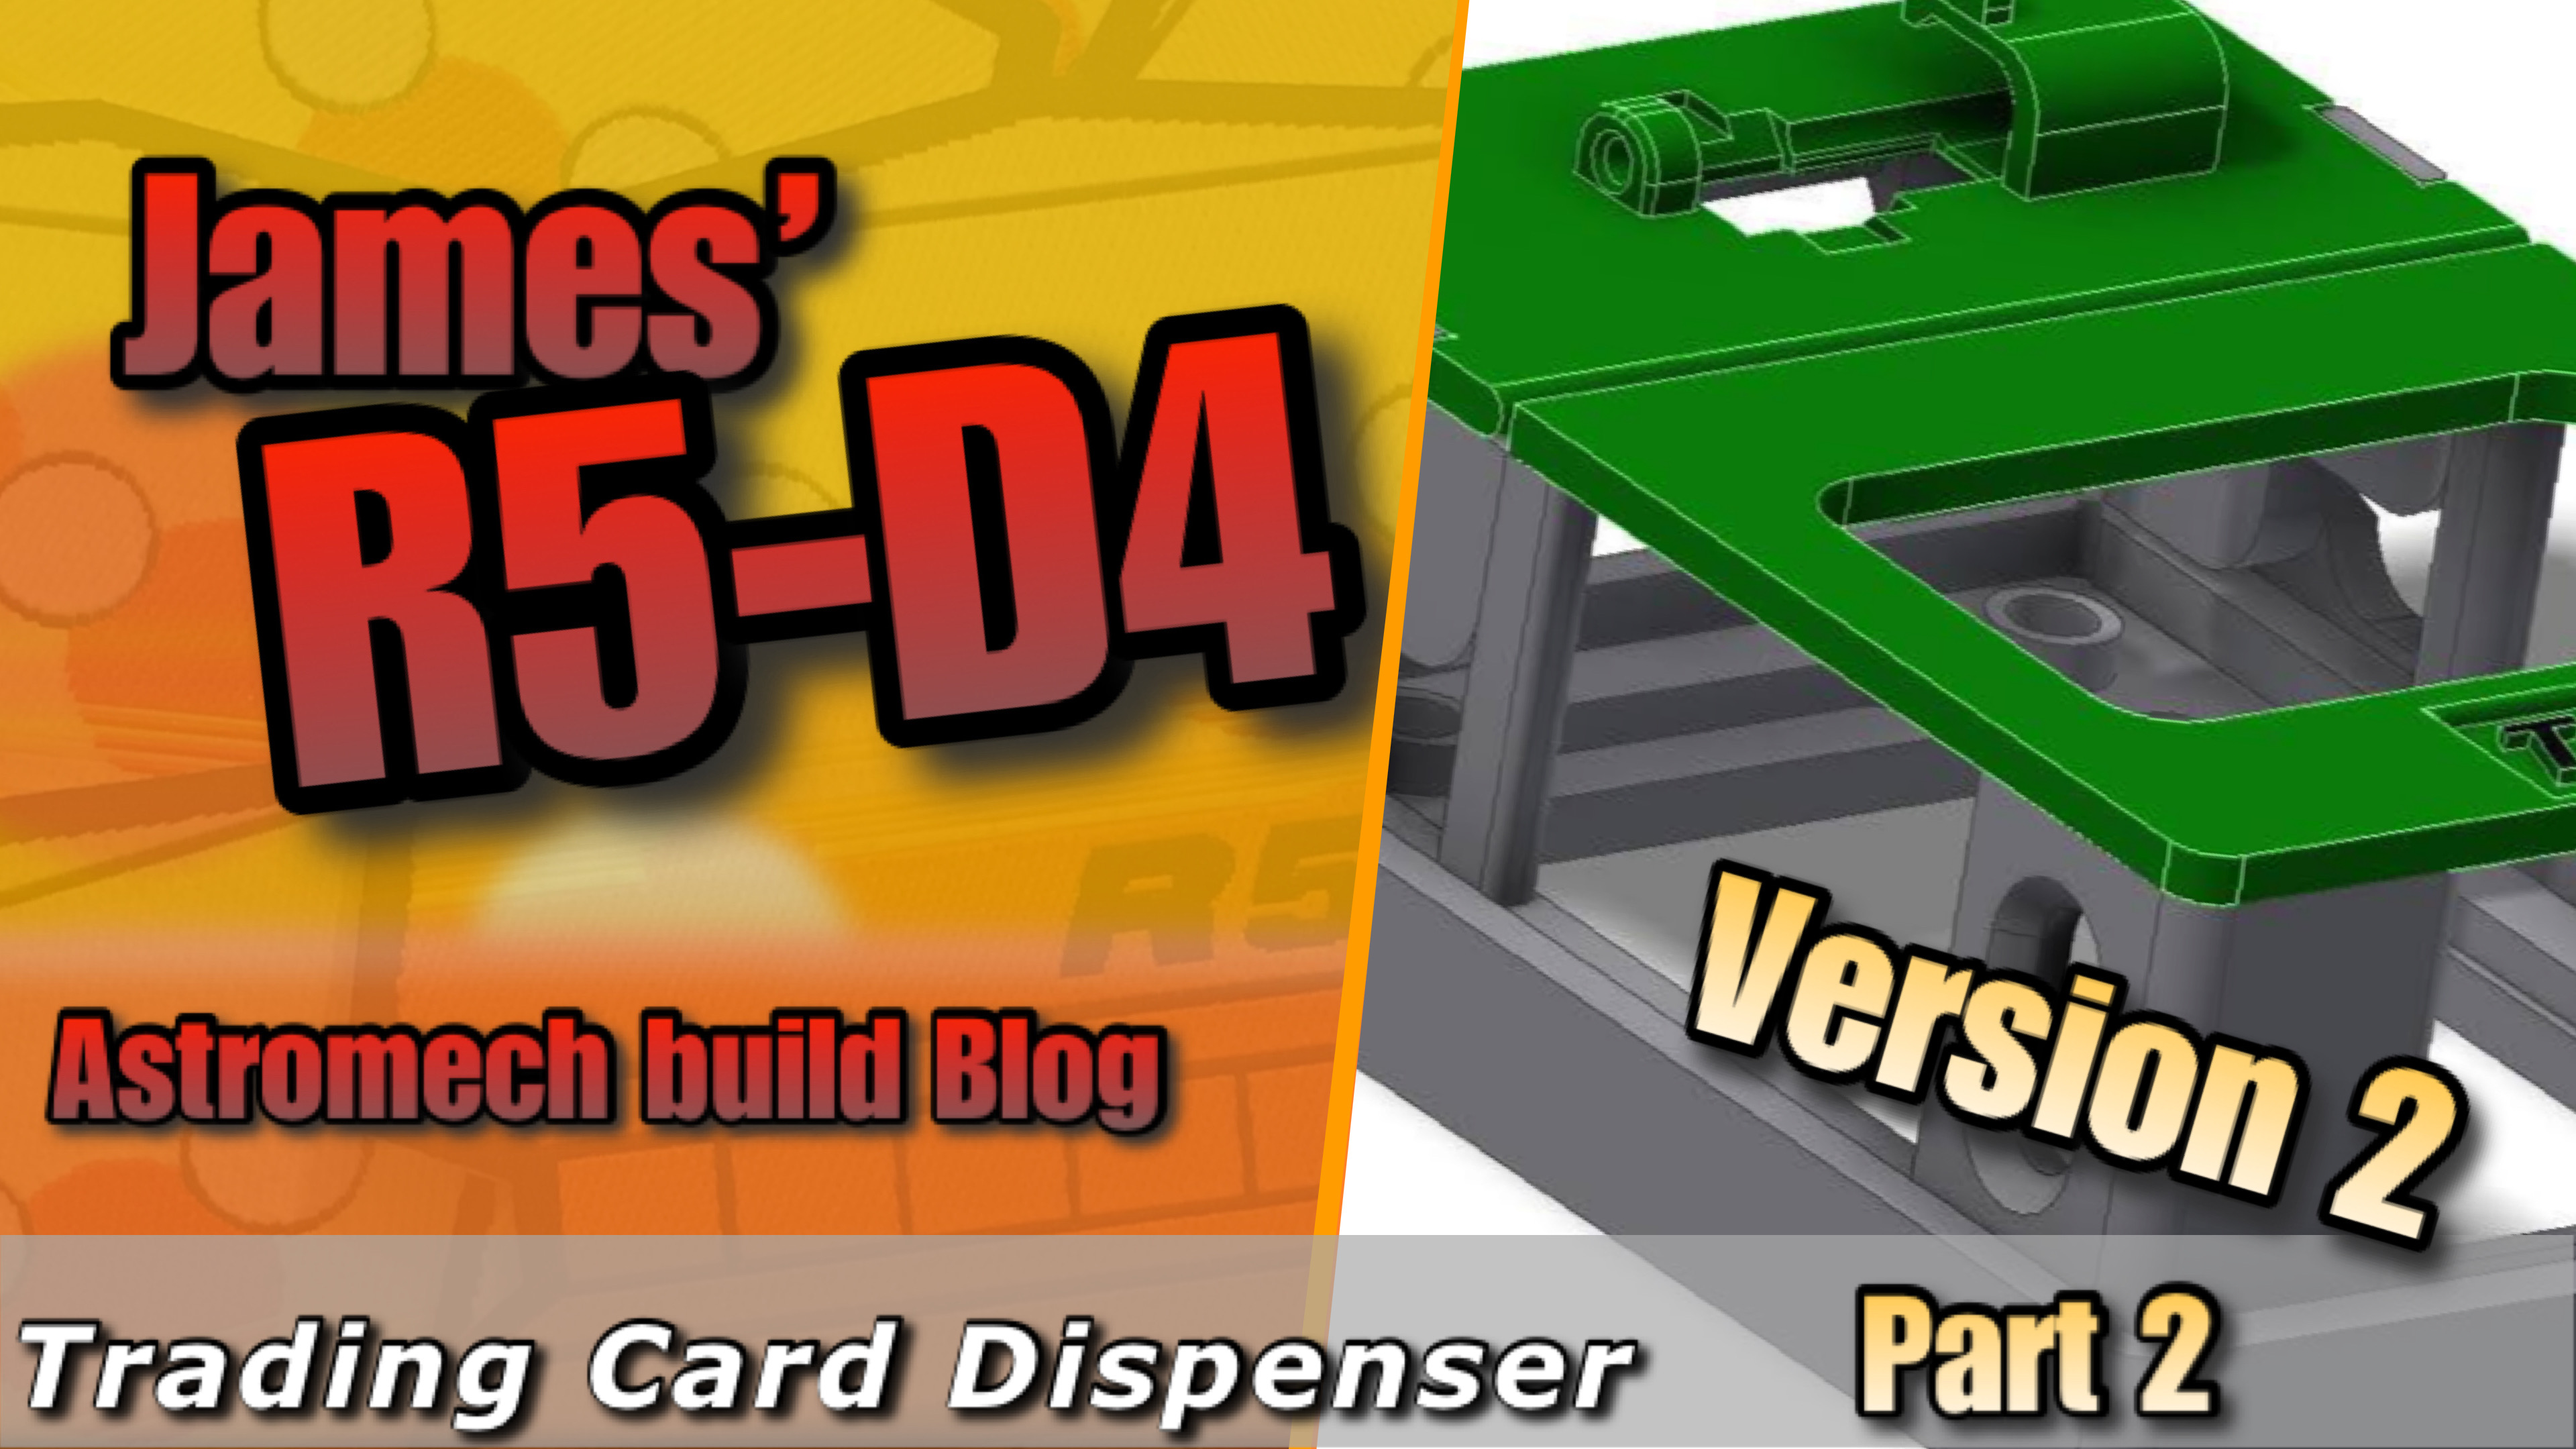
Trading Card Dispenser : Version 2…. part 2

First test printing of the parts at 0.15 layer height.
Then trimming and filing off layer lines so that everything that 'touches' runs smoothly. The card plate and the top plate are printed so they have smooth surfaces from the glass print bed.

Before gluing on the top plate, the card plate and springs have to be installed first. I had to check the cards would fit ok....

Next up was to install the mini motor, wheel adaptor and rubber wheel. Then measure and cut the aluminium rod to length, and push it into place for the wheel support axel. The motor needs to be wired up still, in this next picture.

A few test to be carried out and also a modification to the original bracket to support the new unit, possibly……or the main unit could be redesigned to accommodate a bracket.

......UPDATE

So I drew up a new bracket case version (to fit into R5), and I also made it curved at the front, this is so that it would sit flush with the NEW Utility arm socket screen, that I also 3D printed off. It wasn't painted, so will have to do this before R5's next event.

They were all installed last Friday, ready for action at MegaCON Live in Birmingham, see other post about that day in Event Report.

January 25, 2020

Another mini project 1.9 - Trading Card Dispenser

Yesterday I uploaded the stl files and the assembly instructions to the UK builders club forum.
The components take a while to arrive so it will be a few weeks before I get any feedback. But as I’ve printed the same version, there shouldn’t be any problems lol.

The other fun part was creating instructions for 3D printing (orientation & support placement), assembly of the bought components and then fully assembling of the unit itself.
Created a PDF to be downloadable with simple instructions.

I finished printing my frame holder to fit into R5 so hoping to get this all installed and tested soon. There’s still work to be done with alignment etc, so more posts on this to come.

January 23, 2020

Another mini project 1.8 - 'Trading Card Dispenser'

So after a bit more fine tuning,
the TCD is now complete.


The TCD..... The 'Trading Card Dispenser'

I was still waiting for an electronic component to arrive in order to wire everything up to test it. It arrived and it wasn't what I was hoping for, so I'll have to revert back to my original electronics setup, not a big deal as this doesn't effect the actual dispenser being assembled or operated.

I've designed this as a self contained unit with it's own remote controller & timer delay off circuit, but it would also be able to be controlled via any momentary switch, Arduino etc. I'm not an Arduino guy, but from what I know this is possible.
The motor runs on 6v and would only need to run for a few seconds.

The unit comes in 4 parts, base (in red), plate (in blue), lid (in green) & a wheel adapter which fits onto the motor. (colour's are for identification only, not actual)

There are then 4 components required to be bought in order to fit and glue together to fully assemble. I'll post up this list and an assembly instruction PDF when files are released.

More updates soon.......

December 18, 2019

Another Mini project 1.4 - ‘Trading Card Dispenser’ - micro motor

Been working on some more redesign’s for this project. Been working, learning how to creating catches, the mini magnets didn’t have enough force to work effectively.

Did draw up a new ‘axle’ for a rubber wheel, which comes off a tape deck (available off eBay). Only took two attempts to get the part to fit on the mini micro motor lol.
gear motor, 3D printing

3D printing,

This worked great so it's on to the next idea was adding an extension to this to add a second rubber wheel.
And here's the components in 3D view.
gear motor, 3D printing
The green part is the axle extension.