Showing posts with label paint. Show all posts

October 17, 2024

Treadwell WED-15-77: Part 28


July 2024:
Here was to be the final instalment of the Treadwell build 😀
Recent work has been mostly focused on making the sledge to transport WED on, via the cars roof rack.

Sounds:
Needed to fit a speaker and wasn’t happy with my original position idea. So decided to fit in inside the ‘logic housing’.

Position located:

How to find the centre of a circle lol

Dug out this adjustable hole cutter. Think I last used this to make the holes in R5’s legs!

Making a start on the hole.

One hole cut out.

Speaker fitted with its spacer ring, that I had previously made for the GOID-4 messenger Droid.

Re-installed the ‘Logic housing’ (the hole cutter wouldn’t fit inside it).

I had added longer leads from it to reach the amplifier board.
Just need to finish off some connections and save some sound files. Keep forgetting these last two pieces. Needed to buy a proper servo controlled switch, similar to the one used in R5, but this ones a single and much smaller.
Another tweak, was the addition of a volume (potentiometer) to boost the sound. When I couldn’t hear it at Mshed event, I knew I had to install one.
3D printed the knob from a file on the Prusa printables website.

Had to rewire the signal to volume dial to amp to speaker wires.

Claw arm servo:
The new micro servo arrived sooner than expected lol, but I had already started on a modified 3D printable housing to fit a new metal geared SG90 size servo. It didn’t take up much more space , but i had to reposition the securing screw, and add a second one.

I used brass knurled threaded inserts & M3 screws.

I made a slot in the side to allow the servo horn some freedom. This once finished, could be covered.

I needed to add a slot in the claws tube to allow some flexibility for the wire that connects to the servo horn.

I also added a location hole for a screw.

Next was to remove the servo plug so that it could connect with the servo lead.

Almost forgot about painting it…..
Primer applied after some sanding.

Weathering:
Dug out the paints and got to adding brown, yellow and ochre.

Then black to give the dirty oily look.
At the Mshed event, I was asked by some of the builders if Tread was metal construction, they were surprised to hear the upper section was all 3D printing.

Upgrades:
I know I said this was going to be the last post on this build, but I have a few more tweeks to do with things I wasn’t happy with, so there’s more to come.


July 25th…….
Wheels:
The original wheels were spaced away from the base, as can be seen in these two  photo.

original deleted scene SW ANH
remade version for the prequals
    

So I decided to draw up some spacers and 3D printed them. This along with some more substantial axle bushes with bearings in, to better support and properly align the wheels. And finally, some new axle's at over 180mm in length!

June 11, 2023

Treadwell WED-15 droid build : Part 18 - body/wheels


Month of June, and on my list of things to do for WED & things to source - parts:
  • Wheels : make/buy/3D print ?
  • Speed controller
  • Motors
  • Tracks : source & buy/make(?)/3D print ?
  • Receiver to use with the Flysky transmitter.
  • Batteries
  • Prime/fill/sand/repeat for the wood base.
Ordered some more primer paint this week.

I drew up a track from the plans in CAD. This was to add to the 3D build and possibly to 3D print in TPU. But the length is a problem for it to fit on the build plate lol, see picture 😂.

So for now it’s just for the 3D model.

Just to see what it looks like. I may have to make these…..how, I’m not sure….????

The rest of the week was working on the msin base:
  • Applied wood filler to certain areas.
  • Sanded once dried.
  • Primer arrived and so I continued on with spraying up the base.
  • Once dried I gave the unit a light sanding.
  • Then applied more light coats of wood filler to the areas that needed it, mostly to fill in the grain patterns.
  • Once this dried, I gave another light sanding. This repeated for some time lol.
Progress pictures:


Repeat until mostly happy 😃.

The same process was applied to the two lid panel hatches. The edges and wood grain were the focus of the work. The rear panel still needs a lower/inner skin of wood fitted.
Once the filling , sanding and primer painting was dry, I gave the whole base a coat of blue.


The two logic housing top panels that were the wrong size, I cut these down to fit under the mast base. These were primed and sprayed blue and clear coated. They were then screwed into place.

I decided to print off a drive wheel!
I had drawn it up in two half’s months ago, but rather than fit them together, I printed them off together as a one piece wheel. One thing I did add to the design was an angled edge on the inner edges. This is for helping align the inner track guide.

And here it is in a test fitting:

Before I left for the weekend, I set the printer to print off the other three drive wheels…… 2days 12hrs in total!!

The wheels have larger than needed axle holes, as this allows me some flexibility with the drive motors, shafts etc.

Drive setup:
Been looking at speed controllers & motors.
Just have to decide on 12v/24v and either belt/chain or direct drive of the main drive wheels.

February 12, 2023

Treadwell WED-15 droid build : Part 12 - 3D printing / painting / woodwork

 
This update covers the last 3D printed mast pieces, spray painting, part assembly of the mast and the beginning of the tread base section.

The upper section of the mast, required its opening to be enlarged to allow the servo pivot arm to fit through.
The off set upper square section
 
Friday 3rd February:
I set the works 3D printer off with lots of different pieces, including the last two mast parts.

Monday 6th:
Progress this week was, gluing the sections together using the PVC tube as a guide for centralising and squareness. Some of the inner diameter’s do still need a bit of filing to make things easier to slide over it.

The mast was primer’d in sections for ease, see above picture, then the parts were fitted onto the PVC pipe, to help with alignment, and the sections glued together, but not to the PVC tube though.

The plan is to primer over any joins still not sprayed. The main PVC tube needs to have cut outs made for the claw arms servo horn fitting as well as the claw servo activation, so will be done once the sections are in the correct positions.

I also set up the printer to do the base stand , in ABS. I started it in the day so I could keep an eye on its progress, what with all the issues people have with printing it.

I didn’t need to worry as it printed fine.

Ultimaker S5:
clean glass bed,
thin coating of prit-stick glue.
The open top now has a DIY enclosure made by co-worker Will, which also has a filter and extractor fan.

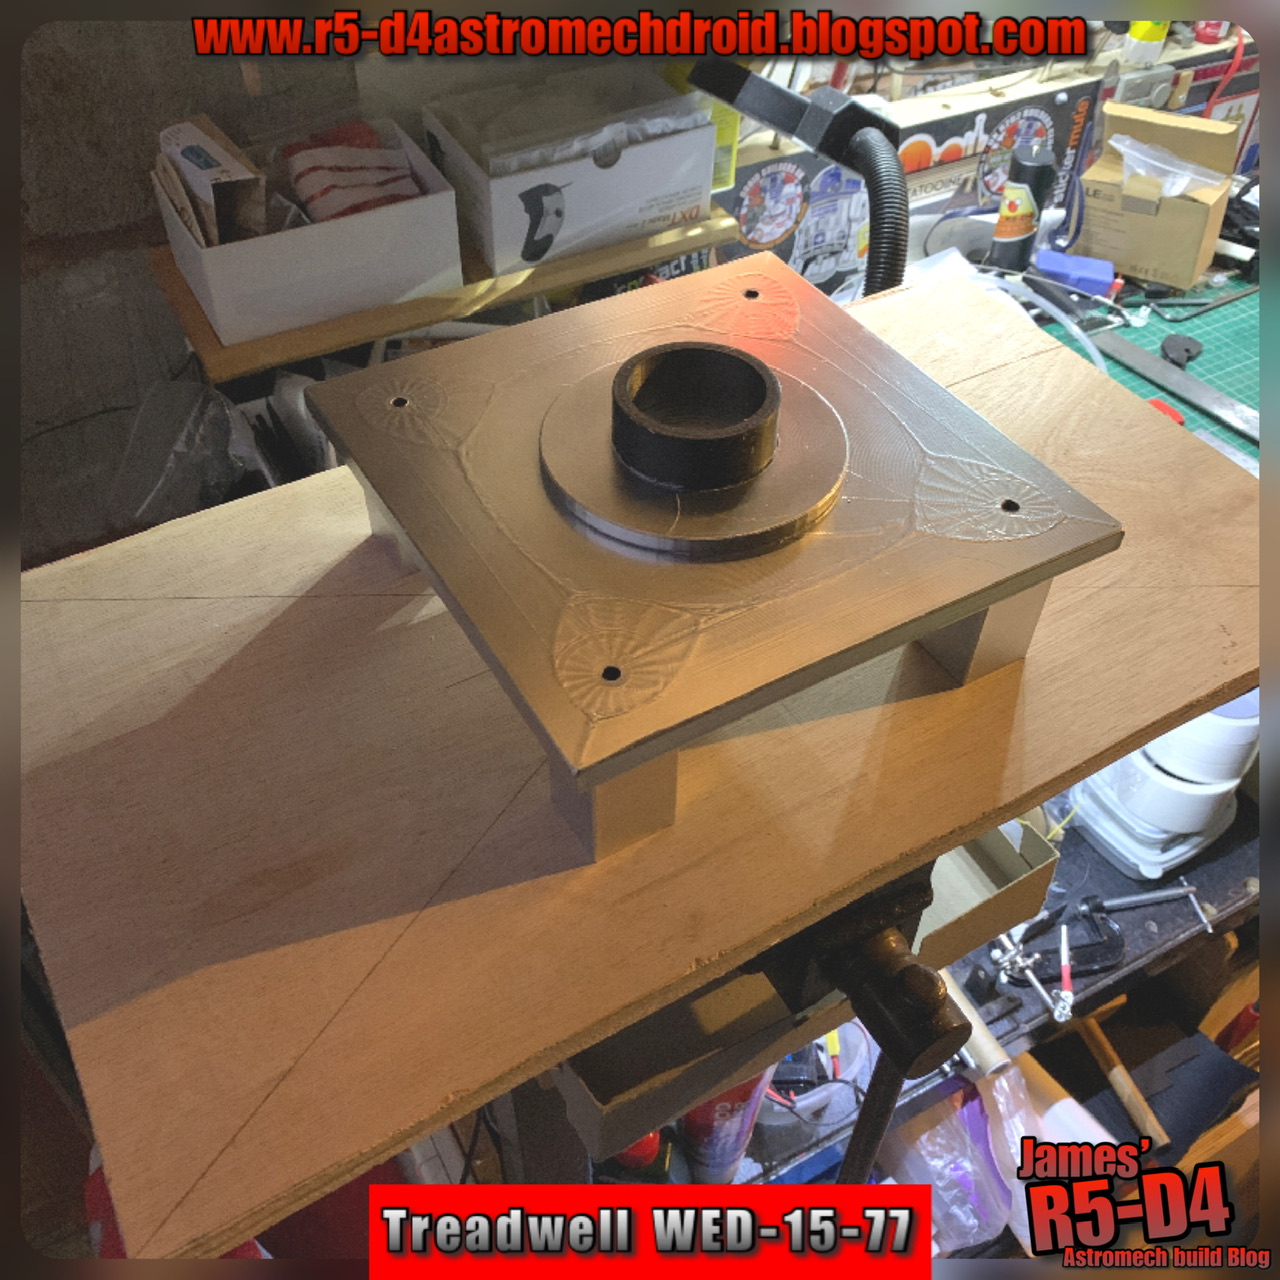
On completion I realised that I needed to design an adapter to help locate the mast’s PVC internal tube, as the base plate hole was too big for my tube.

Adapter printed in ABS, and fitted to the lower mast section, this has an inner sleeve that fits the PVC tube and an outer sleeve to fit over the base plates raised flange.
I will be fitting an additional location flange inside to the wheel base to help reduce any possible flexing in the mast base to body area.

Next I drew up from the blueprints and printed off the base’s four legs (in ABS).

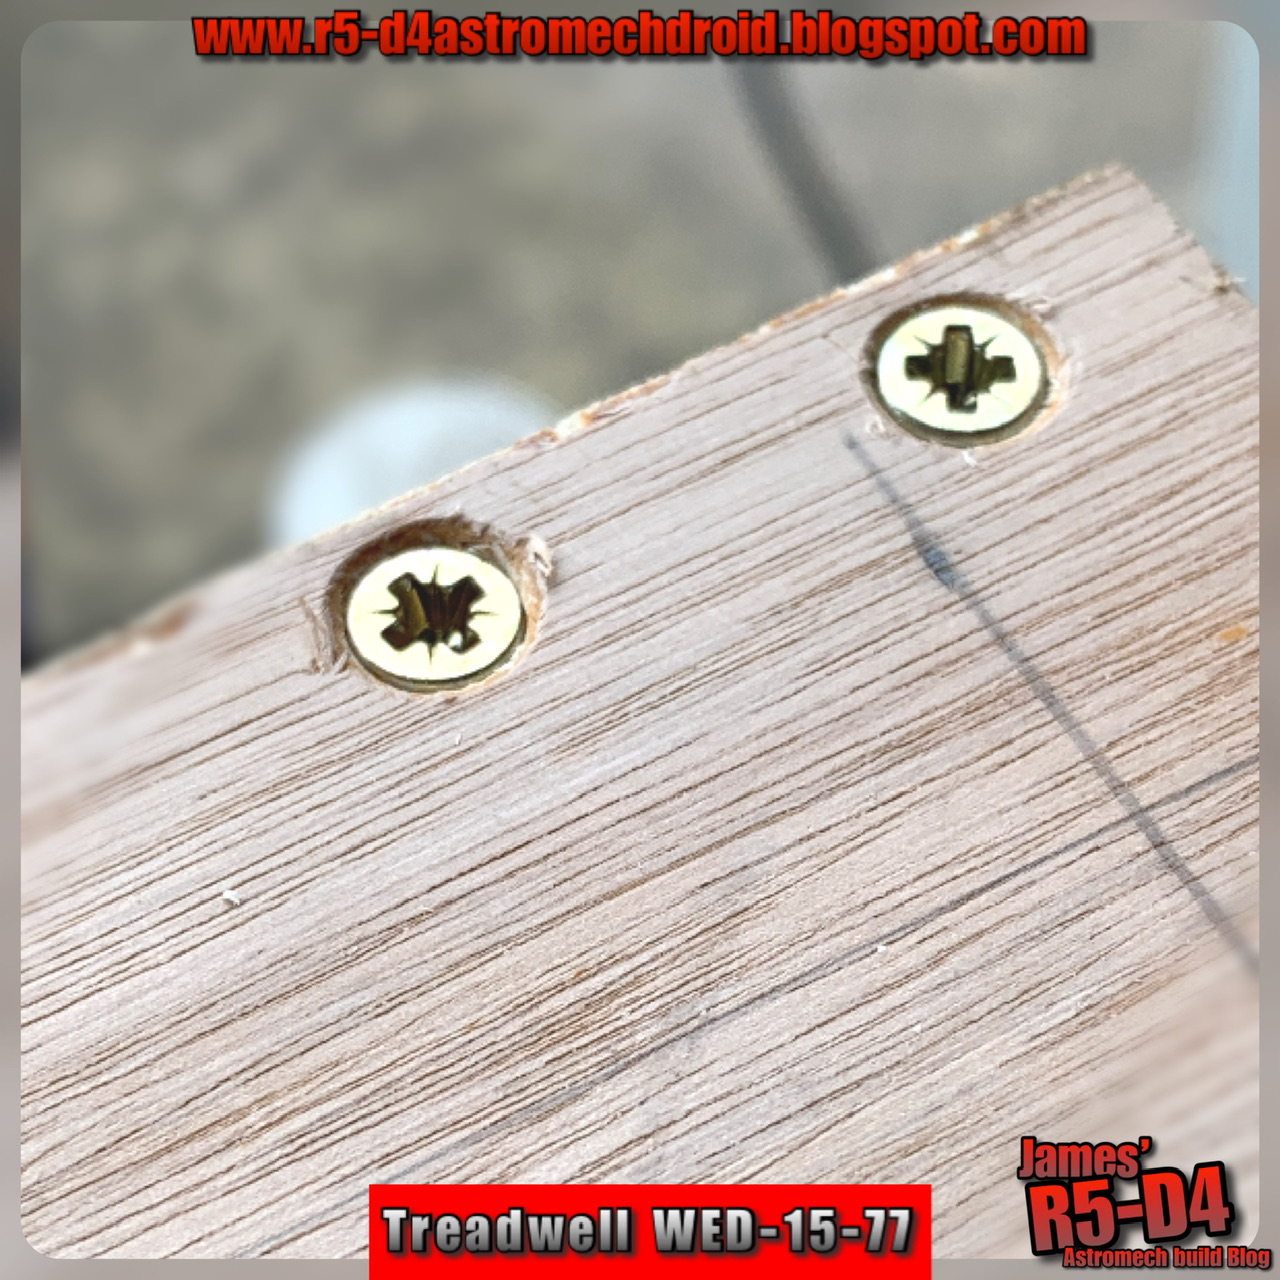
Base masked off ready for primer. The screws are too secure the legs whilst the glue dried.

I messed up on printing the correct missing mast piece so that’s on my list to do. I had also glued two sets of pieces together by mistake so I had to cut these apart to be ready for when the last mast piece is printed

Spray painting:
Primer and more silver (chrome) painting of the mast sections as well as the base plate.

Woodwork:
I cut out the upper part of the base and after marking the centre point, I then drilled location points to secure the base plate in place.

I had cut the bottom base board a while back.
This week I bought a 12mm thick hardwood sheet to be able to cut out the two side plates (for the wheel locations) also the two end face pieces, and the upper section (see above picture of mast base plate fitted to wood panel).
Tape measure on base for size scale comparison.


Next up was to drill and fix end piece’s in place.


I’ll be adding more supports to the internal sides for strength and rigidity. I then drilled out the hole in the upper plate.

And of course……I had to give it a test fit of the mast.
It’s been good getting back to woodworking, really enjoy the creating side.

January 29, 2023

Treadwell WED-15 droid build : Part 10 - painting

Treadwell droid
Progress made includes:
  • Second Arm - 'Clip' type
  • Replacement servo arrived [though probably not needed now]
  • First Arm - Claw arm work
  • Third Arm - Two prongs
  • Fourth Arm - Probe
  • Cables & tubes
  • Painting
  • extras.....
Second Arm: 'Clip' type:
This I call the clip arm as it's end resembles a clip you would fit a pole/broom too to locate/store it. Using previous images, I guessed a suitable size and printed it in a flat orientation. This allows for some flexibility without it (hopefully) breaking.

I used the large 8mm dia carbon fibre tube as the second stage of the arm. The clip fits onto this.
Treadwell droid, utility arm

Treadwell droid, utility arm

Next up was drawing up a new bracket. I'll use this design for the other arm brackets.
Once I'd sanded these pieces and had shaped the pivot location pin, I then drilled and screwed the bracket in place. 

Replacement servo:
The one purchased off eBay, had a piece missing out of the bag. Sourcing this item would not of been cost effective even with the partial refund given. So the seller posted me a whole new servo unit, which included the missing piece. Great!
But I don't think I'll be actually using it now..... so I'll save it for another project..... or will I....... I've just had an idea! So some more development work on this soon.

First Arm: Claw arm:
Finally the main 'Claw' arm. I needed something that could be flexible but still be able to transfer movement. I’d looked at bowden tube designs, bicycle break cables etc. Settled on an electric guitar string. This should work well, next was to locate and rig up the mini servo to it, through the new tubing, and connect to the Claw.

Third Arm: Two prong arm:
After I'd drawn these items up, they were printed off, overnight, plus an extra bracket for the last arm. The holes in them were Dia 6.4mm, this allowed for material expansion of the filament during printing, and allowed a snug fit of the carbon tube into the parts. A Drill bit was the only thing I had to use to help clear out the support material inside the holes.
A lot of sanding and smoothing to remove the print lines on the two tube arm sections; as well as the bracket.
Treadwell droid
Cut the carbon fibre tube down in length to better fit. These will be glued together eventually.

Fourth Arm: Probe arm:
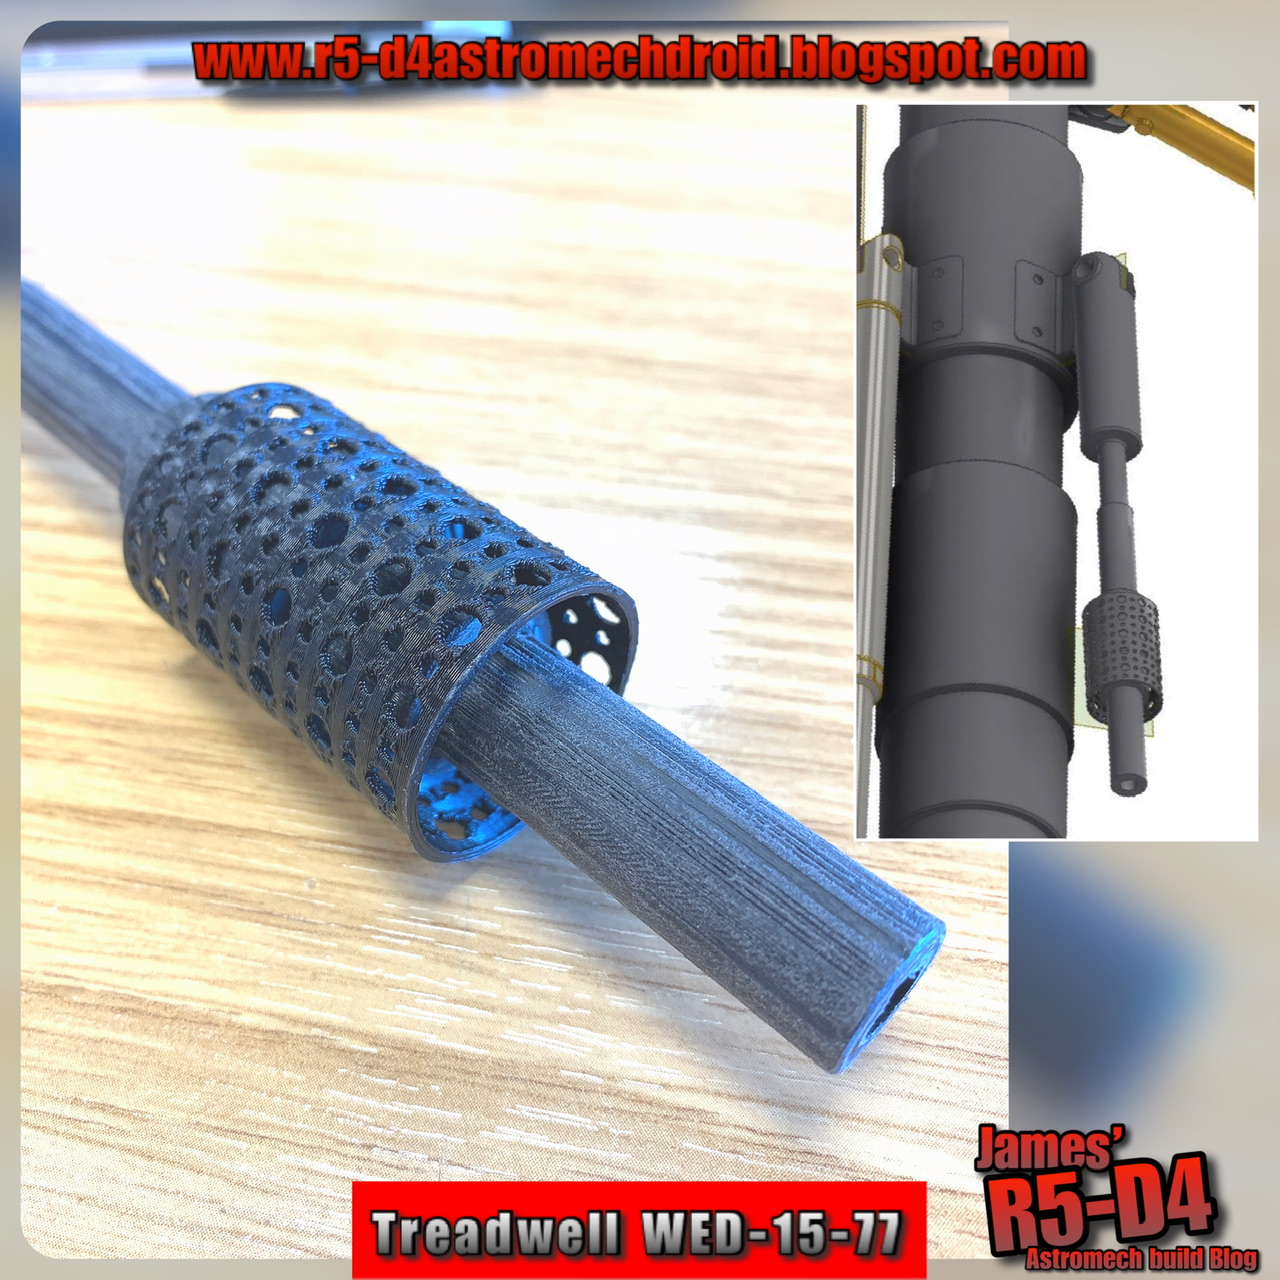
This one I drew up in 3D, basing the design on the one Paul6700 had originally made. It can be seen in my above picture (on the right). I liked the mesh screen too, so had a go at printing one off. The first version, showed up its weak points, the holes were too close together, so the second attempt had larger spacings and worked great.
Treadwell droid

Cables:
I wanted to replicate Paul’s and the original WED cables, using vintage wires. I dug into my box of old iPhone charging cables lol, as I remembered that these (older versions) had metal wire sleeves under the rubber insulation sleeve.
Tubes:
The plastic tubing I had was the right size, but was still a bit too stiff, I wanted something more flexible that wouldn’t hinder the movement of the claw arms motion. I searched for silicone hose and found translucent tubing. The right size was available and it’s really soft and flexible (eBay).

Painting has begun.
Sunday 22, bit chilly but decided to make a start on spraying up parts. The eye units, the neck and base plate parts, were primed first.
Treadwell droid

Treadwell droid

Treadwell droid

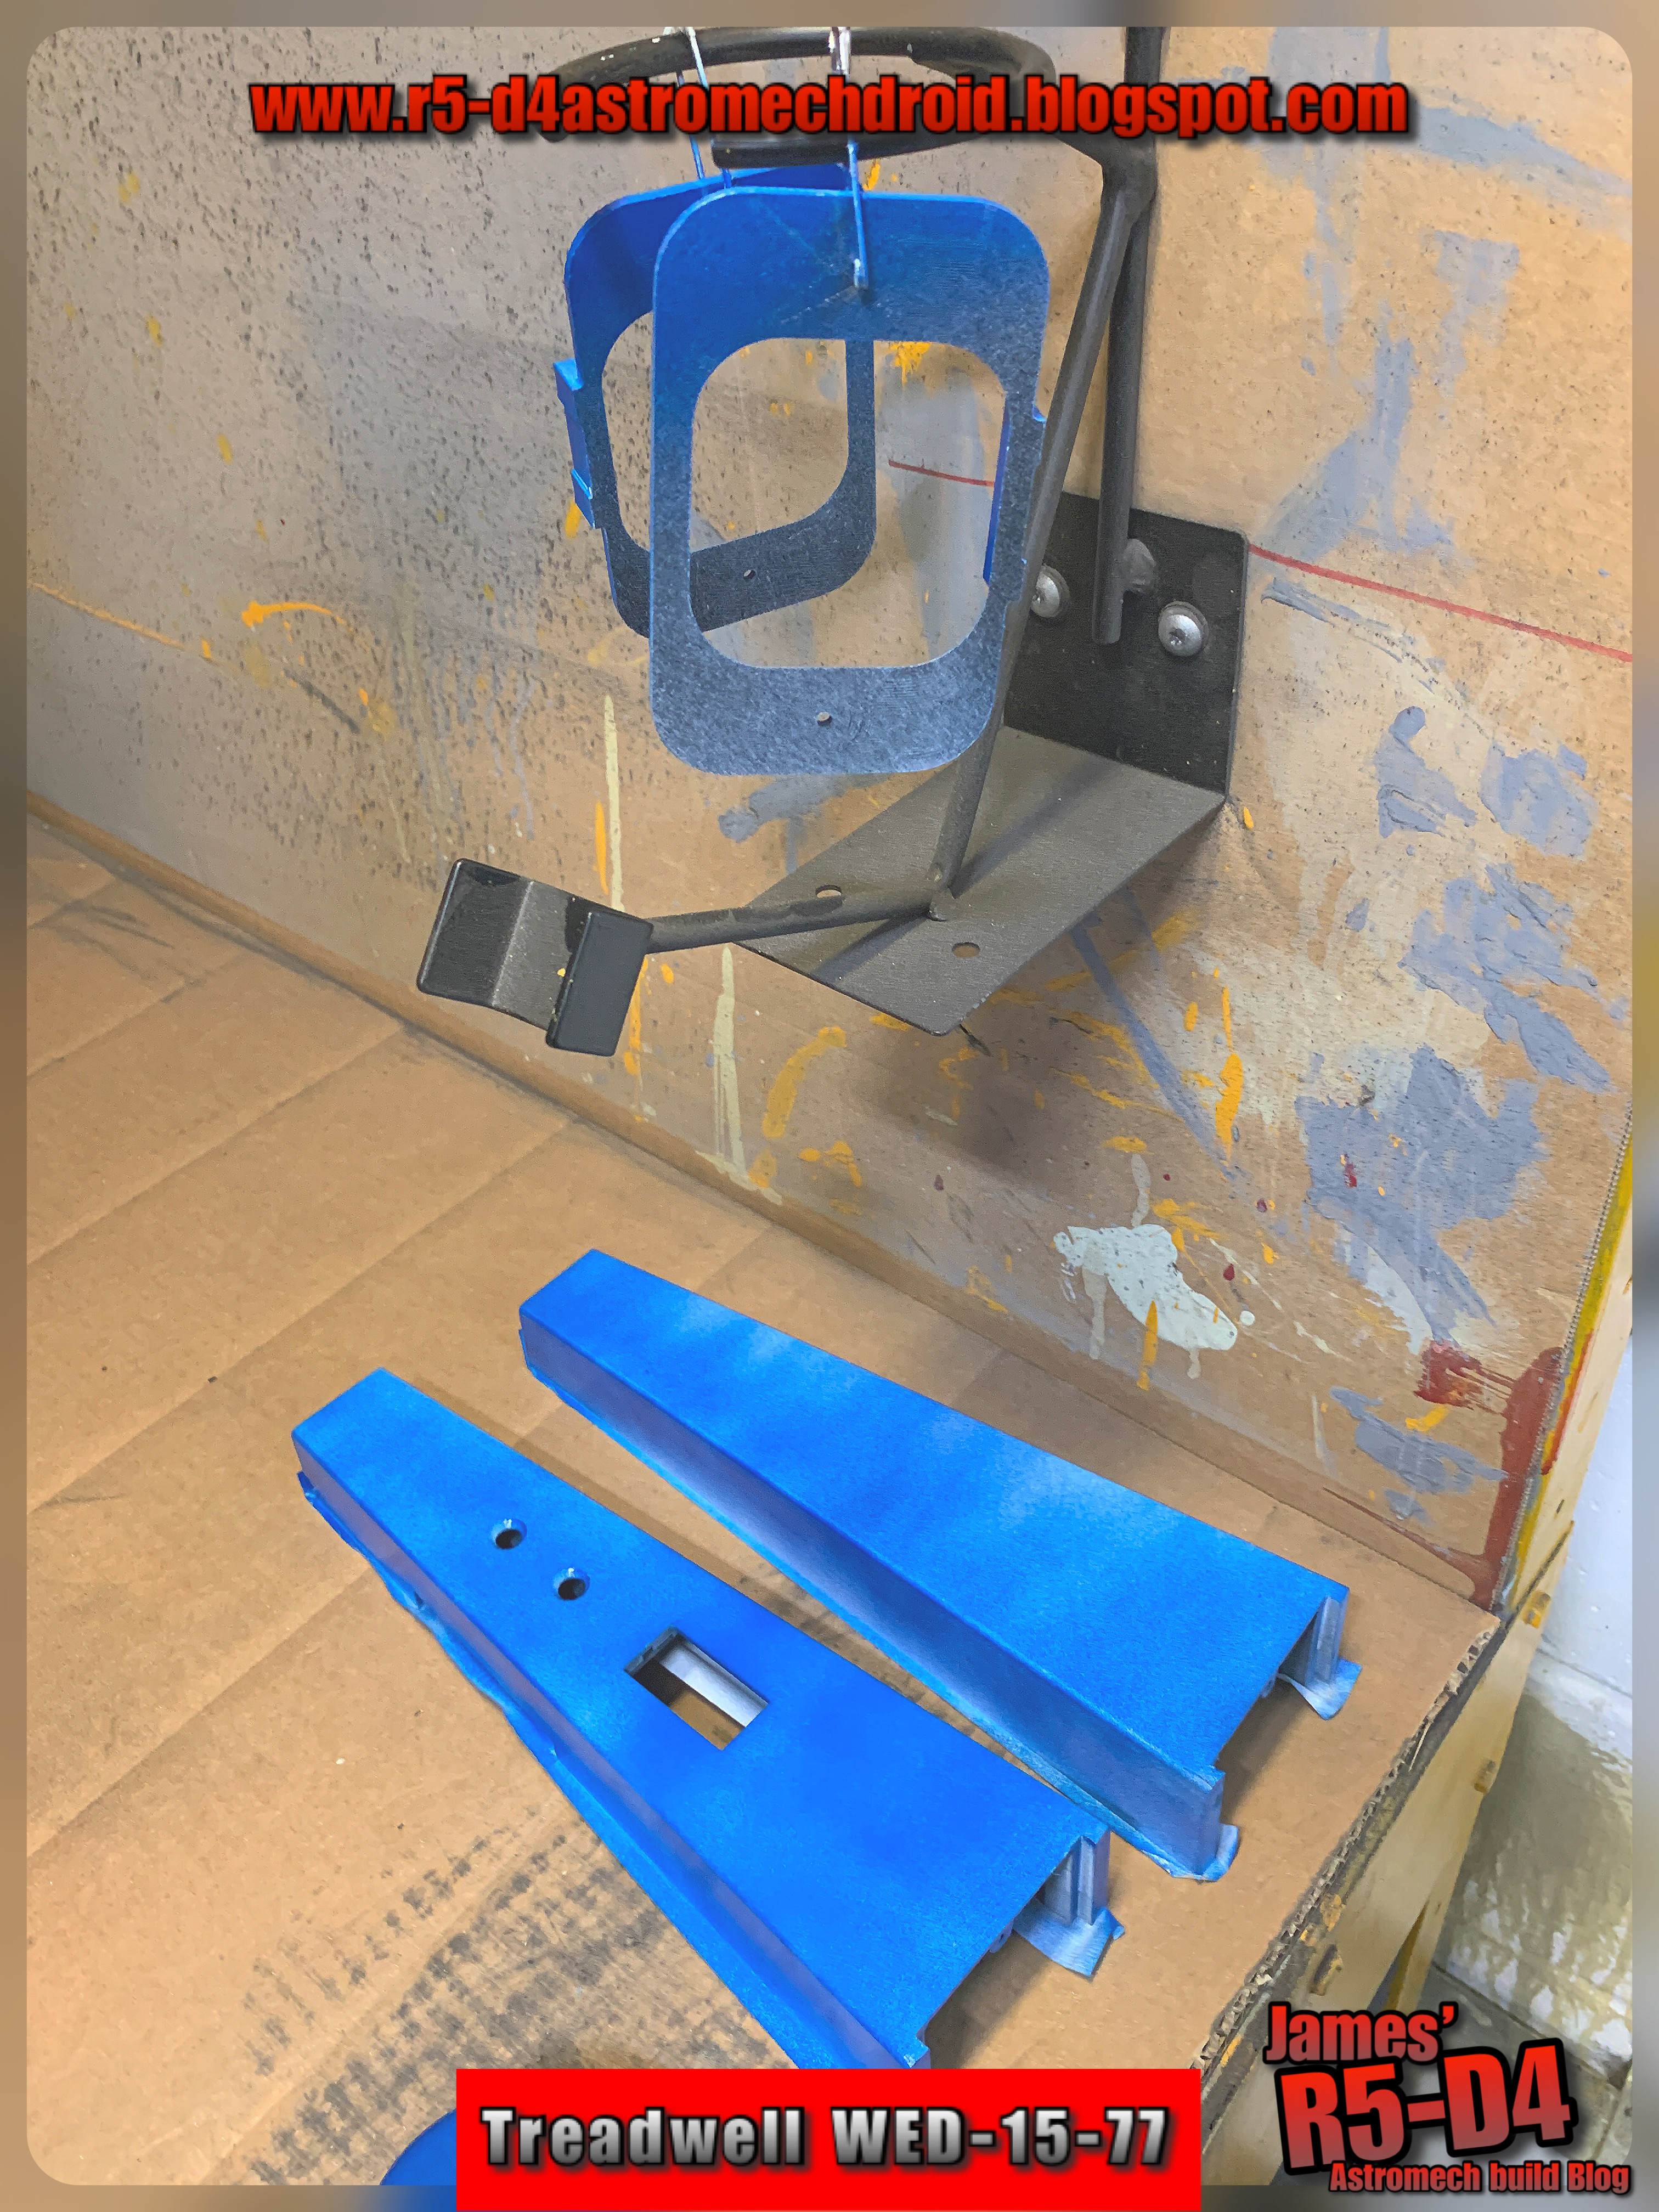
Monday, I found (I hope) a suitable blue spray paint for the eye units, and later, for the base. Picked up two cans.

Tuesday, I took the pieces I wanted to spray up, into work. They have a spray booth and it's inside in the warmth lol. I used the metallic silver (what was left of the tin) to spray up the base plate and the eye brackets. I had added some super glue the night before to areas that the primer didn't fill in. This actually adds to the effect, along with the print lines looking like machine lines. Result!

Treadwell droid

Treadwell droid

I next sprayed up the eye units with the blue spray paint, I think they came out ok. I did make the mistake of spraying the eye that's still in two pieces separately, so these will require a respray together lol.
Treadwell droid

Treadwell droid

Treadwell droid

Treadwell droid

Finished look.
Treadwell droid

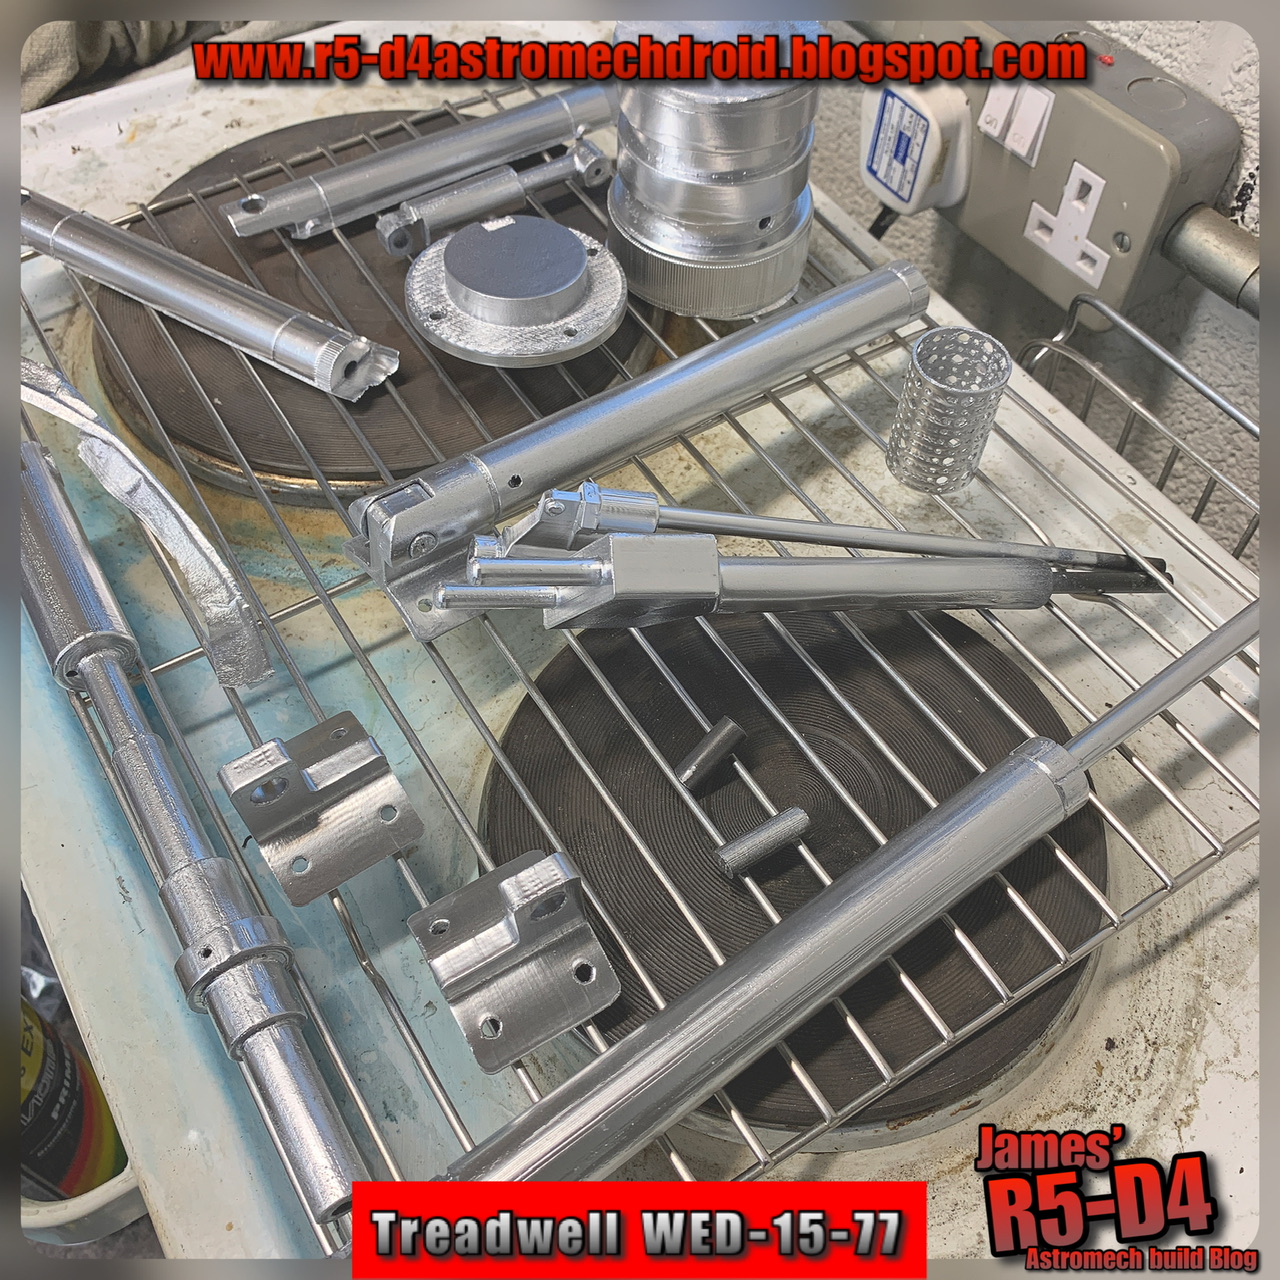
Wednesday, I primer sprayed the arms.
Thursday, the arms etc got the silver spray treatment.
Treadwell droid

Extras....
Lastly, I drew up some extra pieces and test printed them off. These include covers for the bottom of the eyes, where the legs poke through.
Treadwell droid

I have also drawn up and printed off a new upper neck servo mount as a test piece. This would replace the need for the motor to turn the head assembly left and right. I've incorporated the bearings in it again, to help take the weight off the servo. This is still a WIP, as I need to see if the servo is strong enough to move the weight of the head, more soon.