Droid Builder
Extra Projects & Event Page's
- Home
- Trading Card Dispenser (version 2) - TCD [2020/2022]
- Trading Cards
- R5-D4's ....Bad Motivator development
- R5-D4 - silver neck details
- R4-D4 - Dome [wood build]
- R0-D4 Dome [wood build]
- 3D Printing - Star Wars stuff
- *** Star Wars Shoes ***
- Event: Droids @Mshed Bristol 2026
- Event: Droids @Mshed Bristol 2025
- Event: Droids @Mshed Bristol 2024
- Event's 2018
- Event's 2017
- Event 2016 - "Celebration Europe"
- Event's 2015
- Event 2014 - Chippenham Sci-Fi
- R5-D4 - events page - The beginning (2013)
- ** R5-D4 patch **
- R5-D4 Photos
- Costume for my Son - Han Solo -
- Costume for my Son - Boba Fett
- Droid Caller - Han Solo style
- Scanning Crew Container - Transmitter Storage Box
- Stormtrooper - me
- Rogue One - trading card storage box
- Rogue One
- Jabba’s gate prop for Celebration 2023
- GOUD-4 Messenger Droid - Solo ASWS
- Treadwell Droid - WED-15-77
May 06, 2021
Alternative 'RED' Boosters
April 08, 2021
Alternative 'RED' Booster colour's 2021
I printed off four location pins, which will be fitted to each half section as can be seen in the picture below.
Grey primer applied over the filler primer. Whilst this was drying I got on with sorting out the location pins for the second Booster cover.
December 31, 2020
R4-D4 dome lid modification - part 1
I know, I know, I’ve not finished the last two mini projects lol, but it helps me be busy whilst awaiting components.
Been thinking about fitting the Life-form scanner into R4’s dome, as he doesn’t have any special features.
This tho requires that the lid needs an opening hatch/panel. Firstly I was thinking about making a new lid, either out of wood again or 3D printing one, but apart from being time consuming, I just wanted to get it done. Lol :D
So I’ve roughly marked the underside of the lid to check clearance and it looks like it would fit.
Next up is to cut out the red panel.
December 21, 2020
R0-D4 Dome update 2020 (Part 2)
Thankfully I still have the original wood neck ring, so that I could match up the painted stripes.
There are four quarters which have thicker vertical bands. These had a stripe of masking tape and the pin strips to prevent paint bleed.
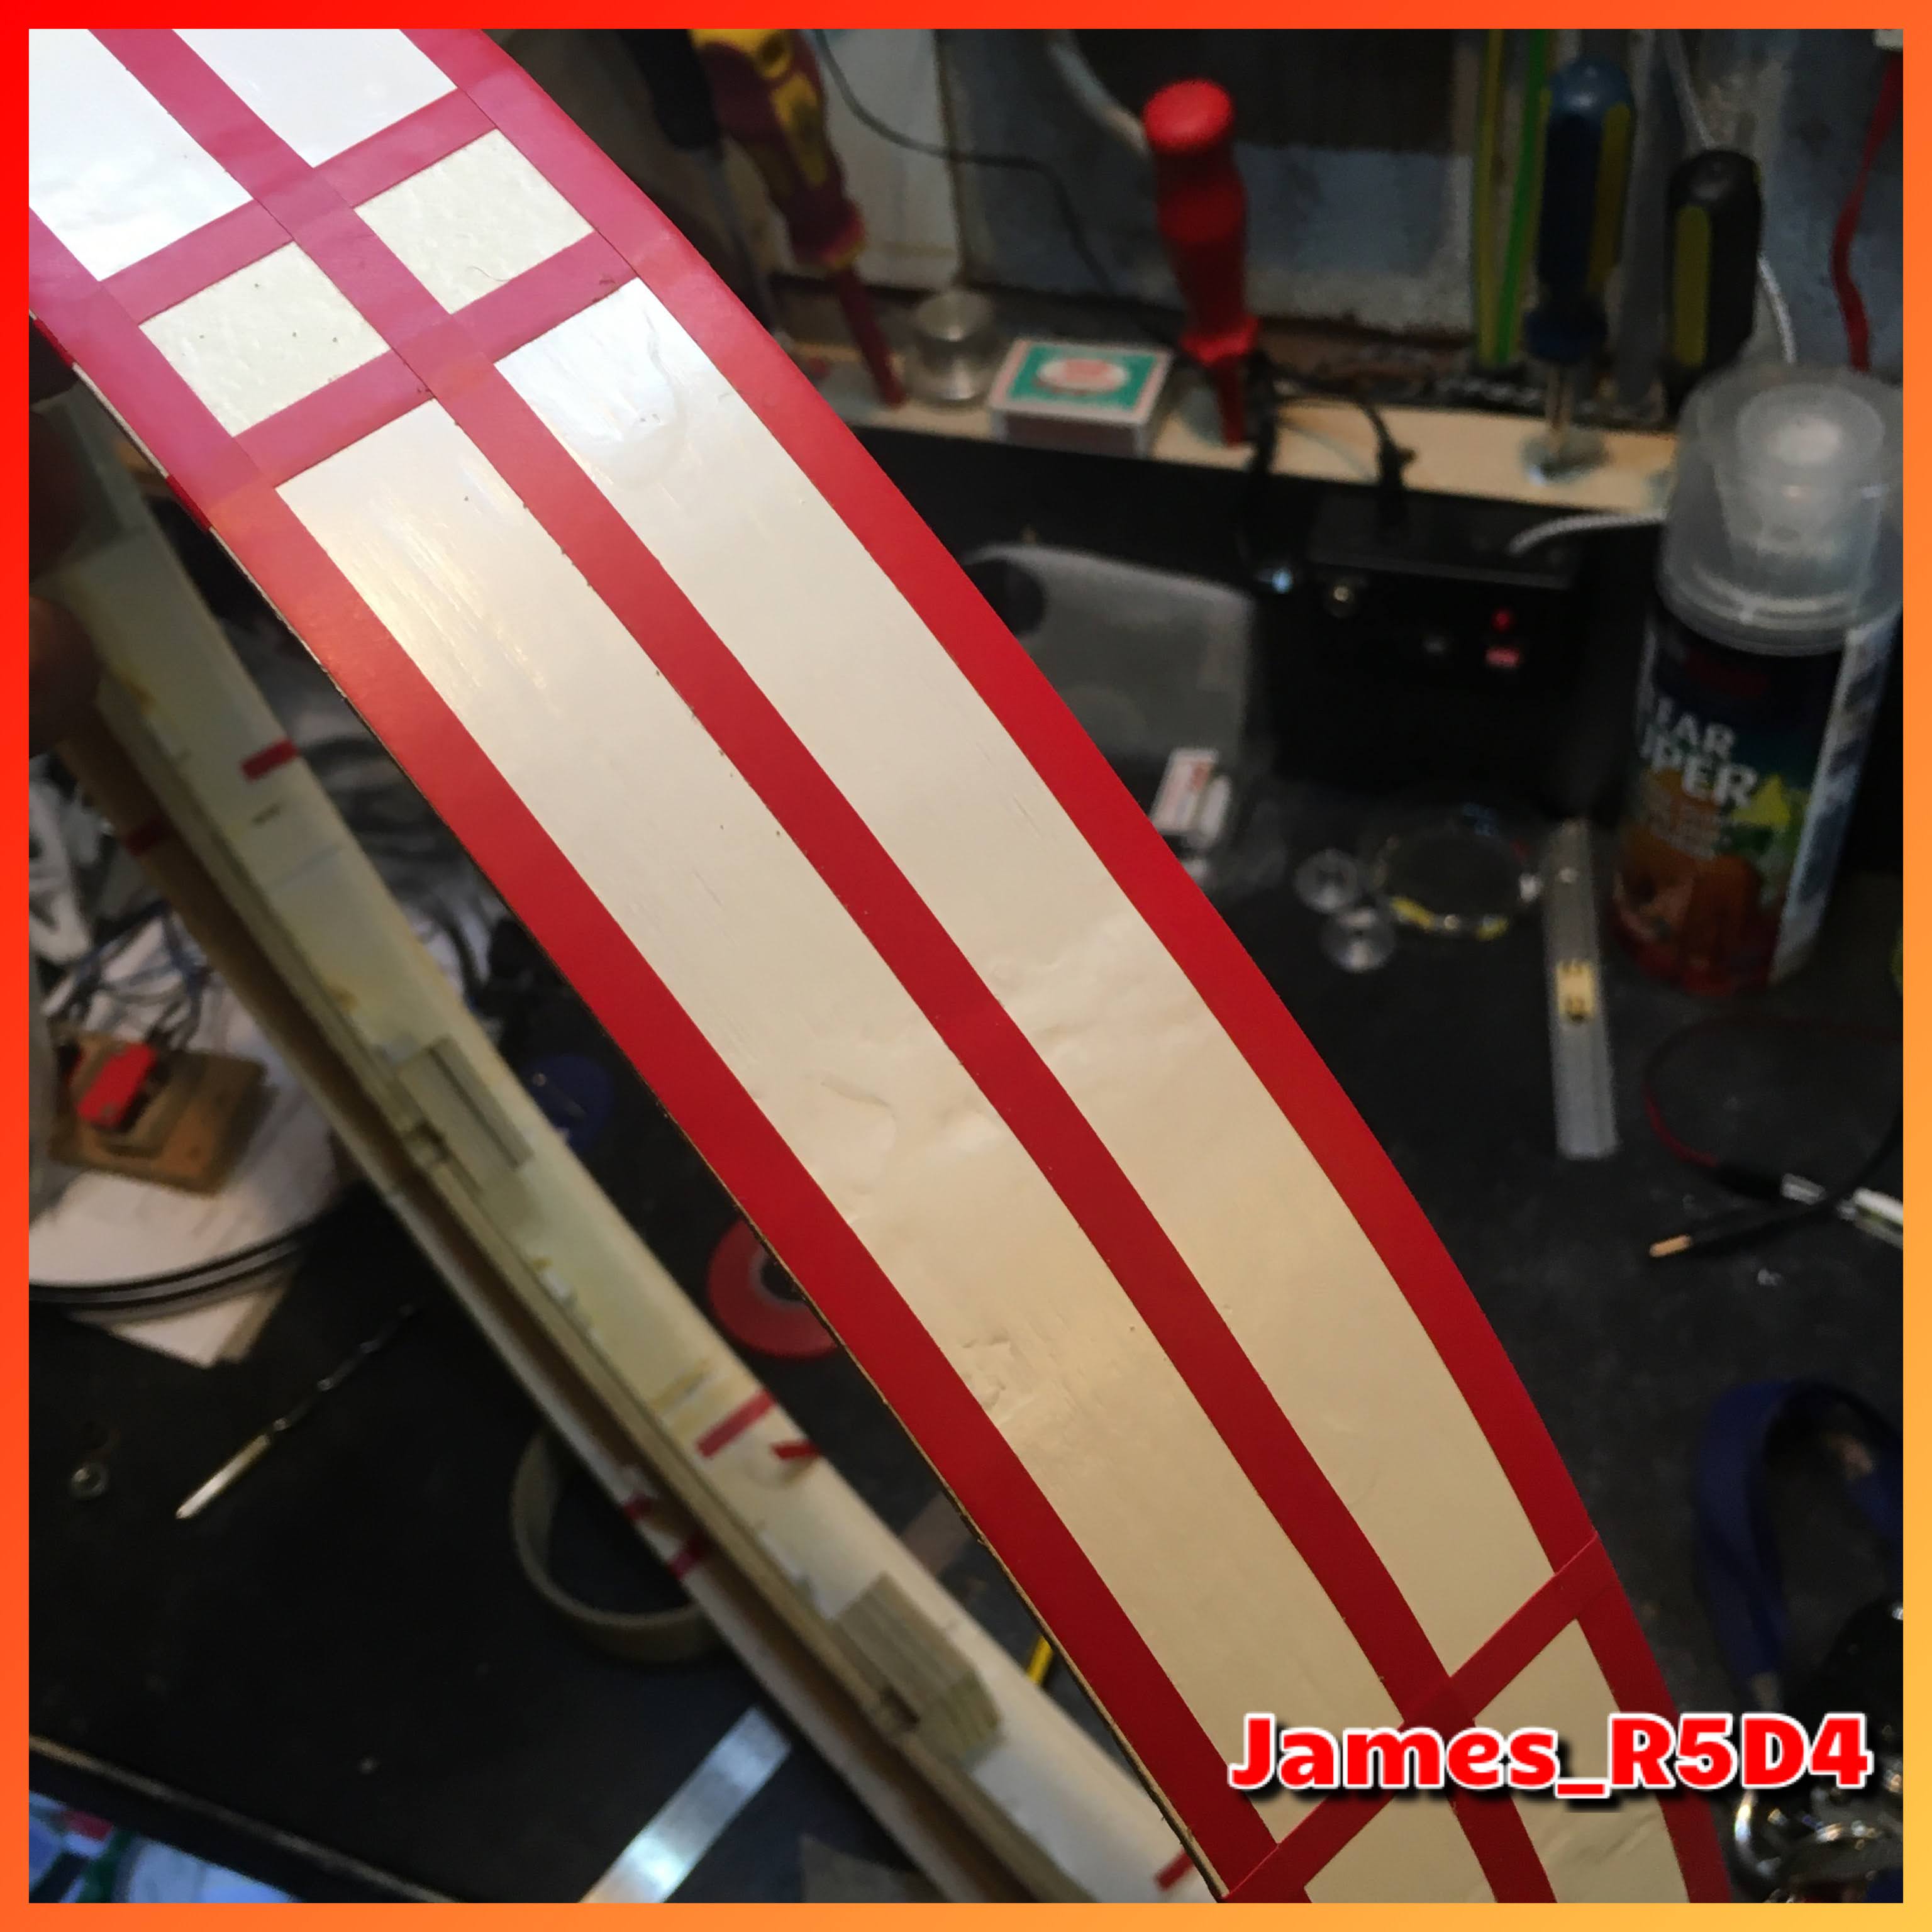
Next came the top and bottom bands, again using the pin stripe tape width, with an additional single thickness vertical line at each centre of the quarters. As can be seen in above picture.
Then the fun bit, spraying with the red metallic’ish paint.
Looking good. I left this for about 20mins before starting the messy bit, removing the pin stripe tape.
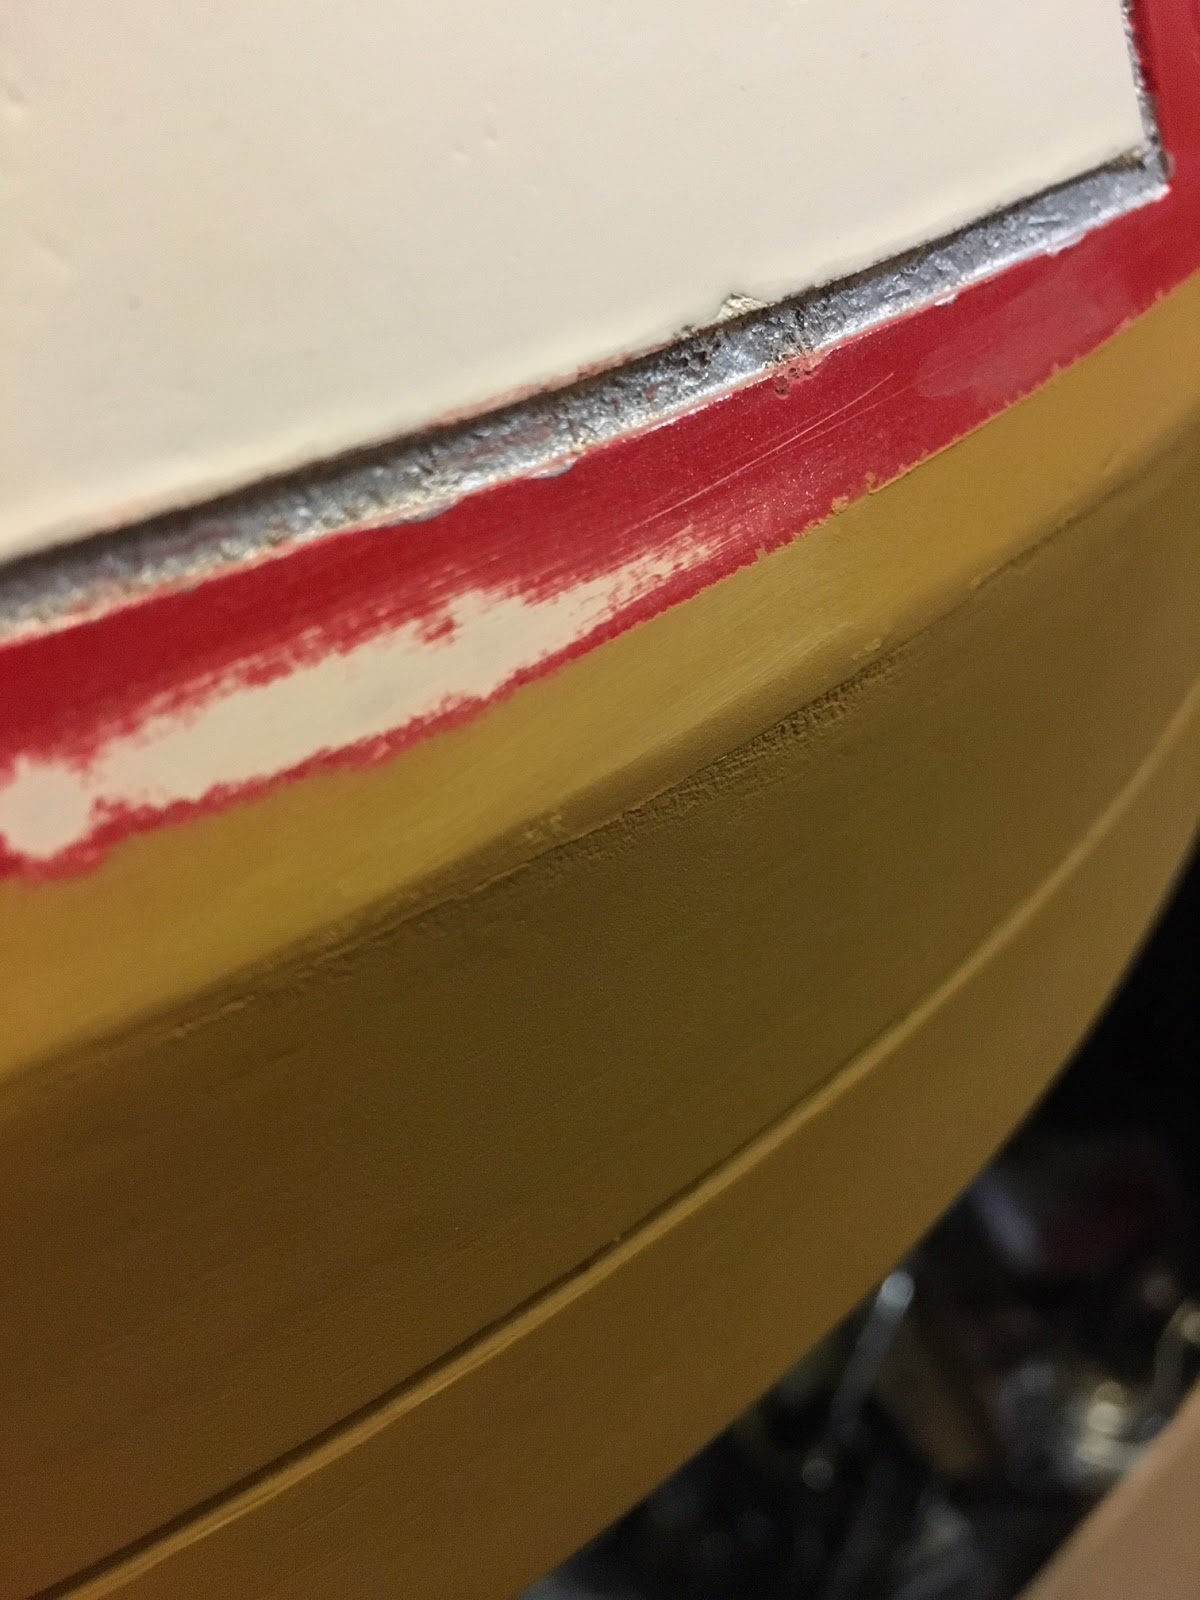
I had made sure to corner crease the edges of the over lapping tape, but this isn’t the best way, cutting the tape is. But I didn’t want to damage the paint and it’s not critical. Weathering will cover up and also chipped paint too.
Once all the tape was off, one final picture before being left to fully dry.
December 16, 2020
Utility arm UPPER socket screen (Part 3)
Test fitting of the panel identified that a few things needed tweaking.
- The utility arm wouldn’t close properly.
- The screen was still a bit tight.
January 19, 2018
R4-D4 Dome work progress 3.7 - Re-spray Dome red
But this additional coat of paint also showed up the fact that the original layer wasn't consistent enough.
So I used some wire wool to gently rub away the paint line. This takes some of the metallic shine off, but wasn't course enough to remove actual paint.
Then it was re-masking off the entire dome....which took over an hour to do!
I also had to go back to the shop to pick up two cans (not falling for THAT mistake again) of metallic red.
Friday morning, dome back in the spay booth and I got to spraying up the WHOLE dome!
And once the masking tape and paper was removed....
I covered over the white panels and the red panels that weren't effected by the previous paint line (Above picture & below picture). I wanted to do this as well as these now have a slightly lighter red to them, which I like.
So over the weekend, I'll re-apply the silver to the grooves and then clear coat the dome.
January 16, 2018
R4-D4 Dome work progress 3.6 - Silver band
- Sanded the primer and filler smooth.
- Then applied this second coat of primer/filler.
- More sanding, later that day.....in between I did this.
I sprayed up the whole neck band. The reason for the white is that the lighter colour helps the metallic red shine more, in my opinion.
Once this had dried (next day) I re-re-masked off the neck so that I could spray the lower band silver. Tho the actual colour is Pewter, it is a more natural 'silver' than previous silver spray paints I've used.
December 13, 2017
R4-D4 Dome work progress 3.1 - RED
Still have the lower ring to sort out etc. Plus colour scheme, which is actually my biggest issue lol.
Weekend, I lightly sanded the dome and then Monday in work, I gave it a second coat of white.
I drew up some colour ideas, but wasn't happy with them. Then I settled on a design that follows a standard'ish style. So, I started the masking off...
One thing I had forgotten was there are grooved panels above the Radar Eye's location. With everything going on, I'd completely forgotten to add these.....
So a quick operational procedure later and......
Two new grooves were in, PVA washed and edges sanded, ready for the morning.
I was working on the grooving and the masking off of the dome for about 3hrs! It was gone 1am when I finished up and went to bed.
Tuesday 12th.
This morning I set up in the works spray booth and got to spraying up the dome.
They only sell the metallic red in small tins.....good job I bought two!
Next up is silver groove details.
Metal for the neck ring arrived today from 'Metals4U', here in the UK. You can order strips cut to length, width & thickness etc.
December 08, 2017
R4-D4 Dome work progress 3.0
Next up was some silver detailing on the radar eye. I sprayed some into an empty can cap and then using a file paint brush, hand painted the slots on the eye.
This helps create the chipped paint effect.
Still a work in progress as need to add darker colour's to add 'dirt' effect.
Next up was to position and glue into place the Radar lens. I used fiber glass resin, marked the position and fixed it in place. I then screwed it back onto the dome so that any resin would be shaped by the dome, before it dried and that would of meant more work.
As I'm not sure about the final colour scheme for the dome, I did decide that regardless, the dome will need a white coat of paint. So I started on the lid.
A few coats and wow, what a finish!
The waves in the reflection near the middle, is the extractor filter, not the surface finish lol