November 07, 2016

Jess Testor Pava - helmet - 1.6

So last few days, I've mostly been applying fibre-glass to the inside and edges of the helmet & then body filler all over, sanding and smoothing it all out, and repeat the next day lol.
X-Wing helmetX-Wing helmet
More filler, upper two pics
 More sanding & then more filler, bottom two pics.
X-Wing helmetX-Wing helmet

Am still working on the cheek areas.
X-Wing helmet

Next, as you may of noticed in the cheek pic above, was to trim down the edges.
x-wing helmet
I marked the edges that needed to be trimmed down. And then using my circular cutting blade on my dremel, trimmed off the excess.
x-wing helmet

x-wing helmet
I needed to open up the bottom so my daughter can get her head in.

November 03, 2016

Jessika 'Testor' Pava - Flight suit & Chest Box 1.1

The jump suit, now to be called 'flight suit' lol, arrived at the weekend and although it will require some shortening of the arms & legs, as can be seen in the picture, it fitted my daughter quite well. The extra material from the turn-up's I'll be able to re-use for pockets etc. The colour is also a little 'bright' lol, but again, working with what's available & cheap.
Jessika Pava, flight suit, x-wing
Jessika Pava - flight suit
I also had time to look at making the flight suit control, chest box. Forum's like the Rebel Forum have lots of info and very creative people! There are 3D printed designs available too. But as this outfit is a reduced size version, the only way forward was to make her own scaled version. So after roughly measuring the size, I got to work on cutting up and sticking cardboard to created the chest box.

I've made the box out of several built up layers to create the grooved detail. This also add's strength to the box. The cut out in the rear was done to be able to access the internal area, as I plan to include a green LED, as per available data known. I've also not fully sealed up the box as the hose needs to be able to be secured first.

x-wing flight-suit chest box
x-wing flight-suit chest boxx-wing flight-suit chest box

Still the upper & bottom sections to complete. Then the plan is to fill in areas with filler before painting.

The hose arrived and looks good. Also the webbing came to, so I'll be able to get measuring and cutting this to length this week sometime.

Jess Testor Pava - Flight suit 1.0

Ordered a jumpsuit/overall off eBay for about £12. As the flight suit is baggy, this comes in handy for choosing a suitable size for my daughter :)

I also found some roll pin belt buckles x3 off, and also some suitable webbing which I'll use to make ALL the belts. (Note: this is not 100% screen accurate, but suitable for mini pilot lol). I also bought some flexible pond pipe, also of eBay.


And finally, I ordered some hose. Again tho, this is NOT screen accurate, but close enough.

I have also started on making her the flight suit 'chest box'. This is being made, at the moment, out of cardboard.

More to follow.....

November 02, 2016

Jess Testor Pava - helmet - 1.5

Fibre-glass matt arrived at the weekend, so was able to carry on with the inside of the helmet this week.

I had been applying body filler to the area's that already had strength. A lot of sanding but thankfully, not to much shaping needed. It helps if you apply thinly and as smoothly as possible.
x-wing helmet

x-wing helmet

Next I marked and cut out the crest shape that's on the lower rear of the helmet. With all the other things during researching, the rear area was one part I missed. Mainly due to there not being very many rear shots. 
rear crest marked for cutting
I then used my cutting wheel on my dremel to slice open the area.

I slotted out and attached a piece of card to give the end shape.

I then started applying fibre-glass matt to strengthen it all.

October 26, 2016

Jess Testor Pava - helmet - 1.4

Finished off the original fibreglass matt that came in the box kit. More on order......
X-wing helmet
side up to the roof of helmet with fibre-glassed
Decided to not waist free time, so got on with mixing up body filler and applying it to the the areas that have already been internally fibre-glassed.
x-wing helmet
Car body filled being mixed up
x-wing helmet
First layer on
I then mixed up a second batch and applied it the the second area that has been fibre-glassed.
x-wing helmet
second batch of body filler
x-wing helmet

The pepakura design didn't have enough curves created for the channel section on the helmet roof, this will need a lot of work to re-create the smooth curved section.

October 25, 2016

'R0 dome build - 4.6 - 'electrical - LED's pt 2'

1st August 2016
This piece of work was started a few weeks before Celebration Europe, but with time running out on finishing my Son's costume, this had to wait.

As much as I liked the flashing LED's project for R0's PSI unit, the blue LED's were a bit over powering for the fibre optic's and even when these were placed further away to give more of a blue glow (rather than two pin point's) I still wasn't 100% happy.

I wanted more of a glow to the panel. So quick e-bay search and I found some flat headed, 'soft glow' LEDS. I then test drilled out some wood hardboard and hot glued them into place. Next I soldered them up and connected them up to a mini 12v battery.
Fitting the LED's in place
Here you can see the hot glue holding the LED's in place
LED's in place
25.10.16 weekend update:
And here's the view lite up...........well, this was where I was going to post lite up pictures of the panel. I had glued the panel in place in R0's dome ages ago, but when I came to wire up the circuit, something happened and fried the LED's???

Really can't think how or even when this happened as am always super (ok, past history, 95% super) careful with circuits. So it's back to the design board for this part.

Jess Testor Pava - helmet - 1.3

14.09.2016
Finished off the tin & still waiting on the next one lol.

I worked on the lower area and up and round the side 'ear' area.
This was as far as I got.

Whilst waiting, I started to look at the 'visor protector' (for want of a better word lol). This piece I was not looking forward too. The Pepakura file was for mat, so I'm using ref pics to help create the actual look & curvature of it. Which is not so easy as with mat, you just hold the two ends and bend to the shape you need.


---

Well this was on hold for a few weeks, kids back to school, old/new routines started back up.....and I had no spare time. Plus I had/have two events to attend with R5, Chippenham Sci-Fi Day (Sept 17th) & Feel The Force Day in Peterborough on October 1st.

25.10.2016
UPDATE..... Finally got motivated (is the best way to describe it) to do some more fibreglass matting on the helmet. Will post updates soon.

October 24, 2016

R5-D4's Adafruits FX sound board issues....

The weekend, I eventually got round to looking at R5's sound board 'issues'. R5's 'sad' sound on remote switch no.3 wasn't working or worked intermittently. With the board out and on my desk, I thought I found that the wire was the issue. Strange tho as it is no different to the other wires, all fitted at the same time. I trimmed the end of the wire and refitted it. It's still intermittent, so will make up a new connector wire, but for now it's working, will see how it goes.

Next on my list was the theme sound that has never worked. It's file size was always in question, even tho the Adafruit runs on .wav files (not MP3's). But after playing around with the size and it still not working, I tried it on another switch.......and it works! Placed a sound file on the T04 file.....and it didn't work??

adafruits FX sound board
(old ref picture of original wiring up)
So I moved the other sound to a 'T0_NEXT' location on the board. So lost one more button, which didn't have any sound, but now gained another, a short SW Theme into lol.

October 20, 2016

Feel The Force Day - Peterborough 2016 **Event Report**

Another early start to the day, and another long journey from Bristol to Peterborough, but all in a good cause!


On arriving, there was a crowd of people queuing up and also having photo's taken with a host of attending costumers. Stormtroopers, the Movie group prop cars, Batman to name some. Mark was there, I got to briefly chat to him, with his Steampunk 'Tumbler' (inspired from Batman).

There were so many people at the entrance, we joined other costumers using a side entrance to get R5 inside. Big thanks to Emma for helping.


Feel the Force Day
This is what Feel the Force is about.
This young man spent about 10 minutes, touching R5, listening to him beep.

R2 leads the way
This is the crowd as we entered the main arena. I had to stand and wait for about 10mins as R5 was getting so much attention.

Adam & his R2D2 made their way though to where his set up was, but the main stage.
R2-D2 & R5-D4
Princess Leia meets R2
Lara Croft, Hacker T Dog, Feel the Force
Lara wasn't to impressed with Hacker T Dog's antics lol
CBBC, R5D4, Hacker T Dog
But he did want his picture with R5......good doggy lol

Hacket T Dog website link to CBBC

R5 & R2 do play nicely with each other.......sometimes lol
feel the force day, wookie's
Wookie's
More love for R5....

awkward moment.....move along.....move along.......phew!
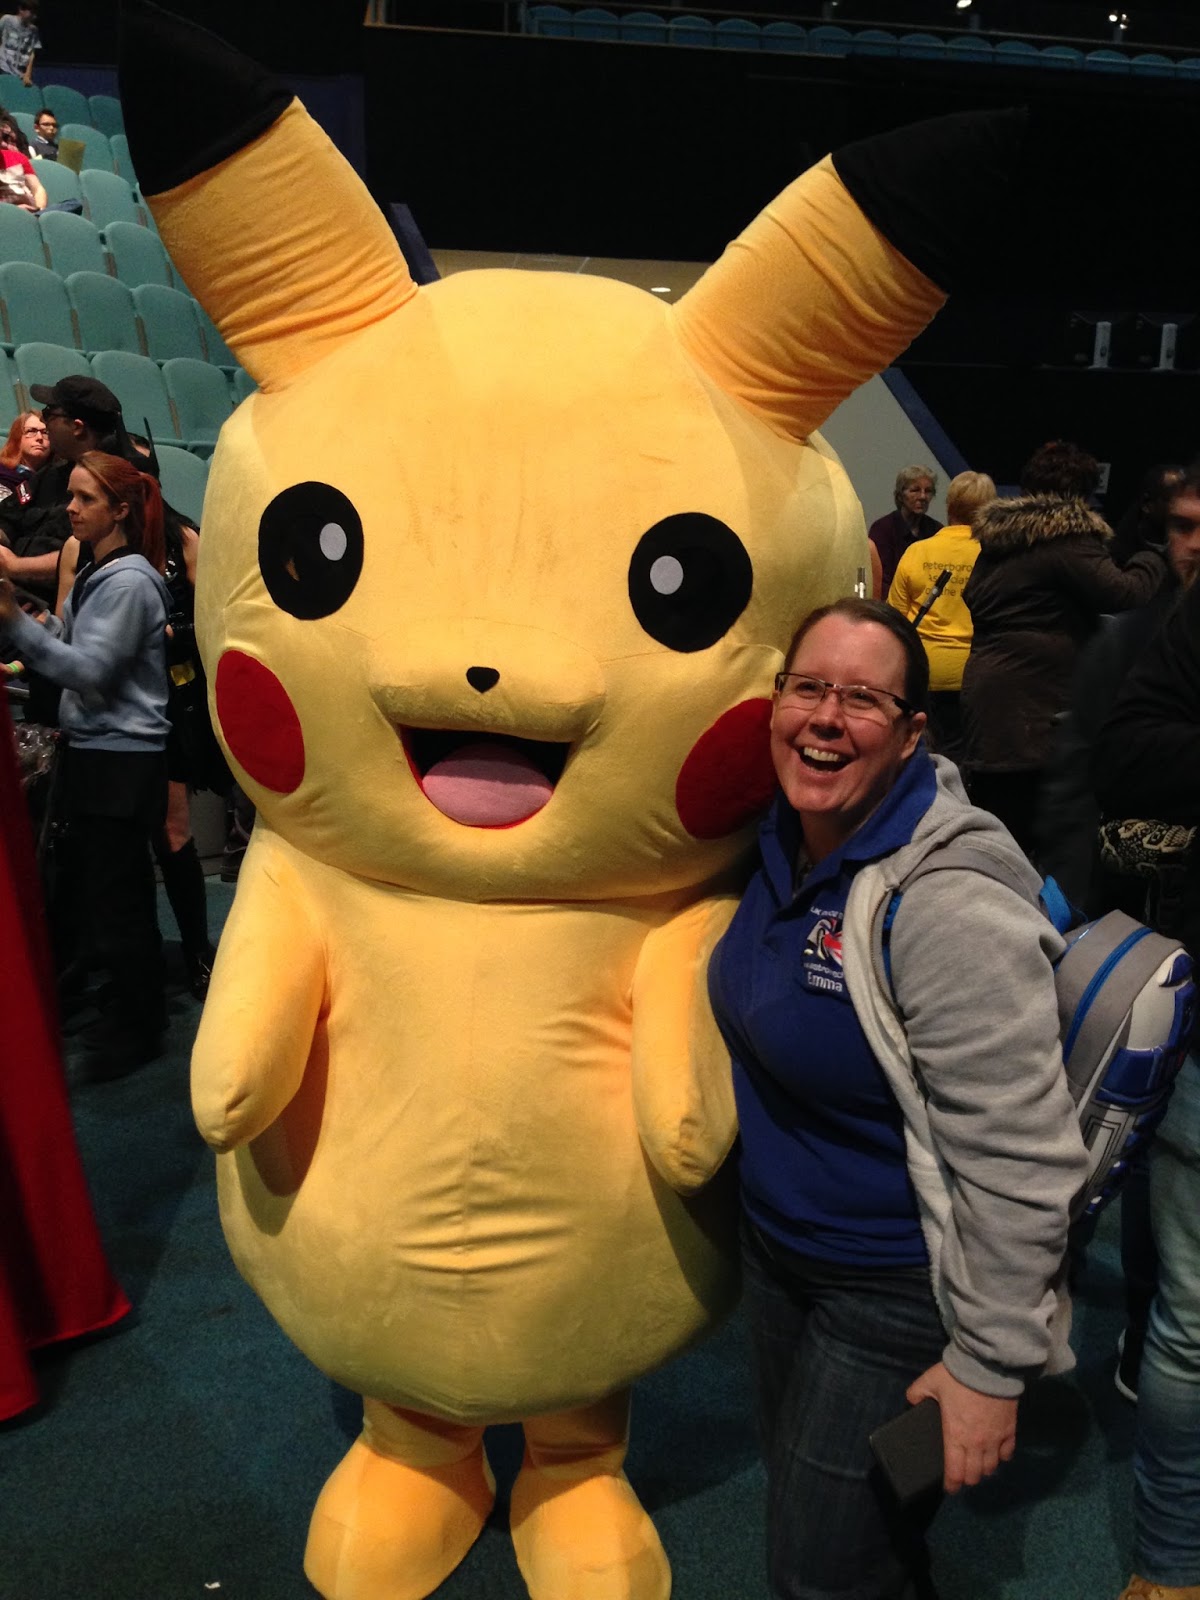
Pikachu
Pikachu! And not a 'Go' in sight! lol
WALL-E
Adam take's WALL-E out for a spin
There was a lifesize toy box from The Force Awakens, this was a great hit with everyone!

And of course R5 had to have his picture taken......tho this took about 10mins as everytime I was about to get him out his box, somebody elase wanted to take his picture lol.
R5-D4 toy boxed
R5-D4 toy boxed
It was another long, but great day! I had to leave about 5 as traveling back home and evening plans. Big thanks to Emma for her help, spotting etc.

Check out the website via the link at top, look forward to seeing you next year.

October 11, 2016

~~~Christmas is coming..........

...........lol, how cares!!! Bring on Rogue One :D

I know my kids are as excited as me to see this new Star Wars film.

So I was out on Saturday and popped into my local Toys'R'Us, checked out the range of new toys etc. Then on leaving at the check-out they had these posters on the end, I asked if it was OK to take some, which I was as they were FREE. So picked up one for me and for my two youngest.
Rogue One

It's about A3 size on a thin but weighty card. Next stop was my local Tesco store, where I found the 'trading cards'. I use the term loosely as they are really just promo pics from the new film. The real deal cards will no-doubt be released on Film day. These are still worth getting though, UK versions!
Topps Rogue One cards

Topps Rogue One cards
My two packs opened
I only bought a few packs as, although I loved collecting The Force Awakens cards, I didn't really want to be collecting these if they didn't have anything new to see.