

The upper section of the mast, required its opening to be enlarged to allow the servo pivot arm to fit through.
 |
| The off set upper square section |
Friday 3rd February:
I set the works 3D printer off with lots of different pieces, including the last two mast parts.
Monday 6th:
Progress this week was, gluing the sections together using the PVC tube as a guide for centralising and squareness. Some of the inner diameter’s do still need a bit of filing to make things easier to slide over it.

The mast was primer’d in sections for ease, see above picture, then the parts were fitted onto the PVC pipe, to help with alignment, and the sections glued together, but not to the PVC tube though.
The plan is to primer over any joins still not sprayed. The main PVC tube needs to have cut outs made for the claw arms servo horn fitting as well as the claw servo activation, so will be done once the sections are in the correct positions.
I also set up the printer to do the base stand , in ABS. I started it in the day so I could keep an eye on its progress, what with all the issues people have with printing it.

I didn’t need to worry as it printed fine.
Ultimaker S5:
clean glass bed,
thin coating of prit-stick glue.
The open top now has a DIY enclosure made by co-worker Will, which also has a filter and extractor fan.
On completion I realised that I needed to design an adapter to help locate the mast’s PVC internal tube, as the base plate hole was too big for my tube.
Adapter printed in ABS, and fitted to the lower mast section, this has an inner sleeve that fits the PVC tube and an outer sleeve to fit over the base plates raised flange.

I will be fitting an additional location flange inside to the wheel base to help reduce any possible flexing in the mast base to body area.
Next I drew up from the blueprints and printed off the base’s four legs (in ABS).


I messed up on printing the correct missing mast piece so that’s on my list to do. I had also glued two sets of pieces together by mistake so I had to cut these apart to be ready for when the last mast piece is printed
Spray painting:
Primer and more silver (chrome) painting of the mast sections as well as the base plate.
Woodwork:
I cut out the upper part of the base and after marking the centre point, I then drilled location points to secure the base plate in place.
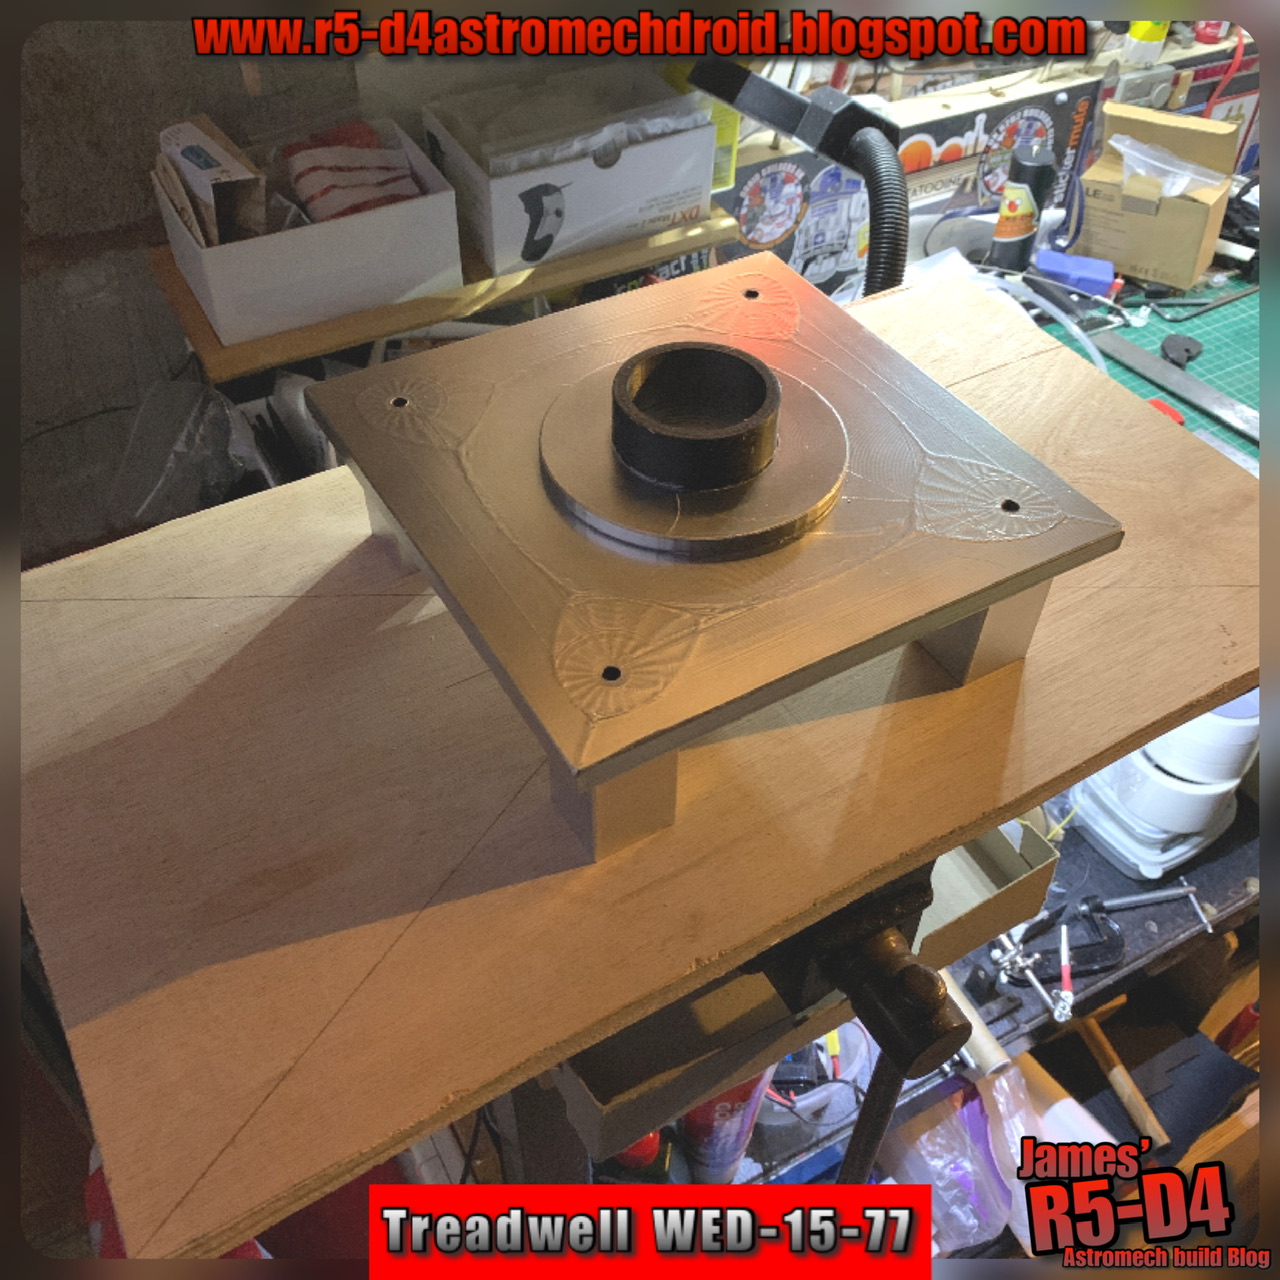
I had cut the bottom base board a while back.
This week I bought a 12mm thick hardwood sheet to be able to cut out the two side plates (for the wheel locations) also the two end face pieces, and the upper section (see above picture of mast base plate fitted to wood panel).

Tape measure on base for size scale comparison.

Next up was to drill and fix end piece’s in place.

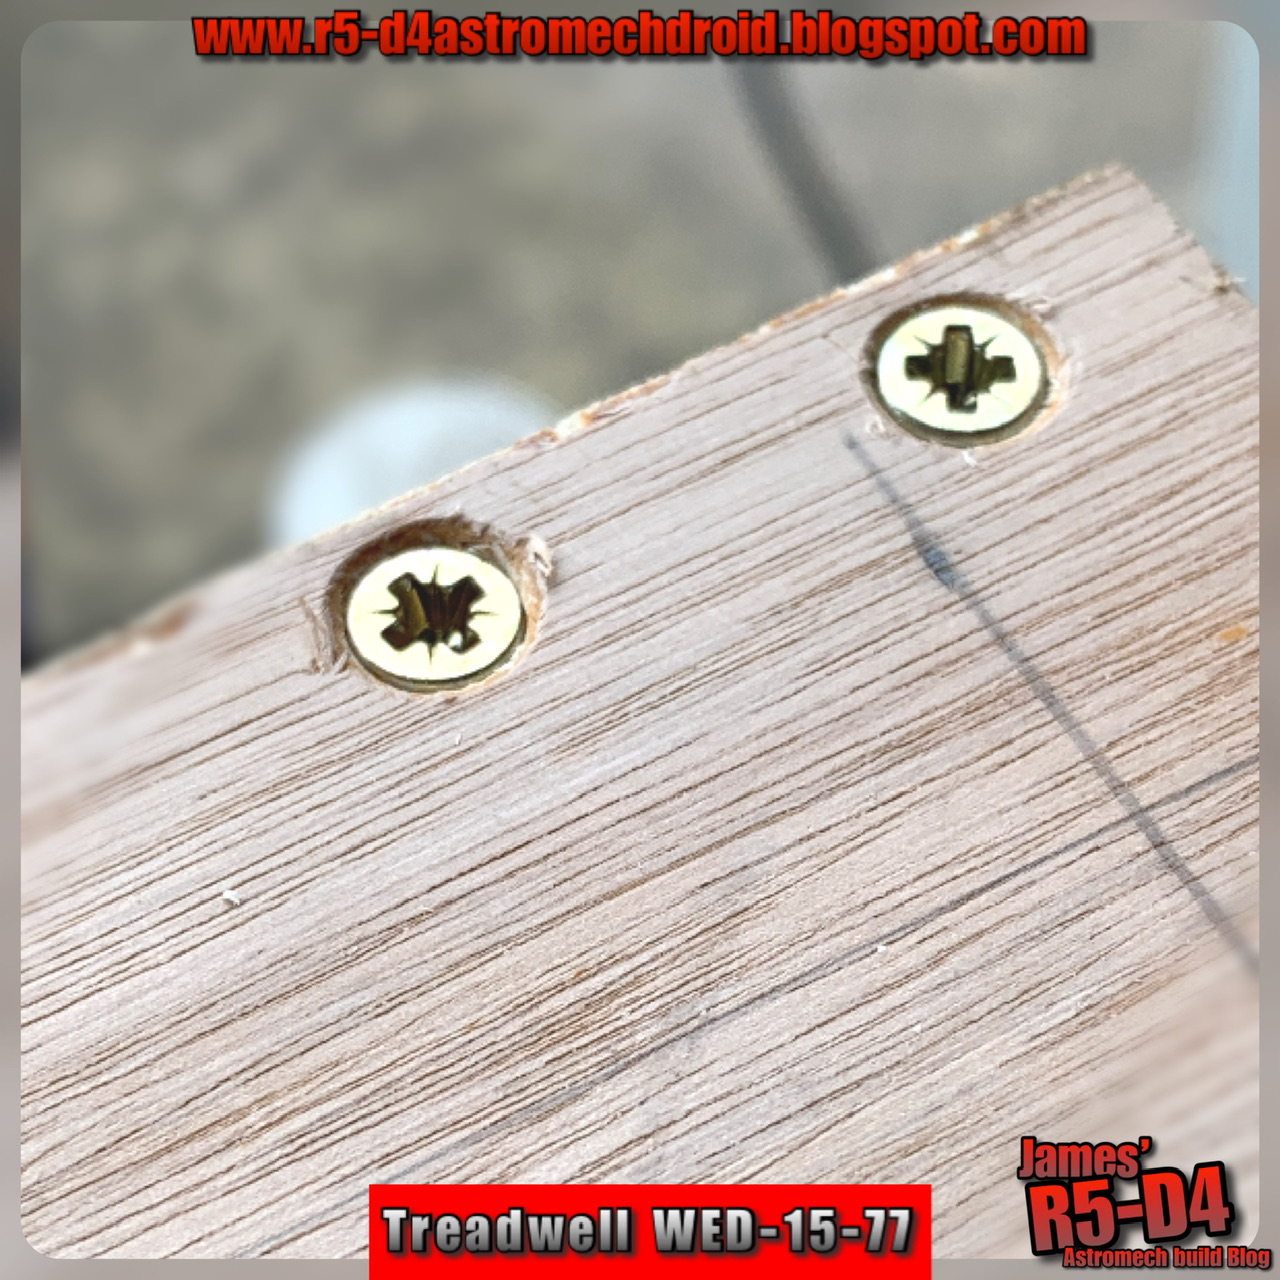
I’ll be adding more supports to the internal sides for strength and rigidity. I then drilled out the hole in the upper plate.

And of course……I had to give it a test fit of the mast.

It’s been good getting back to woodworking, really enjoy the creating side.
No comments:
Post a Comment