Showing posts with label blueprints. Show all posts

October 17, 2024

OpenR2 - original ‘77: R5-D4 Blueprints - 3D drawn up (Part 2)

 May 29th 2023: this was going to be the next stage, not completed.

Sanding, primer and silver paint.

I drew up a location plug that would fit inside the rear of the eye and match the original hole locations in the dome.

Once the rear had been sanded to the curvature of the dome for a snug fit, I refitted the cabochon lens and the retaining ring.

June 11, 2023

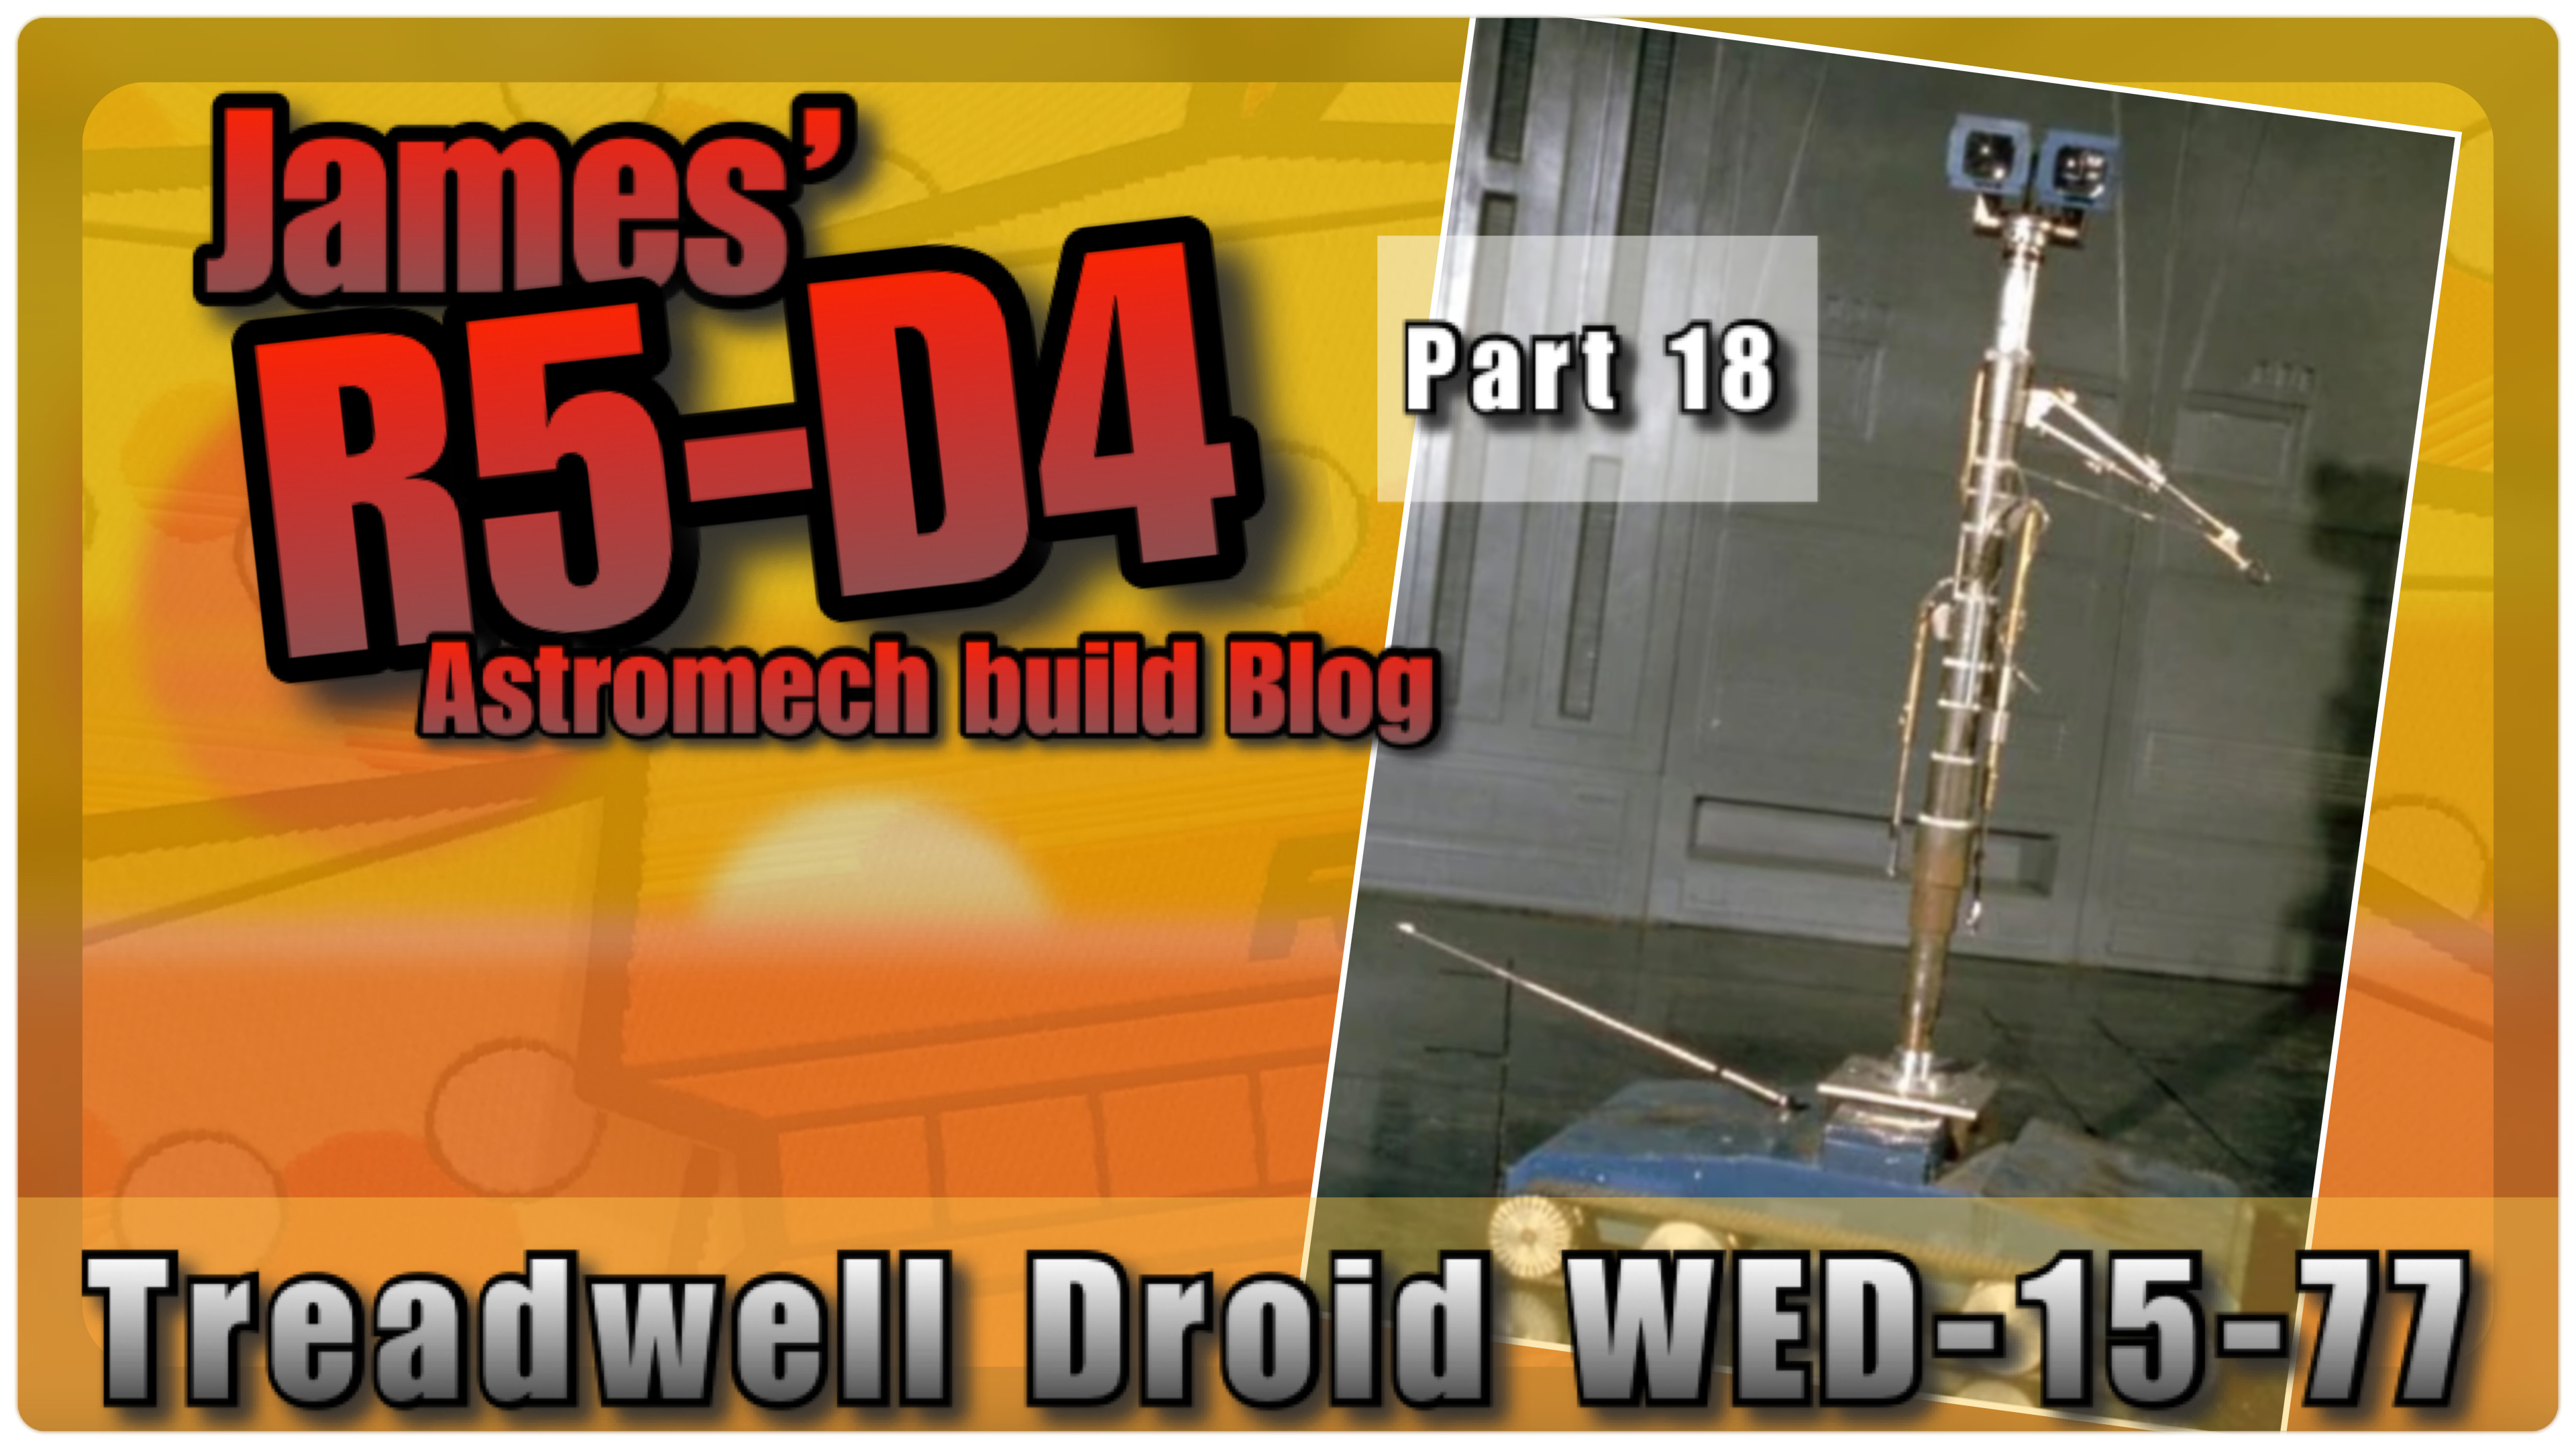
Treadwell WED-15 droid build : Part 18 - body/wheels


Month of June, and on my list of things to do for WED & things to source - parts:
  • Wheels : make/buy/3D print ?
  • Speed controller
  • Motors
  • Tracks : source & buy/make(?)/3D print ?
  • Receiver to use with the Flysky transmitter.
  • Batteries
  • Prime/fill/sand/repeat for the wood base.
Ordered some more primer paint this week.

I drew up a track from the plans in CAD. This was to add to the 3D build and possibly to 3D print in TPU. But the length is a problem for it to fit on the build plate lol, see picture 😂.

So for now it’s just for the 3D model.

Just to see what it looks like. I may have to make these…..how, I’m not sure….????

The rest of the week was working on the msin base:
  • Applied wood filler to certain areas.
  • Sanded once dried.
  • Primer arrived and so I continued on with spraying up the base.
  • Once dried I gave the unit a light sanding.
  • Then applied more light coats of wood filler to the areas that needed it, mostly to fill in the grain patterns.
  • Once this dried, I gave another light sanding. This repeated for some time lol.
Progress pictures:


Repeat until mostly happy 😃.

The same process was applied to the two lid panel hatches. The edges and wood grain were the focus of the work. The rear panel still needs a lower/inner skin of wood fitted.
Once the filling , sanding and primer painting was dry, I gave the whole base a coat of blue.


The two logic housing top panels that were the wrong size, I cut these down to fit under the mast base. These were primed and sprayed blue and clear coated. They were then screwed into place.

I decided to print off a drive wheel!
I had drawn it up in two half’s months ago, but rather than fit them together, I printed them off together as a one piece wheel. One thing I did add to the design was an angled edge on the inner edges. This is for helping align the inner track guide.

And here it is in a test fitting:

Before I left for the weekend, I set the printer to print off the other three drive wheels…… 2days 12hrs in total!!

The wheels have larger than needed axle holes, as this allows me some flexibility with the drive motors, shafts etc.

Drive setup:
Been looking at speed controllers & motors.
Just have to decide on 12v/24v and either belt/chain or direct drive of the main drive wheels.

May 21, 2023

OpenR2 - original ‘77: R5-D4 Blueprints - 3D drawn up

 Years ago, My father served along side you in the Clone Wars......

..... not quite, but you get the idea 😆


When I first started searching up online for info about R5, one of the finds was a Blueprint for the original dome design. I think I remember it being up for auction??

I had a blurred image, which has always interested me in what R5 could of looked like. The three eyes looked like they were holoprojector’s similar to the ones in R2’s dome.

May
With my recent work on upgrading R5’s eyes to versions that were probably actually used, got me searching for the blueprints again. OpenR2 had a non blurry image of them, so I was able to draw up in CAD a version similar to the sketch. A rough scale in comparison to the dome, so not 100%, but it looked good. First printed version was okay but I wanted to refine the design.

So some tinkering and removal of the inner part that would be the lens, and I got this:

The rear was shaped to better fit the curvature of the dome. This was to the plans I had used, but as my dome was made from wood, it’s not spot on, so the final prints will need to be shaped to fit flush.

This version was good but I wanted to orientate to get better quality prints. So I sectioned it up into two pieces which gave me to these.
This main piece I printed face down, the ring section I printed vertically to retain a better smoother surface for the ‘front’.

I set these up for printing in ABS, sanding is easier. I had already done some searching for cabochon’s for the size I needed. I could go bigger in size later by modifying the design if needed.

May 20th
Cabochons arrived. They only came in pairs so I had to get two sets. Opened up the first packet and tried them for size.


They fitted well, but they will need to be a tighter fit on the recess or a retention ring in front of the lens.

Next up: retention ring, dome fit testing and then painting.