Showing posts with label openr2. Show all posts

October 17, 2024

OpenR2 - original ‘77: R5-D4 Blueprints - 3D drawn up (Part 2)

 May 29th 2023: this was going to be the next stage, not completed.

Sanding, primer and silver paint.

I drew up a location plug that would fit inside the rear of the eye and match the original hole locations in the dome.

Once the rear had been sanded to the curvature of the dome for a snug fit, I refitted the cabochon lens and the retaining ring.

May 21, 2023

OpenR2 - original ‘77: R5-D4 Blueprints - 3D drawn up

 Years ago, My father served along side you in the Clone Wars......

..... not quite, but you get the idea 😆


When I first started searching up online for info about R5, one of the finds was a Blueprint for the original dome design. I think I remember it being up for auction??

I had a blurred image, which has always interested me in what R5 could of looked like. The three eyes looked like they were holoprojector’s similar to the ones in R2’s dome.

May
With my recent work on upgrading R5’s eyes to versions that were probably actually used, got me searching for the blueprints again. OpenR2 had a non blurry image of them, so I was able to draw up in CAD a version similar to the sketch. A rough scale in comparison to the dome, so not 100%, but it looked good. First printed version was okay but I wanted to refine the design.

So some tinkering and removal of the inner part that would be the lens, and I got this:

The rear was shaped to better fit the curvature of the dome. This was to the plans I had used, but as my dome was made from wood, it’s not spot on, so the final prints will need to be shaped to fit flush.

This version was good but I wanted to orientate to get better quality prints. So I sectioned it up into two pieces which gave me to these.
This main piece I printed face down, the ring section I printed vertically to retain a better smoother surface for the ‘front’.

I set these up for printing in ABS, sanding is easier. I had already done some searching for cabochon’s for the size I needed. I could go bigger in size later by modifying the design if needed.

May 20th
Cabochons arrived. They only came in pairs so I had to get two sets. Opened up the first packet and tried them for size.


They fitted well, but they will need to be a tighter fit on the recess or a retention ring in front of the lens.

Next up: retention ring, dome fit testing and then painting.

April 03, 2023

Screen accurate R5 eyes - found part by OpenR2

Over on the R2 Discord chat, OpenR2 member raised the question about R5’s eye sensor not being like the ‘club spec standard’ design but actually being conical.
As with lots of items used in the original trilogy, unusual looking things from everyday items were used in different ways. OpenR2 showed a high resolution image of R5’s eye and the shape/shadows showed it to be conical and not the stepped look us club members have been using all these years. As stated above, a lot of the droid greeblies & even Boba Fett's costume and jet pack, in fact came off  vinyl record decks, specifically a Transcriptor Hydraulic Reference Turntable .
He posted up the high res pictures and the turntable, similar to the one below.

Items also (possibly) used that match is the vinyl sweep brush which resembles R5’s antenna.

I have always found the search for these found items to be of great interest, so this was something that I had to follow up on. Online searches revealed the record deck's history and more [see Transcriptor link above].

So using the 3D CAD model I had already drawn up years ago, I started on modifying a version to match that of the image supplied by OpenR2.


Creating a 3D Knurl:

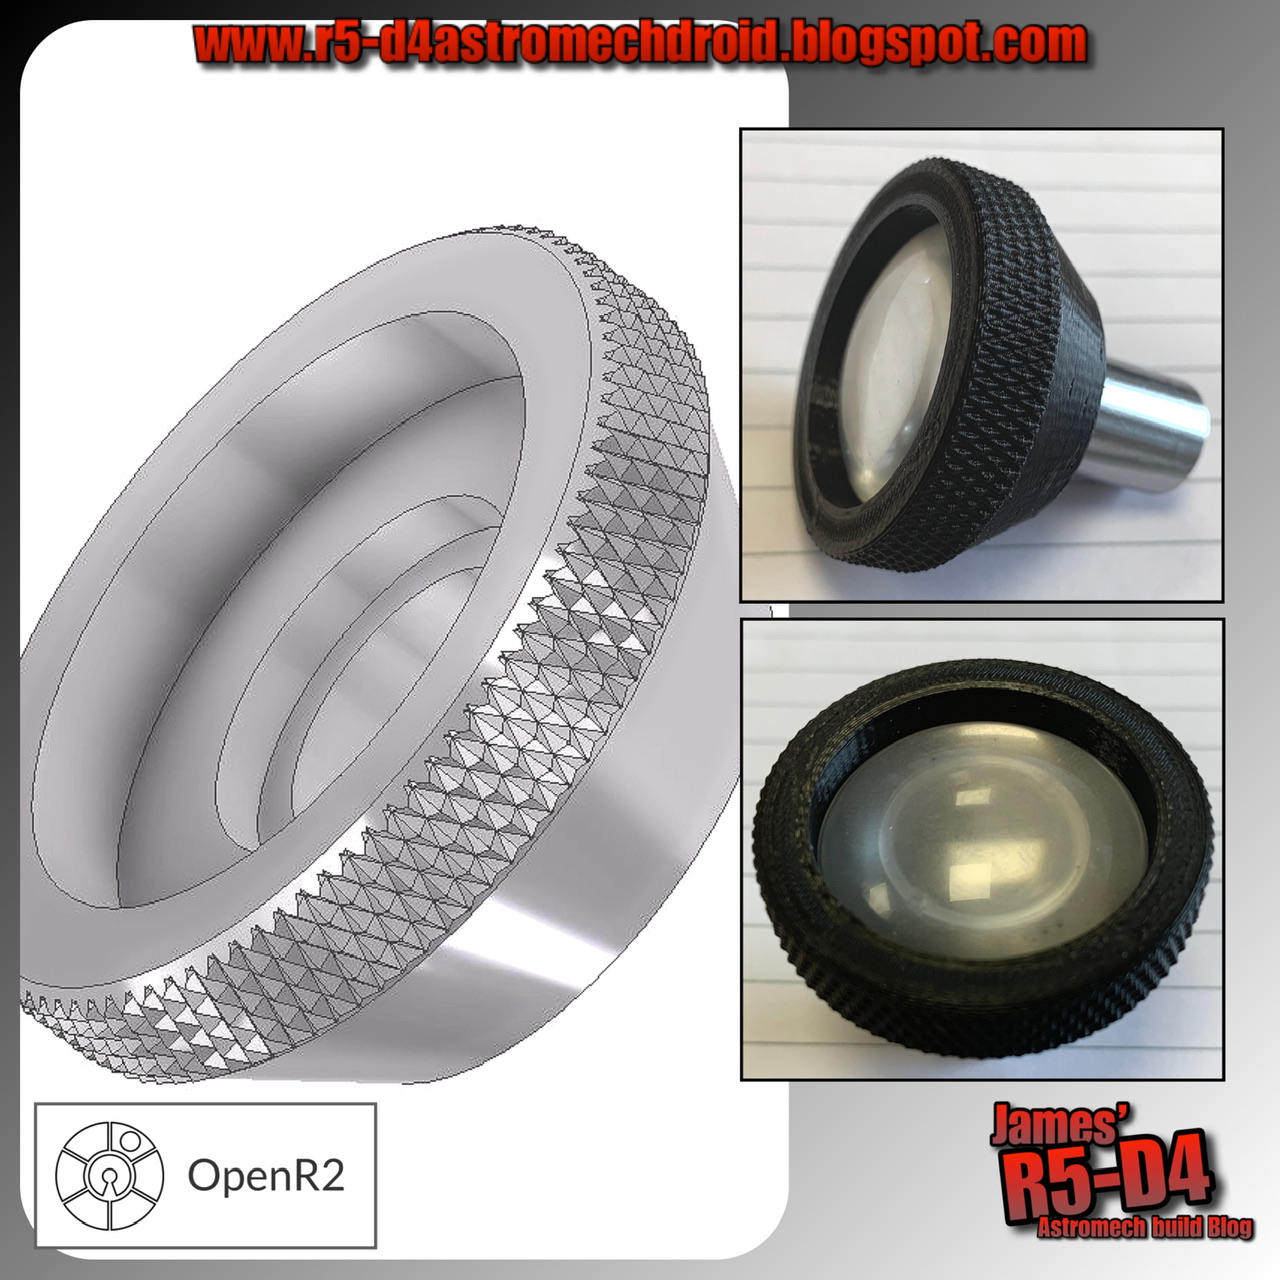
I also had to find out how to draw up a knurled effect. Previous jobs have only required the superimposed image of a knurl, but I needed the actual knurl for 3D printing. I found a quick tutorial on YouTube which helped put me in the right direction as to which creative option to use, 'coil'. Once one groove was created, I then copied in 'circular' to multiply around the diameter. Next was to create a new 'work plane', and offset it half the distance of the knurled with. I then mirrored the original 'circular' grouping and this created the opposite grooves to create the knurled effect.

The above image was version (attempt) 'd' or 'e' lol.
Eventually settled on version 'F'


Throwback to 2013:
Wow…..10 years ago I had finished machining up two of the three eye pieces that would have the spy holes lens units fitted.

Here’s the link: R5-D4’s Eyes - update

Back to 2023 and here are the new more realistic eye pieces.


And here they are being painted.


Next up was to cut out some opaque plastic that I had salvaged from a flat screen monitor. This was placed in the recess after the rear part of the original eye piece was fitted through from the front. Then I pushed in a cabochon into each one.

These were then re-fitted back into the dome, and secured in place. I then hot glued the original LED’s back behind them.


Really happy with the new look.
Check these out at #celebrationeurope2023 next week 😎👍🏽