Showing posts with label R5-D4 Booster Leg Strut's. Show all posts

March 13, 2014

Leg Assembly......again

Last night I got to re-assembly Leg No1 again.


The way most of these components were designed to be connected together was not my 'new' idea. I have followed several other R2 Builders builds. And this, along with building the actual components, are mostly not original to me.

Adam Strawson's R2 was one of the first R2 Build's I followed.
The other being Emy by Podpadstudio's.

So here's all the parts....
R5-D4's Leg
Left pic shows the front, the right pic shows the rear fixing points etc.

For my build, I secure the Ankle Braclet to the Ankle 'curved' section with a small screw. This holds it in place and will locate the Booster Strut in place.
Next I secure the Booster Strut by inserting the bottom of it into the Ankle Bracelet, then a screw into a bracket on the rear of the top square part, picture below.
Booster Cover over the Strut, and press it down into the dowel location holes.
The other components, the Ankle Cylinder, cylinder wedge and support are already assembled as one piece. These are push fitted into the leg with dowels.
The last three items are the 'Ankle Details' these fit on the lower ankle sides, fron and back.
And the Shoulder Horseshoe assembly, which is pre-assembled.
The centre hub is also a snug push fit.

March 12, 2014

Horseshoe No2 - Hydraulic & Buttons fitted

To make space in the bedroom [keeping the wife happy] I took the Horseshoe back out to the garage and fitted [bolted] the Hydraulic & the two Buttons back on. Then fitted the spacer and finally, pushed the location pegs into the holes on the Leg.

Leg No2, is now complete :)
R5-D4

April 26, 2013

Battlestations!!! ;)

What with R5 being on display this Saturday, am a little nervous, to say the least!!

Been trying to get as much done and finished before the big day, so yesterday, I sprayed up Leg No.2 white. I gave it a few coats, but as the can was running out, decided to concentrate on the outside/front. I won't clear coat it till the whole leg has been sprayed, but it still looks good.

I also sprayed silver the second Hub, that didn't turn out great the first time. And the rear strip for the Ankle Bracelet.

Then last night I started to assemble all the components I had for it. I first screwed into place the main Ankle Bracelet. It's screw although countersunk, is also covered when the Booster Cover is in place. Next on was the Booster Strut, which sits in the hole of the Bracelet and an angle bracket secures the top block to the leg. The Booster Cover then is just a push fit with the dowels, into the leg. The Ankle Cylinder [with wedge & holder pre-attached] are push fitted into place, along with the two Ankle Details. The Hub is also just pushed into place for now. And lastly the Horseshoe goes on.

Lastly, I started to dirty up the whole leg.


**UPDATE**
I've now fitted the Large Data Port, touched up the Octagon Ports edges with metallic blue, fitted the lower vent pocket mesh screen.

Outer Foot No.2 - UPDATE
Been working on the crescent detail, to finish off the top section of the shell. Also drilled out the knurled hose fitting holes and added the top strip detail. Only going to be able to primer it up for the show tomorrow.

April 20, 2013

I give you........R5-D4

So, this morning, the kids were out doing 'activities' and the wife was out too, and to top it all the SUN was out shining and the wind was still.

Didn't take two seconds to realise, now was my chance to 'do' some work on R5.

So I assembled R5, legs, feet, 'aluminium' strip to feet channels, battery box on to check for clearance etc.

Whilst assembling, a gentlman walking his dog, by himself, said [to himself or his dog], 'Look, it's R2-D2!' So I was chuffed it was recognisable, then a bit miffed he got it wrong! hahaha :D.

Outer foot R5D4
Test fitting of outer foot internal to leg

Then on with the rest of the legs and feet.
R5-D4


And the pictures you and I have been waiting for............

R5-D4 standing on his own three feet.
This shot show's Foot No.2 is still a W.I.P.
I didn't fit the booster cover etc or the horseshoe.
This shot shows R5-D4's rear, rear hatch, opening into his outer foot
And back round to the side.
Close up of the Battery box fitted.


I also fitted the fake aluminium strips to the channels of the feet. They are screwed in place and these will need a spot of paint on them.
R5-D4

And here is the 'trimming' I had to do so the legs would fit into the channel of the internal foot channel.

This leg still needed trimming, but this time along the thick part of it. As it was touching the shell. Found this out when the leg and foot were assembled and the wheels weren't sitting flat on the floor.

January 07, 2013

Booster Cover 2.4 - The second Leg

It's been over a month since I first wrote this post.
Wasn't happy with the fit of the Booster Leg Strut's top square piece sitting inside the dog house of the Booster Cover. It didn't go far enough up inside it. So got to work with a file and now it fits much better. I used up what was left of the primer and also the blue spray. No point in spraying all over as still have the grooves to cut.
UPDATE:
I also had to machine down the diameter of the Booster Strut, as it was a bit snug fitting. The Cover opening was at fault.
UPDATE 04.01.13
I marked up and using my dremel, cut out the grooves in the Booster Cover, next is to primer, blue spray and clear coat.
R2D2 Leg Booster Cover
 

October 15, 2012

Booster Cover 2.1 - the second leg.....


Cut the other angle, then marked & cut out the centre section.
Filed surfaces, applied wood filler where needed. A knot in the wood needs seeing to!
Then started on marking & cutting to size the 'Dog House' piece.
Booster Cover

Booster Cover
Booster Cover with centre section cut out.
Booster Cover
Booster Cover with Booster Strut & 'Dog House' piece
Booster Cover
Close up of 'Dog House' section

September 09, 2012

Leg 1 update

Clear sprayed Leg No1 up, don't know or remember why I'd not done it before now, apart from the Horse shoe, it's completed ??? lol
 
Then I fitted the Ankle Cylinder/wedge/cylinder holder combo in place, this just clips over the holders [click here for how I made these]. Then glued on the Ankle Details. Used silicone sealant to hold the ends of the Ankle bracelet on, then screwed it down. The screw will be covered by the Booster cover. I then fitted and screwed the Booster Strut in place and finally used sealant on the dowels again, to fit the Booster Cover in place.

Astromech Droid Leg R5D4 R2D2

Drilled and threaded some holes in the shoulder stabilisers and clearance holes in the metal back plate. Then screwed in two cut down 6BA screws to hold in place. Thought this would be easier to hold them in the leg when the back plate is silicone'd into the shoulder socket.
R5D4 Shoulder Stabiliser
 

April 30, 2012

R5-D4 Body & Leg

Wanted an updated picture of build so far. Just the body and leg. Will have to sort a stand so I can fit the centre leg/foot and re-take this picture.


Photo taken on a slight angle to give the right impression of how he should look :).

January 31, 2012

Leg Assembly 2.1


Sprayed leg white. I was only going to spray the lower/ankle area, as the Hub hole and horse-shoe dowel location holes, still need to be cut out and drilled. But it was looking good, so gave it a few coats ;-D
Once dried, I test fitted some of the other parts......

January 16, 2012

Leg Booster Unit & 'Dog House' 1.5

Fixed 'dog house' onto booster cover using P40 resin.
Then drilled two counter sunk holes in underside of ankle bracelet. The original plan was to screw up into cover. Changed this to screw down into the ankle block. Next, I marked strut position on bracelet & then drill a 10mm diameter hole for its location stub.

Stub's on both struts needed to be shortened by a few milimeters. This was expected as I didn't know how I was going to fit them in place. There are a few alternative ways on how to secure in place. So the stubs were turned down, on a lathe in work.

Sorted out a spring to take up the gap in the leg section. This will fit between the upper and lower strut sections. Not sure if I will actually need it, at the moment as on test fitting [see below] assembly went well. This will also make assembling a lot easier.

Drilled and tapped M5 into rear of Strut square tops. These are to have M5 Bolts screwed into them. Bent some metal to fit behind the square top block to secure it to it and the leg.

Test fitting of strut. Screw into leg for square top piece support.

Used dremel to cut slots in booster cover. Ooops, the collet came loose & the bit cut too deep at the end of the cut :-( Can be seen in pic below.
Fixed with wood filler, phew (not shown in pic). Marked positions of the four grooves at base of cover.
Then started with dremel, then a round file (below).
Lastly I fitted my dremel up with a sanding wheel and made a start on the top block's curved eadge. (below) This was re-done in resign after the wood attempt failed.
Did some more sanding and filling.

January 10, 2012

Leg Booster Unit & 'Dog House' 1.4

Second Slot........not!
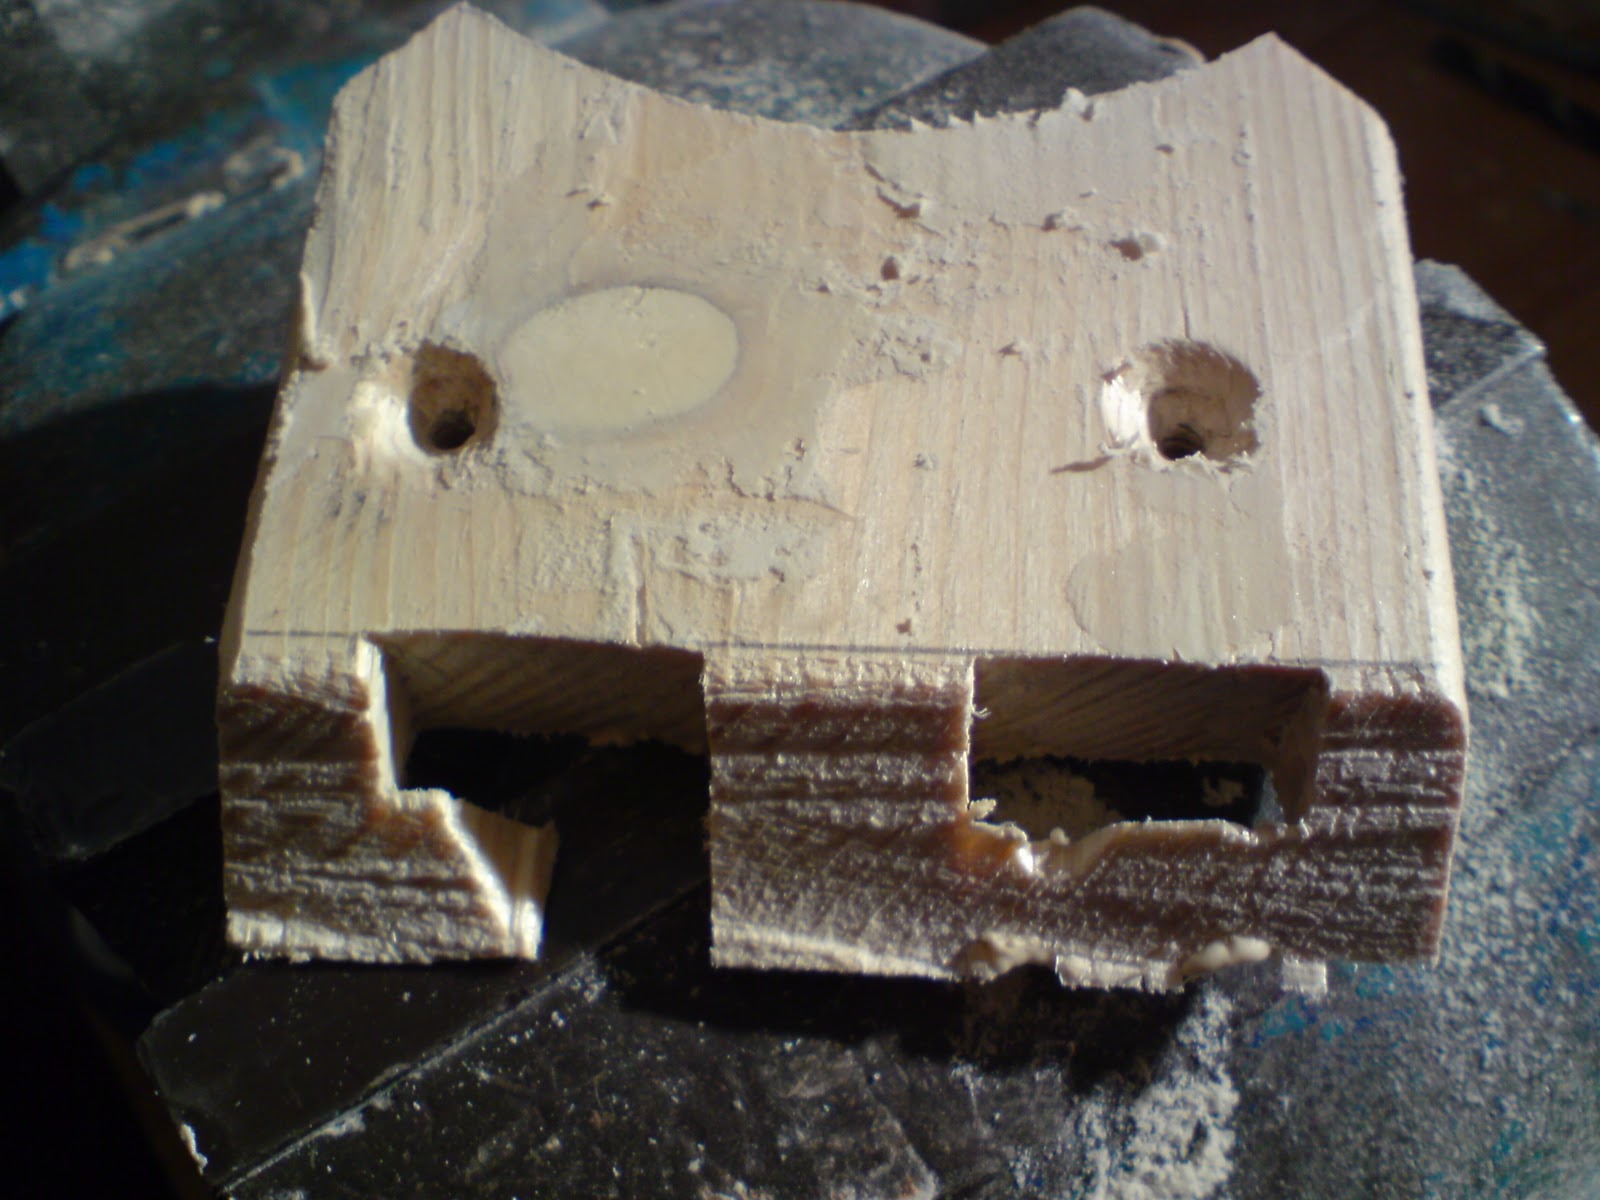
Was planning on cutting out the other slot [this I did] & angle from radi edge. But due to the weakness of the material, the angled edges broke apart, so I went to Plan B.


Plan B: to remove ALL of the 'slot/radi' section & apply resin & then re-do slots & radi.


I did apply wood filler on patches of the cover, to fix saw cuts & join lines. I also squared up some of the edges.

Marked up and then cut out the 'dog house'. Sanded and filed to fit the square top of the booster strut and also to fit the booster cover :-).


Picture of booster cover, dog house and booster strut

December 31, 2011

Leg Booster Cover Unit 1.1


HAPPY NEW YEAR :-)


Checked out block used for ankle curves. It's bigger than required. But will need extra piece for top section.


Some of the top will be removed and replaced with a piece of 18mm thick wood, to make the correct thickness.


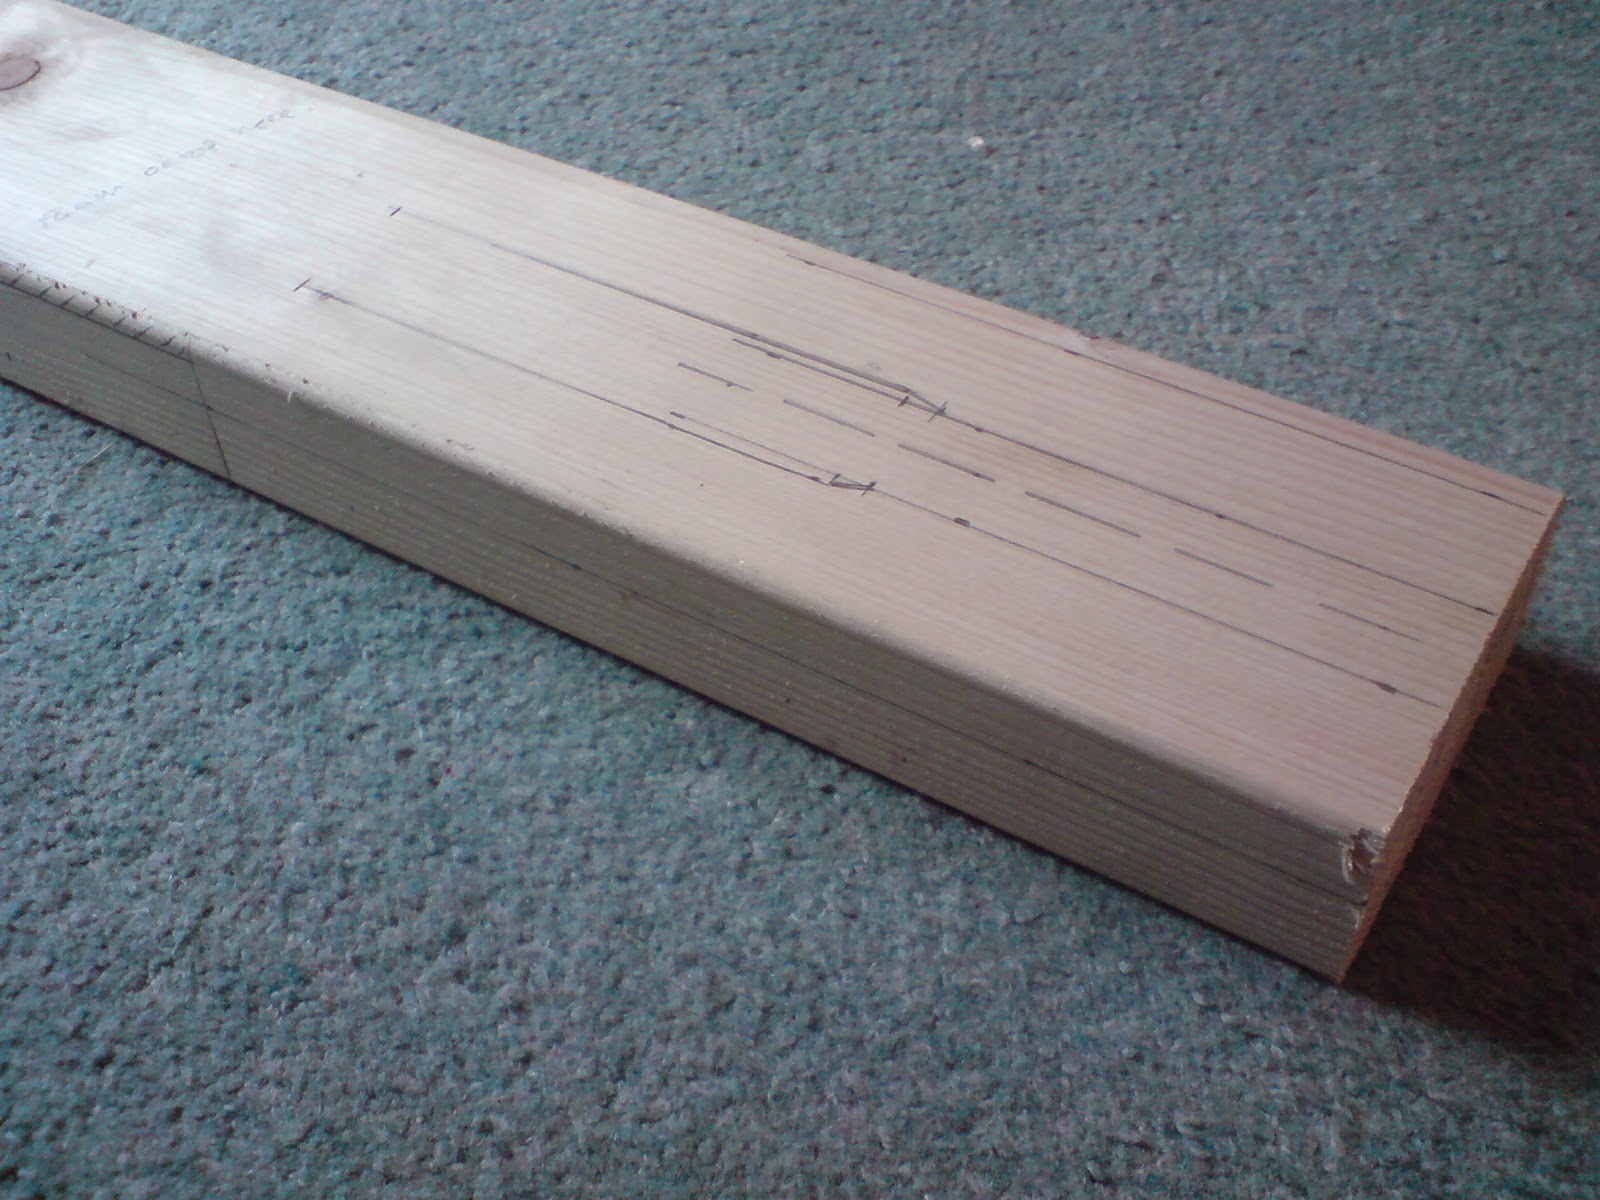
Marked up cut lines onto first piece.


I have seen some amazing 'weathered' effects done, but one that really caught my attention was one where the blue was 'worn' away to show aluminium underneath. I will try to re-create this effect on my leg booster.