Showing posts with label Irradiator Illumination Bank. Show all posts

July 14, 2022

Solo - a Star Wars story - Irradiator Illumination Bank 3D printing Part 6


Update on this project:

June 24th 2022
I decided to attempt to 3D print the main light panel..... and then realised that it wouldn't print as the diameter was JUST larger than the print bed. Also even halving the height, it was too tall. So I had to section it up into six sections.....which then needed to be sectioned up more and repositioned so that the orientation of the layer lines would add strength etc.

The lower base section was printed in two half's.....easy.

After a few failed prints, I managed to get them printing right. The middle sections seen, in following picture, were printed in a horizontal position, for strength but also to reduce support material usage. This had some more print failures, mainly due to supports not being in the right place, so it lost its strength and the print layers shifted.

Hence the missing piece in below picture.
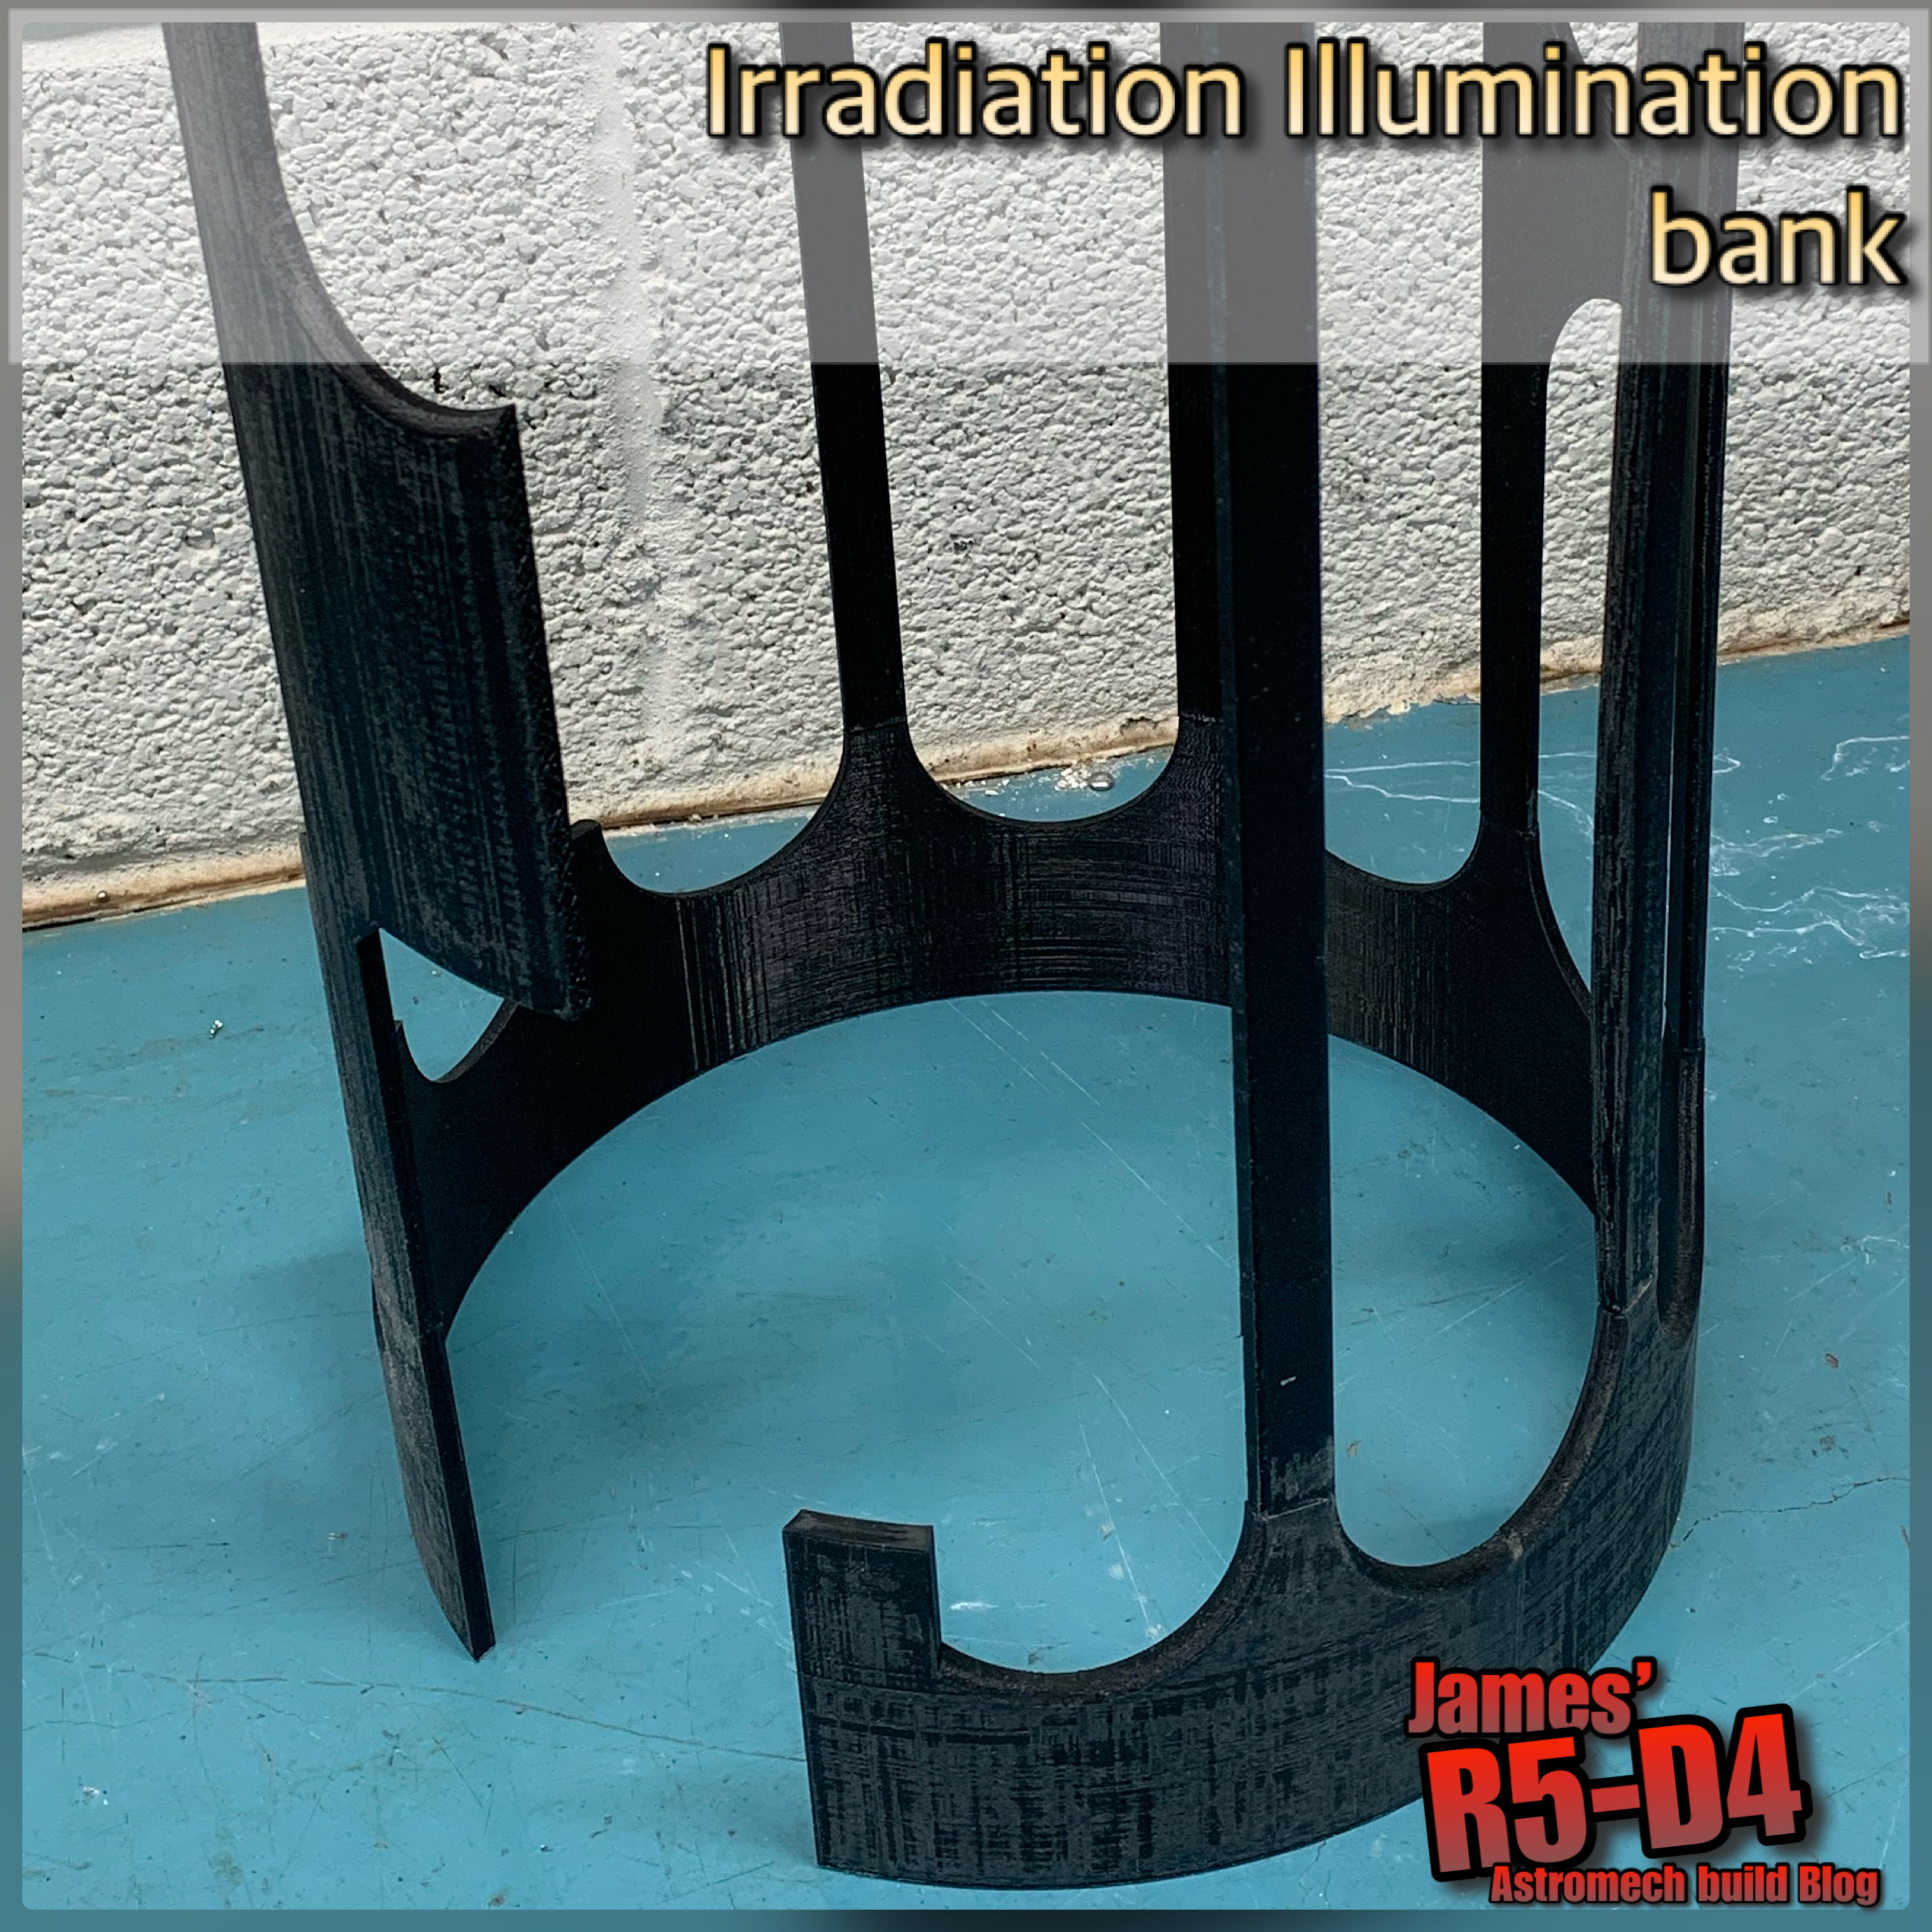
As per, an assembly test fit HAD to be done.....

The top sections, were printed, but one of the replacement legs still failed, so that one will need to be reprinted. Following picture showing the top section [rear].

The failed leg can be seen, middle/right, horizontally on the bed.

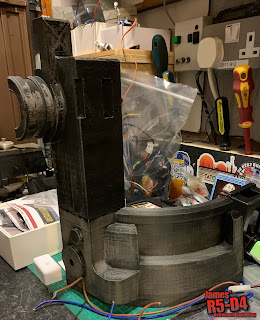
Test fitting before leaving work. The assembly ring can be seen halfway up the body.

I got home and made a start on fixing the extra supports (legs). One was a few millimetres to short, typing, so after gluing one end in place, I got out my soldering iron and started melting plastic into the gap. I then went over all the joins melting them together. This made such a difference in rigidity!

Before I left work, I set the printer printing structural rings for the thinner legs as supports. I included a relief to allow opaque windows to be added.

I also found some light fitting threaded rod’s that I can use to hold the whole unit together. I had this as my original idea before rethinking it……now I can possibly reintroduce the idea. Designed up a brace to connect with the structural rings.

The rod passes through the middle. Into the base plate, which I cut out of wood.

Started installing LED’s into the base unit.
The LED's are secured through holes drilled in the recess. I then cut a piece of opaque plastic to help diffuse the light. I then covered with a thin 'mesh' that was actually the raft off a 3D print.

Added some more details…..
Yes, that's part of a hard drives motor wheel, recessed inside. More 'mesh' added.


1st July 2022
Drew up a locking plate which will fix inside the upper part and secure with a contained nut. I printed this in two half's, so I could get the correct distance from the nut onto the threaded rod. There is a raised tab that fits into two of the four recesses and the whole plate was then glued into place.

The retaining nut thread can just be see in the above picture.

This all works, so now it’s just finding suitable material for the light panels….

…..another project has kinda landed on me (& two other SW Builders) so last few weeks I’ve been thinking, designing, planning up how to build it.
It has to be:
  • lightweight
  • not expensive
  • simple to assemble/disassemble
  • easily storable
I’ll post up progress pics as I go but for now this is as much as I can say.

March 06, 2022

Solo - a Star Wars story - Irradiator Illumination Bank 3D printing Part 5


Progress so far:
  • Clips printed to hold the ‘windows’ in place.
  • Spacer/washers for the handle pivot points.
  • Handle details.
  • Handle sprayed up.
  • Sourced additional greeblies.
  • Illumination ideas.
Window clips:
These are to be glued in place, probably hot glue, to hold the two half's of the windows in place. They wedge under the windows.

The handle:
This got sprayed up in the silver and I printed out some small greebly details to add to the plain sides. I also printed out some poly washer/spacers for the pivot points.

Additional greeblies:
I went searching for parts to add to the overall appearance. I dug out old 3D printed pieces from previous builds as well as things that have been seen in the ‘SW Universe’ directories.

Illumination:
The unit needs lighting, so have been looking at how best to achieve this.
I’ve come up with a few ideas, but the top window illumination has been sorted.

This LED unit has five really bright LED’s, four of which shine towards the windows.

March 05, 2022

Solo - a Star Wars story - Irradiator Illumination Bank 3D printing Part 4

Printed the main handle.

This will all be glued together. I drew up some clips to secure the upper opaque light band from being pushed inwards by fingers. These will be glued in once painting is completed.
I will notify via Twitter (its automatic) when uploaded. So either follow me on Twitter @JamesR5D4 and/or over on Thingiverse or now on the Prusa site 😎👍

I was also asked by a builder over on the www.astromech.net forum, if I could upload files to the Prusa 3D hosting site, as Thingiverse has become even more unusable in recent weeks 😟😞
So I have signed up and created a profile there. See link above.


So, I picked up some paint and started spraying up the two main parts.
I wanted two areas to be this lighter colour. Easier to mask these off later than vice verser lol. So the ‘coupling’ section and the lower left panel were painted this silver colour.

The main body will have to wait for the next can as i used up the first can spraying up the top part.
It looks darker in this picture but it’s actually a deep blue. Different, but once weathered it will look great. I ‘dust’ sprayed with the silver colour over.

Picked up another can and sprayed up the base in work again using the spray booth. This paint is great!!!


It drys REALLY quickly!!!

More build progress coming…..

February 11, 2022

Solo - a Star Wars story - Irradiator Illumination Bank 3D printing Part 1

This print project is massive. It will require me to slice up to be able to print on my printer(s) lol.

I drew this up last year in lockdown, as something to do. I saw it in the Solo a Star Wars story book. See above picture.


I thought that this could be used as a similar item that is used to charge Astromech's, like the ‘Fusion Furnace’.

January 2022
I had to slice up the parts into quarters for them to fit onto the Ultimaker S5’s printer bed. I did a few alterations to the above design. I also created a rear area that’s not seen. The design is based on what I could make out from the photo.

I started to print off the base parts last week. 8hrs per base 1/4 section, so this was an overnight as I’ve become impatient with long day printing lol, also they might need to actually use the printer….for work.

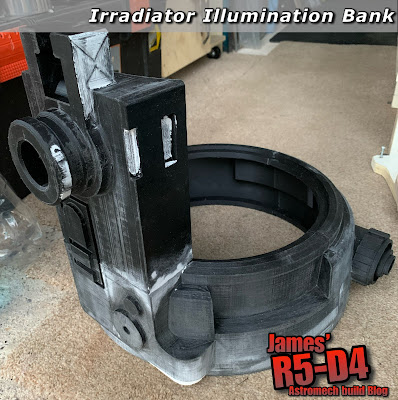
Here’s two quarters and half the upper front piece glued together. This piece was cut because it wouldn’t fit on the printer bed, height wise.

The following week I was a bit restricted for time due to work needing the printer, so I eventually got time to print of the last quarter and second upper section overnight.

The following lunchtime was sanding the edge faces and then gluing them together.
The evening was spent sanding the surface and smoothing the joins. Started adding wood filler.
Once stage one was complete, stage two was applying filler primer.

Applied filler to areas that needed it, once dried it will be sanded all over then re-sprayed with more filler primer.

More to follow……..