Showing posts with label E-11 Blaster. Show all posts

July 13, 2016

Han Solo costume for my Son....... Complete 2.0

Blaster update:

With building R0-D4's dome in the available day free time & getting my Son's Han Solo costume made on the evenings, I'd not totally forgotten about finishing off his E-11 blaster......

......OK, I had. I last did any work on it back in February!

It was boxed up and then the box moved around the garage to access other stuff and I 'lost' it. So with some urgency I got on with finishing it off.

Not much work needed really, as this is only a simplified, 'child proof' version.
(and by child proof, I mean drop'ish/knock proof lol)

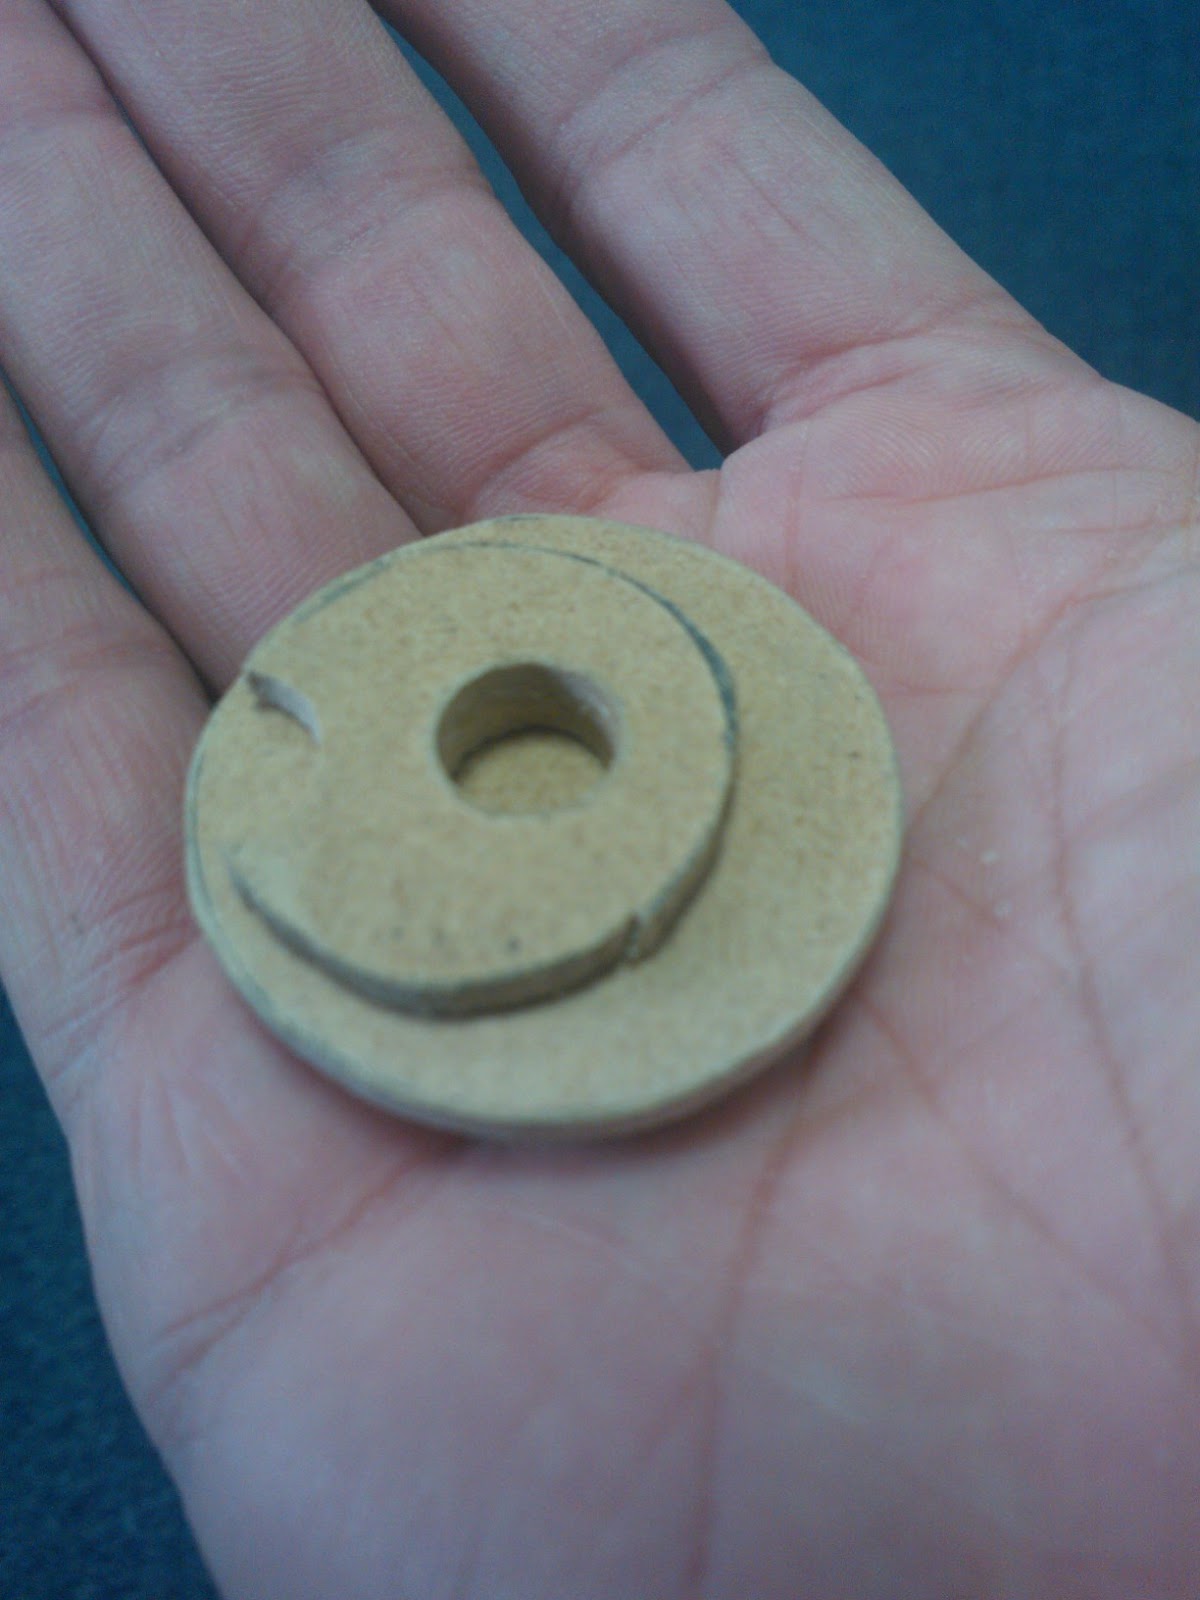
So I cut out some wood disc's and shaped end cap and nozzle.


The end cap is not 100% accurate, just for show.
The front nozzle I made the shape to roughly match originals.

I applied some rapid Araldite over joins and gaps to secure. This stays flexible, which is good, rather than brittle (breaks if blaster gets dropped), but it also looks like weld.

These's were the last bits to make. Next was primer spraying all the bits separately.

**   Due to time, I didn't get a chance to take   **
any completed pics of the blaster,
but I will do and post up next week

Full costume complete:
What a weekend..... material cutting, stitching, sowing, mistakes, redo's, you name it, it happened. But LATE Tuesday night, with the help of Karen, I managed to complete my Son's costume.....phew!!!

Never have I been so relieved to never be sowing Blood stripes onto trousers EVER again!! lol. There far from perfect, but they will do for this version.

Again, there wasn't any time to take pics of him actually wearing it...and he's not fully tried it all on yet either (tonight, Wednesday) he will, before I pack it all up to take to Celebration Europe with me.

I did take some quick pics of the finished items,
Han Solo

Han Solo costume
Blood stripes, boot's & Trooper belt in the bag
Han Solo costume

Han Solo shirt

not great pics, taken via mobile phone, but will post up some better ones of him next week or even via my Twitter account @JamesR5D4. Which will be getting used a lot the next few days. So click and follow for #SWCE event pics.

February 22, 2016

Han Solo costume for my Son....... E-11 Blaster 1.9

Weekend work:

Scope Rail
Found a scrap piece of aluminium angle, just the right length. Marked & cut it to width. Then notched and bent into shape the end. This then sloted into the small hole made in the tube.
E-11 Blaster, Scope railE-11 Blaster, Scope rail

Scope rail taking shape
E-11 Blaster, Scope rail

I then measured the length to suit the barrel and bent the end. This fill be fixed in place by the rear sight, yet to be made.

I marked out the scope's position on the rail and drilled clearance holes in the rail and the scope mounting feet, and then a smaller hole in the wood part of the scope. This was so the screw bit into the wood to hold it and not the Milliput. I also then trimmed down the scope feet to fit the width of the rail.

Rear Sight
I found an angle bracket piece that was just right for the rear sight insert. So this will be used. Marked and clearance holes drilled in the rear area of the scope rail and screwed into place.

Front Sight
Next I dug out the dremel, mini hacksaw & coping saw and started to work on the front sight. This, for me, is a test of the Milliput's strength and durability, as the front sight will see a lot of abuse whilst in use (holstering & generally getting knocked etc).
E-11 front sightE-11 front sight
 front sight, starting to cut out detail

E-11 front sightE-11 front sight
 Side cut out detail

I used the tip of the grinding bit to carve out the 'U' section of the sight
E-11 front sight

The ejection chamber shield came off, so need to look at fixing it back on.
(Can be seen missing in above pic of scope rail).

February 19, 2016

Han Solo costume for my Son....... E-11 Blaster 1.8 [M38 Scope]

M38 Scope
Bit more work done and the scope is almost finished.

Used the Milliput and made up the feet roughly. I then cut them to shape and filed to get the finished look. I then used Araldite glue to attach them to the main scope body.
M38 scope

M38 scope, E-11 Blaster
I know it's not a perfect 100% accurate copy of my own blaster's scope [in black] but it's a close enough copy for my Son's blaster.

Still need to finish off area's and also drill fixing holes in the two feet pieces to locate on the Scope Rail.

Blaster
Had intended to cut out from thin aluminium, the front sight. I did but forgot to scale it to the Dia 40mm PVC tube [as I had to do with my other builds]. Had already cut out the inner part, so decided to scrap that and go with my second idea, which was to build it from Milliput.
E-11 BlasterE-11 Blaster

The start of it, once dried and hardened off, I'll start to create the shape.

February 16, 2016

Han Solo costume for my Son....... E-11 Blaster 1.7 [M38 Scope]

Scope build update:
  • Sanded the wood filler, more is needed to smooth and shape.
  • Cut out a piece of wood for the front section, drilled & pinned it in place, also used Araldite glue.

E-11 M38 scopeE-11 M38 scope
  • I cut a smaller square piece of wood, rounded it, drilled and pinned & glued it to first piece.
E-11 M38 scope

  • Next was MORE wood filler and also a small copper washer to the end of the front of the sight.
  • I marked and drilled three holes on the front face of the scope, and glued in some pan head bolts, just to ad to the authentic look.

E-11, M38 scopeE-11, M38 scope

  • I've started work on the two pads, using Milliput. Never used this before, tho I remember my Brother used to use it when kids, building models etc.

February 12, 2016

Han Solo costume for my Son....... E-11 Blaster 1.6 [M38 Scope]

Progress on the Scope, finished shaping the main body and found a perfect fit metal washer, more of a ring than a washer tho. Glued it on with Araldite glue.

Once set, I started to apply wood filler to the still rough wood.
E-11 Blaster

Next I increased the depth of the slots in the main folding stock, rather than cut the ends to suit. This was also better as the bend's should be closer to the main body of the stock.

I cut and shaped two pieces of PVC pipe and again, using Araldite, glue the ejection port shroud and nozzel flash guards in place.
E-11 blasterE-11 blaster

February 11, 2016

Han Solo costume for my Son....... E-11 Blaster 1.5 [M38 Scope]

E-11 Scope - version M38


The one seen on Han Solo's blaster.

There were a few versions of blasters with different scopes fitted,
click the pic above or the following link, to take you to

~~~
Found this website to, is great for showing the different versions of scopes


I've been searching online for blaster scopes, but after some thought, I thought I have a go at making one out of wood......how hard could it be??? lol

So I used my scope as a guide and marked out a square length of wood I had. Not realising till later, I probably could of made the scope in one piece, but maybe the next one ;-)

I marked a diameter on the end face, then a few length dimensions and rough angle end points. Then in work this morning I started to cut wood.

Results so far.....
E-11 M38 scope
 This picture shows the amount of wood removed to create the angle.

E-11 M38 scope
 This view shows the angle better.

E-11 M38 scope
 Picture above, shows tools used.

E-11 M38 scope

The remaining guide lines are to be cut out on my lunchtime.

[I didn't take a pic of before.....didn't think it would work]

Han Solo costume for my Son....... E-11 Blaster 1.4

Last nights work.....

Folding stock arms
I cut two slots into the main part of the wood to allow the two cut down in length, & flattened, aluminium strips from an old indoor aerial, to fit in. I then drilled two holes and fitted screws to hold in place. They need to be made shorter to fit the rear bracket.
E-11 Blaster

E-11 Blaster

In the second picture, you can see where the black marker rad is I need to shorten the arms. The slots will be filled in later.

February 10, 2016

Han Solo costume for my Son....... E-11 Blaster 1.3

E-11 blaster, stormtrooper

Last night was a scratching head night. How best to make the folding stock section??

I wanted it to be light, but strong. Found some pieces of wood that were just right. Next was how to make it look right lol. So after I had marked out the actual shoulder butt piece, I marked and cut out some 3mm hardboard. These helped with the shape of the small piece of wood, that was screwed & PVA wood glued onto the main stock section. I then cut & shaped.
 E-11, folding stock work


E-11 folding stock
Found two small, non standard looking screws to fit into the sides to show the pivot points.
Next is to shape the nose end of the stock, drill more holes & apply wood filler to smooth everything.
~~~~

I also got round to marking and drilling holes to screw on the magazine chamber.

E-11 blasterE-11 blaster, stormtrooper

Lastly, I then applied watered down PVA glue to the open wood to seal it ready for painting.

February 09, 2016

Han Solo costume for my Son....... E-11 Blaster 1.2

T-track.........

This stuff is easy to find, if you know where to look [forums] & also on eBay, but it also comes at a price! Am always looking for an alternative product, on my last to blaster, I found a plastic box lid which I had to cut down to be able to use the lipped edge.


Last week I found this look-a-like t-track rubber on eBay, as a test for suitability. It was only £2.70 a meter.
E-11 T-track, Stormtrooper blaster
Test fit & look of T-track rubber on PVC tube

I just cut to lengths and slipped the ends inside the tube vent holes. Its not to bad really. It's firm'ish, but the vertical piece is not so, bit to flexible, but then again that might not be a bad thing. I do have to remember this is for my Son and as careful as he is, this build needs to be cheap, and relatively indestructible lol.

Heres a test piece of rubber stuck to PVC tube.
Test sample super glued onto scrap PVC tube


The t-tract will need to be glued on, so will see what else is out there, and of course the blaster needs painting first.

February 05, 2016

Han Solo costume for my Son....... E-11 Blaster 1.1

Lunchtime I finished off the ejection chamber cut out. And cut a slot for the handle grip to fit into the barrel. I made a notch in the top section of the grip for it to [tightly] slid on with and help locate it in place. Need to sort of fixing the front of the handle and also removing some of the inner wood material.

The grip had some more wood filler applied and sanded smooth to blend in with the handle.

I also cut out a piece of wood for the 'folding stock rear mount'.
I marked, cut and filed the edges to look cylindrical and this will be screwed on later.
still needs some more work.