Scope Rail
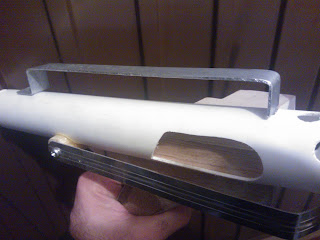
Found a scrap piece of aluminium angle, just the right length. Marked & cut it to width. Then notched and bent into shape the end. This then sloted into the small hole made in the tube.
Scope rail taking shape
I then measured the length to suit the barrel and bent the end. This fill be fixed in place by the rear sight, yet to be made.
I marked out the scope's position on the rail and drilled clearance holes in the rail and the scope mounting feet, and then a smaller hole in the wood part of the scope. This was so the screw bit into the wood to hold it and not the Milliput. I also then trimmed down the scope feet to fit the width of the rail.
Rear Sight
I found an angle bracket piece that was just right for the rear sight insert. So this will be used. Marked and clearance holes drilled in the rear area of the scope rail and screwed into place.
Front Sight
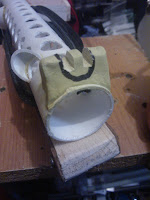
Next I dug out the dremel, mini hacksaw & coping saw and started to work on the front sight. This, for me, is a test of the Milliput's strength and durability, as the front sight will see a lot of abuse whilst in use (holstering & generally getting knocked etc).
front sight, starting to cut out detail
Side cut out detail
I used the tip of the grinding bit to carve out the 'U' section of the sight
The ejection chamber shield came off, so need to look at fixing it back on.
(Can be seen missing in above pic of scope rail).

![Scope Rail [WIP] E-11 Blaster, Scope rail](https://blogger.googleusercontent.com/img/b/R29vZ2xl/AVvXsEgmN_myjYSFc9lFCctGV9hvEC8T9jMLjQu81eJzmN9zYcMVFjFzPsxJefJWREWvwPodwr2mEaIlkit2mM7XAOAPYiHSgbFITVz0wyRGt1x8hd4TuyHorZDDYCPbE0r_2_vNLBNsy5vYrG4/s200/Jacob%2527s+E-11+scope+rail+-+WP_003925.jpg)


No comments:
Post a Comment