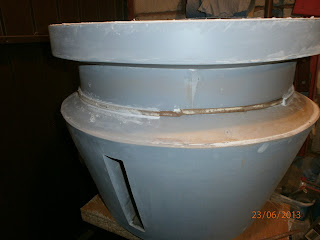
First I measured and then with a straight edge and stanley knife, cut lengths of strip to go around the neck. I Applyed watered down PVA glue to soak into the wood to help make it more flexible, and harder once dried. This also stop's it absorbing to much of the paint. Fitting the 1st strip to dome. Tricky, used a strap to hold it in place while the wood glue drys.
 |
| The bottom strap is holding the glued strip in place. The upper strap is 'shaping' another 'wet' strip. |
This made fitting the strips a LOT easier.
 |
| work in progress. starting to apply wood filler |
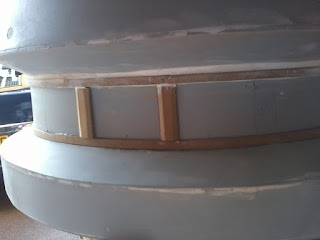
The verticals have chamfered side edges. So to create this I cut lower strips at wider, using thin hardboard and then upper strips at 5mm wide. These were PVA glued, in the middle, then wood filler was applied to create chamfers. Once dried, they are lightly sanded smooth.
Here are two of the verticals glued in place. These were my first attempts, to layers and shaped the angles with a file.
Lower horizontal strip, still needs an additional piece to achive the depth


No comments:
Post a Comment