January 24, 2018

R4-D4 Dome work progress 3.8 - weathering

Monday I took the dome into work and sprayed a coat of clear over it.

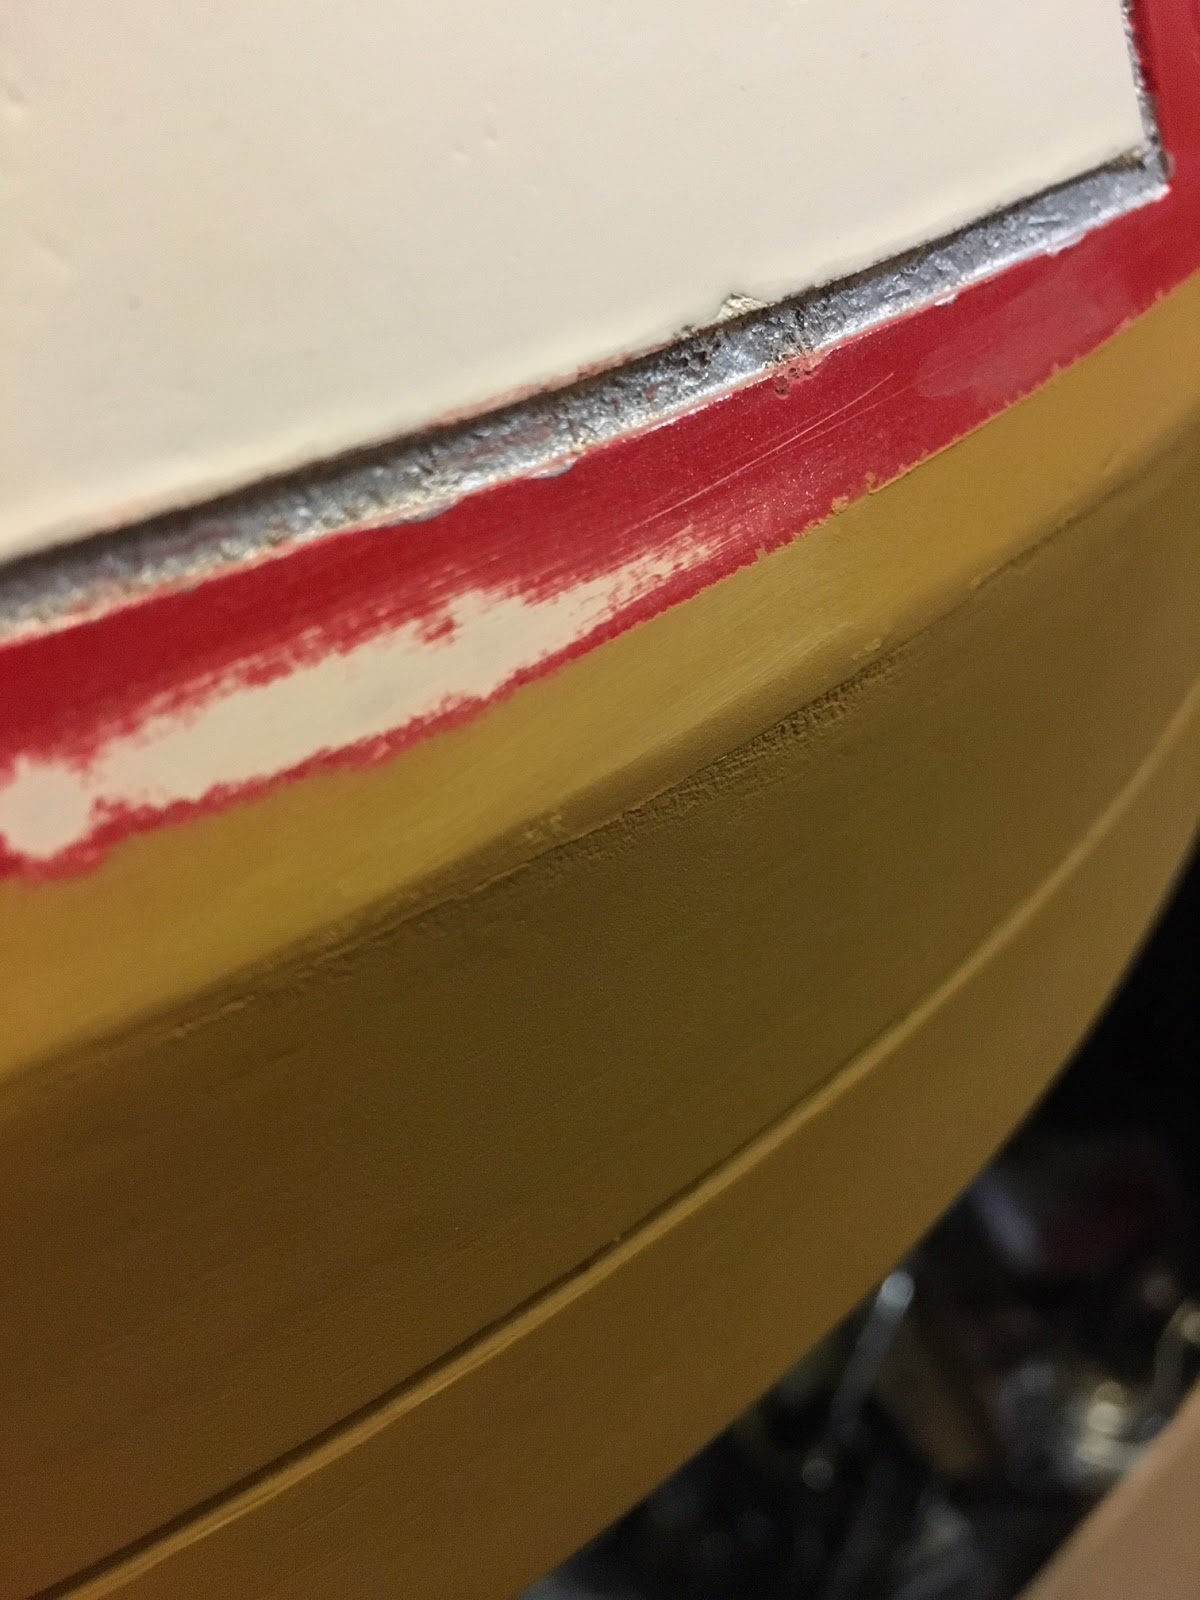
On the evening, once home & dried, I made a start on weathering the dome with my usual colour's. I started on the circuit board, with matt black to tone down the silver. This then worked it's way down into the grooves of the panel below. Edges and pitting on the grooves and panel faces, help to create the worn used look, which when I first started using wood, realised who good it did looked when compared to 'real' worn/used metal.
matt black with burnt umber also added to the 'electronic' panel.

Dink's, scratches, surface imperfaction's, all add to the aged character of the dome 😊.

I then made my way gradually around the dome, with just the matt black paint.
Not all sides shown.

Rear, un-recessed pannel

Front


Lid

Next up is to add some burnt umber & yellow ochre paint to help blend the lower section in with the body.

January 19, 2018

R4-D4 Dome work progress 3.7 - Re-spray Dome red

I thought I'd masked off enough to be able to spray the area needed, without leaving a spray edge. Well, I did and didn't......more tho I didn't manage this. To say I was annoyed, would be putting it mildly.....mainly as I'd only picked up one can, thinking it would be just enough to cover the area effected.
 Masked off areas that didn't need spraying


But this additional coat of paint also showed up the fact that the original layer wasn't consistent enough.

So I used some wire wool to gently rub away the paint line. This takes some of the metallic shine off, but wasn't course enough to remove actual paint.

Then it was re-masking off the entire dome....which took over an hour to do!
I also had to go back to the shop to pick up two cans (not falling for THAT mistake again) of metallic red.

Friday morning, dome back in the spay booth and I got to spraying up the WHOLE dome!

And once the masking tape and paper was removed....

I covered over the white panels and the red panels that weren't effected by the previous paint line (Above picture & below picture). I wanted to do this as well as these now have a slightly lighter red to them, which I like.

One of two bleed spots appeared after removing the masking tape...

but some light wire wool and these were gone.

So over the weekend, I'll re-apply the silver to the grooves and then clear coat the dome.

January 17, 2018

Vintage Futaba Antenna - eBay

With everything going on with events and the run up to Christmas & The Last Jedi, I posted up on my Instagram but not on here, that I had found and won a bid for an antenna to fit the vintage Futaba Ripmax Radio reviever. Only one available, but it's a start lol.

It was in excellent condition and not to expensive, less than £10 (inc P&P).

I just need to print off this picture......

and then I can display the unit.

January 16, 2018

R4-D4 Dome work progress 3.6 - Silver band

  • Sanded the primer and filler smooth.
  • Then applied this second coat of primer/filler.


  • More sanding, later that day.....in between I did this.
There was still some smoothing to be done to the 3D panels inside edges as, I thought, they were rubbing on the outside diameter of the bearing. Tho after much sanding/smoothing with the sanding barrel on the dremel. I took the location ring off and just sat the dome on the bearing/body.....turned the dome and no contact....? Then I noticed that one of the location pins was being obstructed by its location block. The block had been modified in the beginning, but I didn’t notice that when I had shortened the blocks, I hadn’t extended the clearance hole. Once I’d work the dremel magic on the wood block, everything fitted, no rubbing and smooth rotation. RESULT!


Back to the sanding. Feathering the edge of the primer, so that when I come to re-spray the neck join line isn’t visible. In the picture, the area which has been done is showing white. The orange distinctly shoes an edge on the right of picture.

Once I was happy with the edges etc, it was time to re-mask off the dome. And spray up with white.
I sprayed up the whole neck band. The reason for the white is that the lighter colour helps the metallic red shine more, in my opinion.

Once this had dried (next day) I re-re-masked off the neck so that I could spray the lower band silver. Tho the actual colour is Pewter, it is a more natural 'silver' than previous silver spray paints I've used.
 starting to spray up the ring.


And the reveal, below....

Am hoping to pickup red paint tonight so I can finish this off tomorrow. Then it will be a strip down of the holo & radar eye, ready to clear coat the paint work.

January 10, 2018

R4-D4 Dome work progress 3.5

More:
  • 3D printing
  • Woodwork
I changed the printer settings and this sped up the print time, meaning that I could get two & a half panels printed off in a day, with the half panel being finished for the morning lol.

These have been screwed into place and then using a soldering iron, 'welded' the joining panels together. (see previous post).


~~~

Next up: Something that had bugged me since installing them, were the 3D printed electronic panels. Although I had recessed the panel that they fit into, they still protruded out further than I liked. I originally hadn't done the following as I wasn't sure of the strength of the panel. Since adding the curved panels tho, they're own rear supports had increased the rigidity of this panel.


 So scored the edges and started to cut the panel out.


Panel out.


Next up was to cut some hardboard pieces to be PVA glued behind the opening.
This is so the electronic panel has a surface to sit against.


Didn't think it would look this good, but am now MUCH happier!

Next up is to touch up the edges & dirty up the electronic panels.

January 08, 2018

R4-D4 Dome work progress 3.4 - new neck skin 3D printed

I took the dome into work so that I could check that the new ring panels would best fit, where cut-outs would be required and where clearances would need to be. I missed the fact that the panels I had been printing were the wrong height.

This wasn't made apparent until I took the dome home to check for diameter clearance.

So I had to start re-printing the correct height ones. Due to the groove on the outside, I can't even modify the pieces already printed.

Here's the correct pieces fitted in place so far.


The connecting tab to help strengthen the two pieces.....this was the plan.....see below re: Gordon Tarpley 

Cut out for the supports

I follow Grodon Tarpley on You Tube, and on Instagram. He posted up the other day about using a soldering iron to melt/join PLA together.

So I did a test piece on two wrong height pieces and it worked. So I 'welded' the above pieces together. This has helped strengthen the thin lipped edge.


Welded the two parts together


I'm still printing off the other panels for the neck, whilst the printer is doing this, I can carry on with filing and sanding the ring.

January 04, 2018

UK R2D2 Builders Christmas Event 2017

This years event was held at a different/new location. Sam P,
arranged the event and was held in Camberley, Surrey.


Doors were open from 12 till 5 pm.


I took my two youngest along as they love seeing all the droids, plus it gives the wife a day's rest too.

There was a few planning on heading up from the South West region, Paul F, being one of them, followed me up.

We arrived just on mid-day and a few members were already there setting up. Sam had set up a live webcam for club friends to view online.

As well as a meet and greet day, it was also a chance to MOT new droids and re-test pre-MOT approved droids.

Lot's of questions and answers about builds, electronics, ideas etc were discussed throughout the day. Sam bought along his R2-Q5, Chopper built and new one in build progress, as well as a new R2 unit he is working on.


Checkout Sam's progress on his Instagram feed.


Here are some other pictures from the day.


Here's a You Tube link to the above & more droids.


After the MOT's were complete, it was almost the end of the day.
The kids needed more food, but not before the final droid collective photos.

Below pic was posted up on my Instagram 

We also had two 'special guest', Brad O (BHD) & James S, made an appearance!
Was great to see them both! Although their droid's didn't attend.

Almost forgot to fit the R4 dome on to show people lol, managed to remember....just and take some photos as well.

Just need to finish printing off the neck ring..... more on this soon.

Welcome 2018 - Club Event's for the year ahead!

New Year and with lots of events etc going on this year,
I'll be posting these up, even if I (R5) can't attend.


The BIG one tho is in August!


The UK R2 Builders Club will be hosting a 3 day event.
This is only for Club members & their families.

If your a member, you'll probably already of seen this on the forum/Facebook page.

I'm unable to attend this, which is a shame,
but have donated by purchasing the above patch.

~~~

Other event's will hopefully be LegoLand in May.

Other event's to follow....