November 30, 2017

R4-D4 Dome work progress 2.8

3D printed parts.
There is seen in some screen grabs that some of the R4's have electronic panels, two off, one either side. There are lots of different version, probably linked to different 'models'. So I thought I'd create my own.

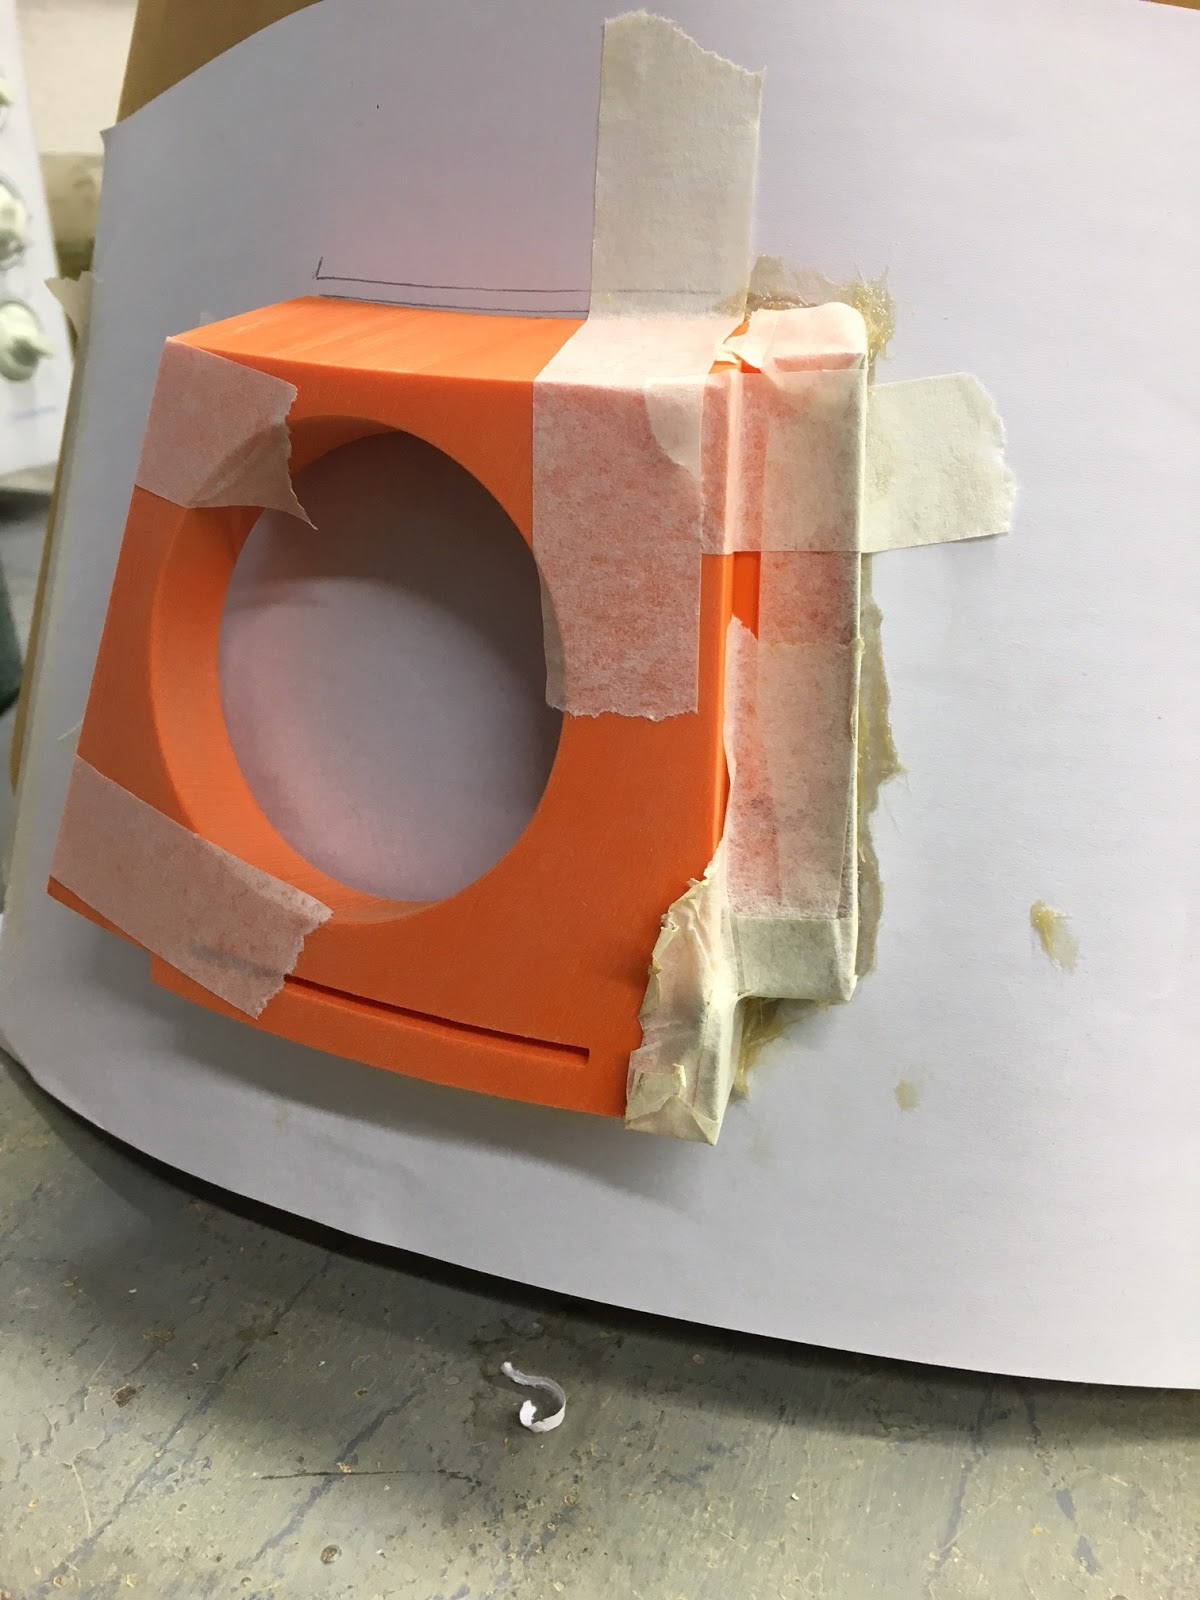
I wasn't sure whether to just recess these component's into the panel, or recess the whole panel, to the depth of the groove, and fix these on then. The upper panel, in the picture below is the one in question.
Well.....that undecidedness didn't last long. I drew up a full components panel in Inventor

..........and 3D printed it off, twice.

I then recessed the whole panel, using a stanley knife blade to 'scrape' off the layers.

and then I test fitted the new 3D printed one.

Am still a bit unsure with how proud the panel is, but I can't recess it any more, due to the wood only being 3mm thick. So I may reduce the height of components on it.....but then they'll become less defined.....

I'm looking into LED's and or fiber optic cable that I have left over from the R0-D4 dome build.

Other work..... I almost finished grooving out all the panels last night.
I just have one last curved panel to do.

November 28, 2017

R4-D4 Dome work progress 2.7

This weekend has been all about the 70's lol......grooving! 😂

Friday night I carried on grooving the dome lid.
The grooving tool I used, all done by hand, just like on R5-D4's dome and body.

And then I applied PVA wash over the grooves to help seal. Once dried, I lightly sanded.

Saturday I had some free time so was able to make a start on scoring and grooving the panels I had previously marked up.
 First panel above started.

Marking up the curved panels curved recesses.
I used a tape to mark the drop from the top to the lines. I then followed a line from side to side.

The scoring with the blade along the lines.....free hand! 

Quick wash with PVA glue, so that by time I've finished grooving, I can start sanding


And this was the final effort.
I'll be starting on the other panels, marking out etc this week.

November 24, 2017

R4-D4 Dome work progress 2.6

Some good news and some not so good news.

My 4 pack of fake CCTV dome camera's arrived yesterday. And spent no time stripping two of them apart lol. That was all I could do as the Radar Eye was in work. The other plus is the on/off loop relay unit arrived as well.

The not so good part of the night, was spending hours figuring out how to and the best way to wire up what I had to operate the holo projector circuit 😒
What I have won't do what I want.....so onto plan 'B'......

~~~

To not get distracted with this disappointing evening, tho some bits were actually fun when bits worked, today's efferts are working on the Radar Eye & it's lens.

I taped a piece of paper onto the dome as to where the Radar Eye will go. This was to stop it messing up my nice clean surface lol. I then mixed up some glass fiber and applied it to one side of the eye's cardboard'd edge.

Lunchtime, I got on with cutting the radar eye's lens. I marked in position and then using a saw, cut to size.
 
After this I applied glass fiber resin to the other side edge of the radar eye, as the first side had set, as seen in the above pic.

~~~

Marking and grooving out the panels....
There are a few different 'styles' for the panels on an R4. The paint/colour design is another thing too. So I'm going with a standard'ish design.

I started with the 'lid' panel.
Drew on the groove details and then scored and scrapped out the groove detail.

I gave the groove a PVA wash to seal, and then once dried I lightly sanded them.
As the hardboard is only 3mm thick, the grooves are only about a 1mm deep. They are just for effect.

I drew up some templates in cardboard and cut them out. I then started to mark up the panels at the top of the dome.

I'll be taking the dome home again for the weekend, hopefully get some more work done on it then.

Looking forward to Sunday tho as a few members of the UK Builders are coming round to my house.....more info next week.

November 22, 2017

R4-D4 Dome work progress 2.5

So yesterday I re-designed the servo panel and sent it to the printer. Four hours plus later, it finished....just in time for me to leave work.

Once home, I removed the raft & supports. There wasn't much cleaning up needed.

Later I then test fitted the components & whilst I had some free time, connected up what I could.

It may look complicated, but I don't do complicated lol, all 'plug-n-play' here.....with a bit of splicing of the digital volt meter to be soldered to the output pin connectors of the voltage regulator unit. The bottom two red wires are to the momentary switch I used for testing. This you can see in the picture below.

Here's a quick video.


November 21, 2017

R4-D4 Dome work progress 2.4

Today saw the second can of primer/filler used up on the dome. But it was worth it.

The lid edges were shaped to specifically match each corner, so only one orientation. I applied PVA wash over the edges. Before it was dusted with spray. So this part of the dome is done. But there's still loads to do.

The light really shows up the edges best in this picture. Am really pleased so far.
Once all dry, a light sanding will follow.

I started on location lugs for the lid to fit inside the dome's hole. More on this in next blog post, if it works lol.


Here's a picture of the new/old 3D printed panel that didn't print so well. I did test fit it to see how it looks inside the dome.

The new new 3D printed panel is being printed. Two hours and it's only half way through lol.

Some good news about the Radar Eye lens. After searching shops for the 99p fake CCTV dome version, I had to bid on eBay. Found a set of 4.....yes, I know, but in order to get them this side of Christmas, it had to be done. The price for the 4, I could of paid for 1, the increase since I bought one for my R0 dome last year is ridiculous!!

R4-D4 Dome work progress 2.3

Last week, the last two panels have been worked on (17.11)

Panel 5 received a PVA wash, rasp work to take off the edges and sanding with paper (repeat until smooth). Wood filler was then applied, then once dried, this was sanded smooth.

Then it was onto the last curved panel. Trimmed it to fit along its edges (the clamped edge), then glued and clamped into place. First side.
Once dried, I glued the second edge down and then trimmed off the excess along the bottom edge. Then it was back onto rasp file work, and sanding smooth.

Friday I glued up the first edge of curved panel no6, I took the dome home and at the weekend I was able to finish glueing the second edge. Then a PVA wash and some wood filler, ready for work on Monday.
After sanding the filler and wood smooth, I gave the whole dome a spray with primer/filler.

Then on the lunchtime, I gave the whole dome a smooth sanding.

This process helps pickup areas that need small amounts of wood filler.
I also started on making the lid.

---

I had some luck re: on/off relay circuits. Thanks to pointers from fellow builders, it lead me to one which is now in the post to me. More on this when it arrives.

I have also been working on drawing up a circuit board panel to mount the trigger board, voltage regulator, digital volt meters and once it arrives, the on/off relay circuit board.

This is the second design. The on/off circuit board doesn't have mounting holes, so I'll have to attach it to the board via clips glued on perhaps.

Well, I wasn't happy with this version, so I re-designed and drew up another.
This has the fixing bracket already fitted with a screw location hole too.

November 15, 2017

R4-D4 Dome work progress 2.2

Came up with an idea to cover over the screws for the Holo projector Eye.
3D printed a ring with some details on it. Slightly filed two flats to better fit the panel side walls.

And here it is test fitted on the Holo pod.
The idea is that this could be fitted and if work ever needed to be done,
so unscrewing required, paintwork wouldn't be damaged.

Not posted up pics of the LED lit up inside the Holo Eye, theres a mini video on my Instagram page. The pictures give the impression it's REALLY bright, but that's just the camera adjusting to the brightness.

The second picture is better for being able
to see the insides of the nozzle.


---

My friend Paul popped over with a un-used 3D printed Radar Eye. It will of course need the sides worked on to get them sitting flush to the curvature of the dome panel. But I've managed this before on R0-D4's dome.


Had to be done, lol, a test fit of the Radar Eye on the Dome.


---

Then it was back on with sanding the primer
& then applying wood filler onto the panels again.

R4-D4 Dome work progress 2.1

Build progress....
  • Glued on more rear support pieces for the curved panels.
  • Wood filler over primer.
  • Extra support pieces added.
  • Inside securing blocks added.
  • Sanding and smoothing.
  • Holo projector eye fine tuning.


 I know this looks like tha last picture I posted up, lol, but it isn't.


The curved panel support struts, were held in place at the top by panel pins & PVA glue. I removed the pins and added some cut to fit securing blocks.

Curved panel 4, goes on.

I marked up, cut to length and glued into place the last two curved panel supports struts.


And cut out and scored the panels to be curved.
The pins are there to help hold the panel in place while glueing and clamping takes place.


---

The holo projector eye, rear cowl, needed some more smoothing on it's inside face. When the main body was rotated, the slightly ovalness, meant it wouldn't freely rotate. Then I used the 'breath easy' nose strip's, cut down to help smooth the contact areas.

I also lightly sanded the silver part of the body. This has dulled it down more to give a more worn/tarnished look, which I like. Pictures in next Blog post.....
---

More primer/filler spray applied, over the latest work done.

Once dried, more sanding and wood filler....and sanding to be done.