So I’ve decided to make life easier by streamlining the electrical layout & re-positioning the switches to a more accessible location.
Below was the electrical board original position.
I have already taken out the electrical board that was fitted to the crossbeam and uninstalled the components, Sabertooth speed controller, voltage reducer, distribution power block and switches.
Next up was to test fit the components to the side wall.
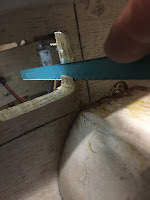
The two switches are going to be relocated into the skirt recess. As the wood base is 18mm thick, I need to cut out a piece large enough for the main body of the switch to fit inside. And these will then be secured to a new blanking plate. In this case, a piece of Perspex.
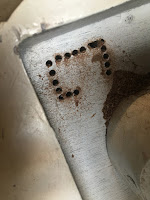
I marked a position suitable and chain drilled holes for the opening.
The last corner I had to grab a saw blade to trim it square.
I made a start on cleaning up the edges. And as I had to finish up, made a template out of cardboard to get an idea of the size required.
Switch mounting plate:
Here I test fitted one of the switches with the 'kill switch' cover.
Happy to say that the skirt is deep enough not to be able to see the cover when it's in it's open position.


No comments:
Post a Comment