


Print orientation for no other reason than to see it print well. Which it does on the Ultimaker S5.
Once the edges were trimmed off, I took to sanding the parts individually.


Next up was the obligatory test assembly picture, of the top and top ring….

Before applying filler and once dried, sanding. Then primer filler spraying.


Once fully dried (few days) I gave the top a sand.
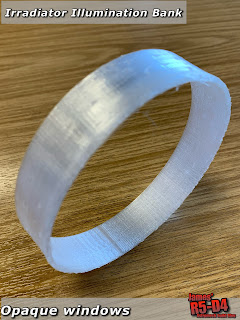
Whilst this was drying, I had been working on the screens for the illuminated windows.
First attempt was with some opaque plastic sheet, which kinda worked, but then came the clear filament idea! I did some test prints with some success, but the overhang that I was asking it to do, even with supports, wasn’t having much luck. The upper windows for the ‘top’ piece (above picture) was easier and was achieved on my second printing attempt.


This is a snug fit and will be secured later once painting is completed.
I just need to either print (flat) the pieces I need for the upper ring windows or go back to the opaque plastic sheet…..which might actually work better as it would then match up with the main body’s windows.
After a few more attempts, I managed to get the result I wanted, by printing two semicircular sections (whole piece wouldn’t fit on the print bed). These match the top ring…..which will also be fitted once painting is done.
Last thing to mention is I drew up what looks like the ‘handle’. First design was as one piece, but then thought, if it was used as an actual handle, it would need to be more secure, to take the weight. So i sectioned it into two side arm pieces (print orientation for strength), two handle adapters, two location pins (glued in) & the main handle itself.
More on this in next (weeks) post….
No comments:
Post a Comment