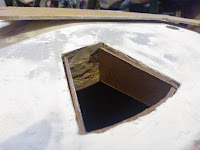
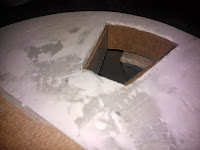
Did a load more sanding of the filler on the cone. Then applied more wood filler to the remaing gaps.
I then looked at fitting internal panels to the Motivator
Pie Hole. To give the 'lip' impression. I started of by cutting out a base to
cover the aluminium Motivator bracket and the opening. Next i marked up some
3mm thick hardboard and cut side panels to shape. Then came the tricky part,
the curved outer piece. I roughly cut a length of hardboard, the same thickness
as sides. I then scored the back and carefully bent a curve.
After, trimming and shaping edges, i glued the side
pieces only inside the pie hole. For now the base panel and sides are not going
to be glued together, incase the base and bracket need to be modified in the future. I then filled in any gaps with wood filler.
The base plate and bracket both got a new small hole for
the LED wires to be fed through into the dome.
....................this leads onto the next post on the Motivator.


No comments:
Post a Comment