February 28, 2014

R5-D4's Head 4.6 - Cone spraying white & red

Masked off the lower part of R5's head, to leave the Cone area exposed. We have large waste bin bags [clean lol], and R5's head fits in perfectly. The Cone need's re-spraying as the grooves were cut in to form the Pie Panels.
R5D4 Head
Primer applied, then I rearrange masking for white top coat. I masked off as close to the lower red pin stripe as possible to try to elimiate any visiable 'step' lines in the paint. I then sprayed the cone of the dome with Plasti-Kote Satin White.
R5-D4 

26.02.14
Cone now white.
R5-D4R5-D4

27.02.14
Once dried and after a light sanding, I got to work on masking off the dome, leaving the pie panels and space for the upper pin stripe to be sprayed on.
R5-D4 RedR5-D4 red
28.02.14
The Pie Panels were next, not so critical as the grooves will be painted silver so any over spray will be covered.
R5's pie panels
30 mins masking all the panels and Dome off, for all of 5 mins spraying! lol Also sprayed up the removable Pie Panel for Motivator!

R5-D4 RedR5-D4 Red

And with the masking tape removed......
R5-D4

R5-D4 Red

Next, silver grooves were hand painted in.....on......no, in lol.

February 27, 2014

It's all white..... Outer Foot, Battery Box No.2's

Sprayed up foot shell & battery box no2, in Plasti-Kote Satin white.
A light sanding all over and I'll then give them another coat.

February 24, 2014

Body Skin 5.2 - Primer to last area of body

This morning I got to work on masking off R5's body ready for primer spraying.
R5D4 Body
Then left it to dry over night. Light sanding over area, then repositioned masked off area to allow white to blend in with pre-sprayed area.

Next Stage..... Body Skin 5.3

February 20, 2014

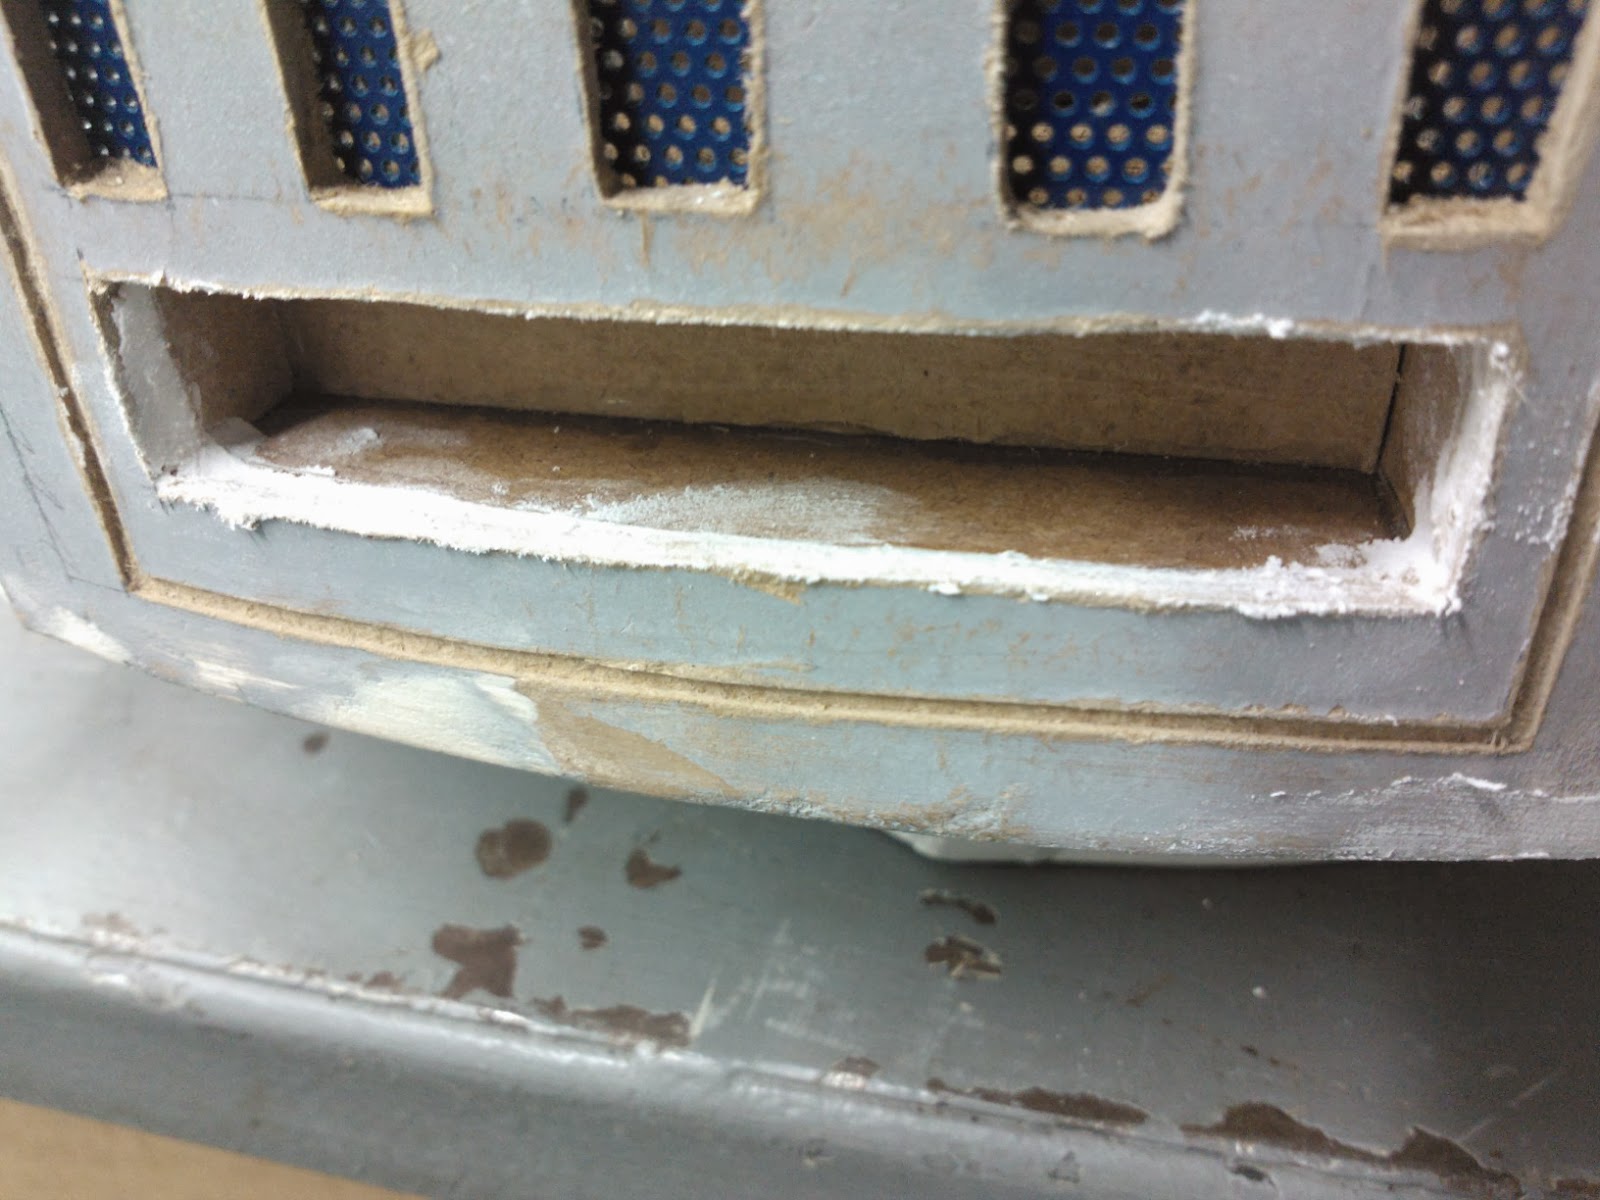
Body Skin 5.1 - Side Vent work No.2 & Rear Pocket Vent

Started cutting out the side vent slats yesterday and finished after work today. using a Stanley knife to score then a hacksaw blade to cut carefully along the lines.
R5D4 side vent
Next was watered down PVA glue to the cut edges to seal. Grill supports are cut up scrap pieces of wood, these will be for fixing the side grills inside the body.

Rear Pocket Vent
I glued the pocket part of the Rear Vent into place.
Pocket VentPocket Vent

Applied wood filler....
R5-D4 Pocket Vent
......................once dried, sanding is required.

February 17, 2014

Front Vents 2.5 - mesh fitted

Got round to bending, cutting and drilling the last piece of angle bracket. Marked and drilled upper mesh location holes. Screwed them back into place.
R2D2, R5D4, Astromech DroidsR5D4

February 14, 2014

Front Vents 2.4 - mesh

I wanted to make vent plates to block the view of R5's insides. So I marked up some perforated left-over metal, cut with metal cutters and drilled holes. Then used a grinder to remove sharp edges.
R5-D4 ventsR5D4 vents
These Im not sure to spray black or leave as they are??? Am leaning towards as they are.

February 13, 2014

Lower Centre Vent - bracket work


I finally got round to making, drilling and tapping threads for the Lower Centre Vent, bracket.

Outer Feet - Aluminium channel strip upgrades

The channel strip pieces were made of wood. These were ok, but not strong enough to support the foot internals when separated from shell.

So I cut down a U section piece of aluminium to width and then cut to length, filed the angles and cleaned up the edges. Counter-sunk location holes were next.

So i went from these on the right of pic, to theses full length ones.
R5D4 feet
Of course, nothing (with my build work) is ever straight forward lol. The reason the original strips were in two pieces was because the lowest edge of the legs was to close to the bottom of the channel. Soooooo in order for the leg location bolt to fit through the leg & internal foot threaded hole, I needed to cut a little excess material off.
R5D4 Leg
Filed the flat edge round, and will later primer and spray white. Much happier now as it all fits :-)

February 12, 2014

Dome electrics......LED upgrade work

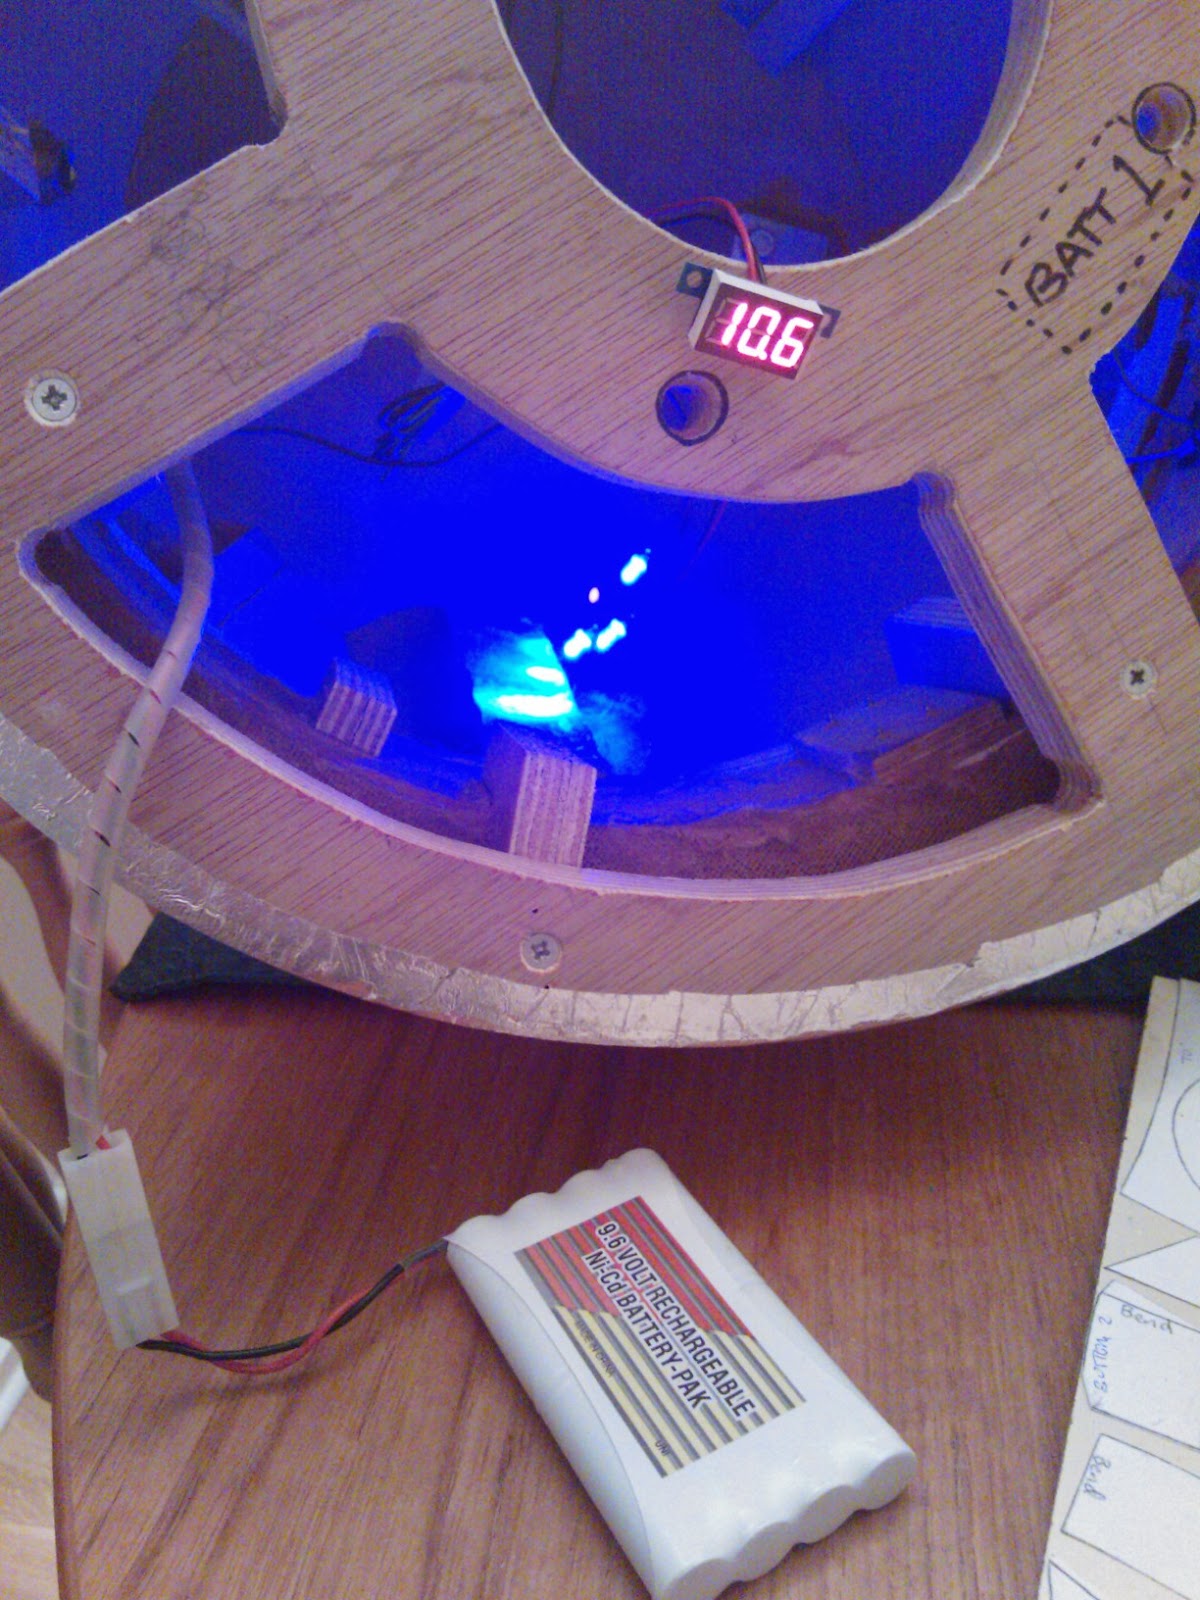
I wanted to run all the Dome LED's off the one 9.6v recharge battery to make life so much easier.

I dug out my LED's etc and I found my battery state indicator that I made at collage, 25 years ago. I've fitted it to every car I had, except the Zafira. Thought it might come in handy in R5 :-).
.....Now NOT to be fitted......

I was looking into how to drop the voltage from my 9.6v battery to be able to also run the other dome lights off it. The Eye lights [blue LED's] came out of novalty glasses, I think they run at about 3 volts, adding up the three mini button cell batteries. I had some great advice from fellow builders over on the UK R2 Builders Forum, but decided that I would just buy some suitable Blue LED's, as I know I would of blown them, and then would of needed to buy more lol.


5 x Blue LED Lamp Light Set 25cm Pre Wired 5mm 12V DC
I only need three for R5's Main 'Eyes', though am sure I'll find a use for the others....as long as I don't burn them out!! hahahaha.

Whilst I was looking around I also found this Digital Panel Volt Meter. I've seen tthis type of meter used recently on Prop made Pulse Rifle, similar to the amunition counter ('Aliens').

Anything to give me an idea of how much charge I have must be a good thing right??
DC 3-30V 0.36" 2 Wire LED Digital Panel Volt Meter Voltage Voltmeter Car Motor

10.02.14
Came home to find my Blue LED's and digital volt meter had arrived.
Blue LED's & Digital Volt Metre
11.02.14
So last night I set myself up ready for work. I stripped out R5's original blue light set up. They did a very good job for their one and only event lol, but wanted to utilise the 9.6v power unit.

R5-D4

Using a terminal block and spare cable from work, I then daisy chained (right terminolgy?) positive and negative's to the LED's and the digital volt meter, and placed the switch inline to cut all power.
R5-D4 electricsR5-D4 electrics

R5-D4 electricsR5-D4 electricsR5-D4 electrics


Also R5's red led was connected, not sure what to do bout the motivator LED, it can be disconnected when pie panel is needed and in place.......this is next to do & also to fix LED's and terminal block in place.
So two hours later I was very happy, and the fact the wife let me work on the dining room table ;)

February 10, 2014

Centre Foot - Wheel Upgrade 1.3

After the first upgrade to the centre foot wheel, I wasn't happy bout it not pivoting because I had made it central. It needed to be offset. So positioned the wheel as far over as possible without it touching the sides, marked the side plate and after taking the extension plates off, re-drilled bolt hole.
R5D4 centre foot
The new hole is the inner most hole

This has helped the wheel move more freely now :)

February 07, 2014

Large Data Port [L.D.P.] upgrade 2.0

The large data port never did sit right, as it sagged. This was due to my location pin idea not being 100% effective. Even after it's first 'upgrade', last April, I still wasn't happy. So I added this tie strap to lift and support its top lip.
R2D2 Data Port

R2D2 large data port
And now there's no sagging :)

February 06, 2014

Body Skin 5.0 - Rear Pocket Vent build

I found the rear perforated metal plate I had cut and sprayed, from when I made the front one. I then positioned the grill, behind the Vent slots. Next I cut a strip off an off-cut piece of hardboard and PVA glued it onto the wood frame to hold the grill in place.
R2D2 pocket ventR2D2 pocket ventPocket Vent
The guides are glued in place, one vertical strip on the left hand side frame upright, the other on the top piece of the Pocket Vent itself. Mock up pics 2 & 3 of grill in place, from inside and outside.

I then marked up the main body's 2nd side vent, ready for cutting out. Again, I already have the grill cut and painted from when I did the first ones.

R5D4

February 04, 2014

Body Skin 4.9 - Rear Pocket Vent build

Friday night I got some more work done on the last three panels & vents.

I finished off recessing the long rear panel. This took almost half an hour! Then a sanding all over the exposed wood, to flatten the now exposed fibres.

Rear Pocket Vent
As I already had the pocket hole, I used a piece of cardboard and inserted it through the opening. I then used a pencil to mark the curve of the skin on the inside. This was then transferred onto some hardboard and lengths extended to allow for the internal pocket walls to be fitted.

I then cut out two pieces the same, top and bottom, here they are glued together.
R2D2 Rear Pocket Vent
Next came the side pieces.
R2D2 Rear Pocket Vent
Applied watered down PVA glue on all the cut wood.
Ok, so here are the vertical slots in the Vent, being cut out. I've used a combination of Stanley knife Dremel.
R2D2 rear pocket vent

R2D2 rear pocket vent
Just one more slot to cut out tomorrow.

February 03, 2014

Centre Foot - Wheel Upgrade 1.2

Cut angle down to required height [metal circular saw in work].

Angle No1: marked position of securing threaded holes, drilled and tapped M5 threads.
R2D2 Centre FootR2D2 Centre Foot

A full test fit with foot shell was carried out once at home, and all fitted nicley back together.

Will have to wait till I've finished some body work before I can re-assemble R5's legs and properly test the new wheel out........