December 31, 2011

Leg Booster Cover Unit 1.1


HAPPY NEW YEAR :-)


Checked out block used for ankle curves. It's bigger than required. But will need extra piece for top section.


Some of the top will be removed and replaced with a piece of 18mm thick wood, to make the correct thickness.


Marked up cut lines onto first piece.


I have seen some amazing 'weathered' effects done, but one that really caught my attention was one where the blue was 'worn' away to show aluminium underneath. I will try to re-create this effect on my leg booster.

December 23, 2011

Base - blanking 1.0

Filled another one of the gaps in base with a blanking plate [wood] and P40.


This cut out was done when the base was made as I didn't have a router to achieve the correct depth. Just need to sand smooth, prime and spray white.

December 21, 2011

Ankle Cylinder Holder 1.4 - paint

Cylinder holder sprayed white.
Just needs clear spray paint and attaching to the Ankle Cylinder.

December 20, 2011

Leg Assembly 1.8

Finished Sanding leg, for now.
Made a cardboard template to mark holes for fixing 'ankle details' onto the leg. Drill holes positions then mirrored over onto the leg, picture below.


Drilled diameter 10mm holes into the leg. Drilled diameter 8mm holes into the Ankle Detail. Cut diameter 9mm dowels and fitted them into the Ankle Detail. The larger holes in the leg will allow to line-up the detail.

Ankle Detail, temp, in place

Test fitted 2nd Stabiliser into leg, recess required trimming of excess wood filler, on the edges, to fit.
Mock-up

Ankle Cylinder No3 - 1.2 & Ankle Wedge No3 1.1


Sprayed up the cylinder and end caps with grey primer.


I then fitted the end caps into the cylinder and applied P40 inside to fix them in place. I've used P40 this time as these are going to be more 'exposed' so want to make sure they don't pop out etc.


Next I used wood filler to fill in the gaps and smooth things out a bit.


Using previous templates, I marked up and cut out pieces for wedge. Shaped to fit, used P40 to bond the sides to front face. This one only took me all in, half an hour to build.


Once the P40 had set, I sanded all the faces and ensured the curved area fitted over the cylinder. I then drilled and screwed the wedge to the cylinder.
Wood filler applied to gaps on the sides.
cut-out under screw was to help screw in the screw

December 16, 2011

Ankle Cylinder Holder 1.3

Applied more wood filler to cylinder holders bottom edge, to cover the wood grain and to make smoother. Once dried, it was sanded.


Requires a little more sanding  and then I'll re-primer it.

December 15, 2011

Ankle Bracelet 1.2 - primer & silver paint

Sanded the ankle bracelet and sprayed primer.


Later, added some wood filler to a saw cut to deep.
Sanded flush and then re-primer sprayed, then once dried, sprayed silver.


Leg Assembly 1.7, Ankle Cylinder fitting


Ankle Cylinder fixings.


10mm dia drill bit, clearance for dowel 9mm dia. (bought original to make the under shoulder stabilisers)


Marked position on leg, then drilled holes with 8mm dia drill bit.
Then pushed the dowels into the holes and glued them into the cylinder fixings.
I then carefully trimmed down the dowels diameter till it was a tight fit in the holes.

Cylinder with fixings in place, trial fit

Wood glue, dowels into fixings
A quick mock-up
Marked up where the ankle slot needs to go on the flat face.
Next is screws, primer, filler, more painting....... oh yeah and an ankle wedge, almost forgot

December 14, 2011

Ankle Cylinders No 3 & 4

Started on Ankle Cylinder No.3 today, for the Main Leg, well I did already have it cut to length ages ago, but just not had the time to add the grooves. Well they are now added and clean.


I then cut out and after attaching the end pieces, I added the finished end caps to the cylinders.


They just need wood filler in the gaps and body filler inside to secure to tube.


Cut out the rear slot of the ankle cylinder. Snug fit!


Next is to make the 'fittings' for the cylinder to clip over.

December 10, 2011

Leg Assembly 1.6

I finished off sanding down and got to spraying with primer.

I've done this as it helps to show up any uneven spots. They're easier to see against a dark surface. I then got to work filling in all the areas that needed doing.

But before I did it, I fixed the leg onto the body again for an update picture.

December 09, 2011

Ankle Cylinder Holder 1.2

Applied some wood filler to spots on the holder and also over the side faces to get rid of the wood grain effect.


Once dried, I'll sand smooth. I'll also use a length of tube with sandpaper on it to achieve the curved cylinder contact surface areas.

R5-D4 build cost so far

Spent a small fortune in B&Q the other night. Five cans of spray paint lol....£25 !!


I'd gone in for grey primer and remembered I also needed white for the main colour. So decided whilst I was there, I might as well pick up a small blue metallic, silver and of course can of clear. Would of got a bigger cans of there three, but they didn't do them (here).
So thought I'd write up about the cost of R5's build so far.


All the wood so far, bar one sheet, I have manage to find. It was left overs and wasn't needed. I had a load of different sized screw's that I've gathered over the years, including some nice long ones left over from a decking project.
  • Paint              = £65.29
  • Nuts & Bolts   = £23.26
  • Extras            = £16.24
Total so far         = £107.79

This I feel is not to bad, considering that I didn't have to buy any major amounts of wood! And also the machined components that I've made have also saved me a LOT of money!! lol

December 08, 2011

Ankle Cylinder Holder 1.1


Marked up and cut out of 18mm hardboard, the first, of two, Ankle Cylinder Holders. These pieces sit underneath the cylinders on the Main Legs.


I don't intend to curve the full length of this for the cylinder to sit in, just the ends. The middle part has been cut away completely.


Carved out section
Rear section
I used my dremel with a sanding wheel to create the cylinder curve.

December 02, 2011

Leg Assembly 1.5 & Ankle Bracelet 1.1

Applied more wood filler to the leg, mainly to the wood 'grain' surface. Once dried, this will require more sanding of the leg.


Marked outline onto 3mm hardboard, then cut out what will be an 'ankle bracelet' for the leg.
If this was a metal build, this piece would be made in one piece and fitted between the upper leg and lower ankle section. But as my leg is made in one piece, the bracelet has to be in two pieces to fit.

This is the back face view. Wood filler will be used to fill the gaps on the end of the rear strip.


I used more wood filler to build up the top of the ankle, as can be seen in the previous picture, where the 'ankle bracelet' will sit. As the board has a textured underside, I applied a thin layer of filler, to be sanded smooth.
Am thinking screws to fix in place at the moment, which will be hidden by the booster cover. Not sure how to fix the rear strip ??


Here I test fitted some electrical cable through the leg. I had to feed it up from the ankle to the shoulder hole. This will be connected to the feet motors and batteries.


November 29, 2011

Main Leg 1.4, Ankle Wedge 1.4 Centre Leg build update

Spent 2.5hrs 
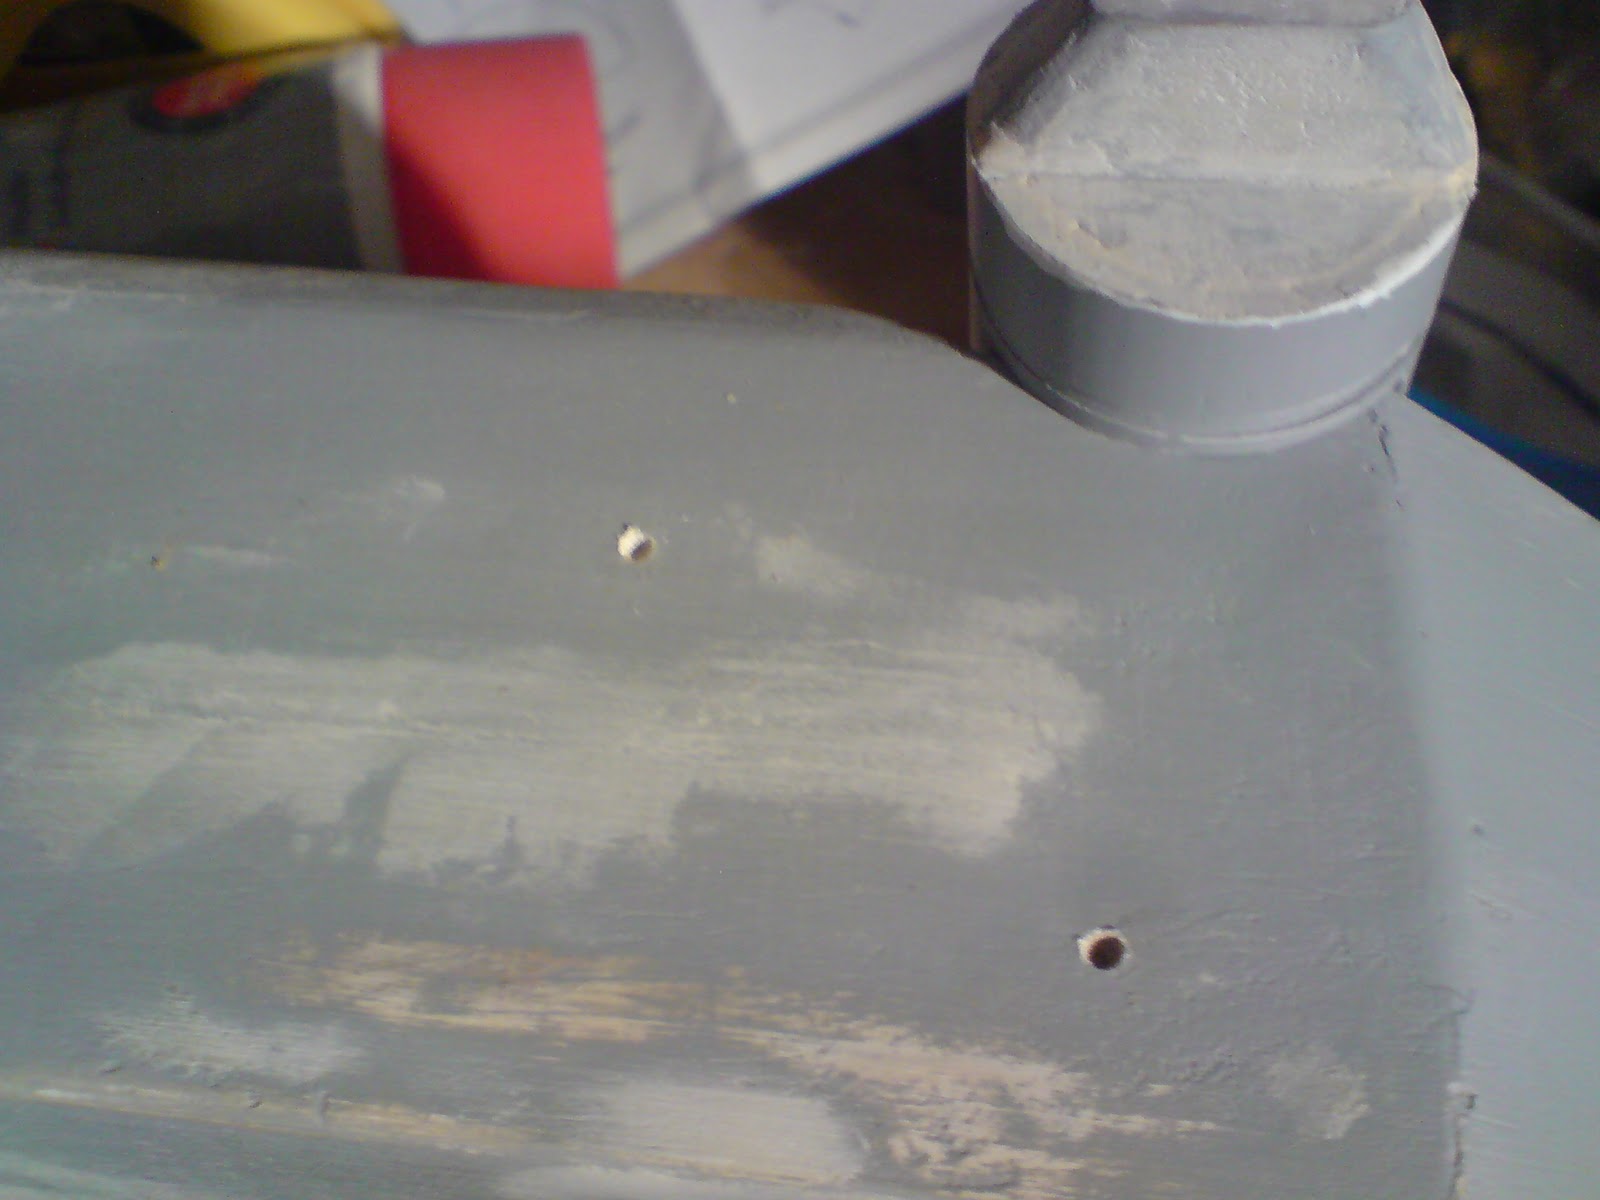
working on leg. Sanding then more wood filler. Made the counter sunk holes bigger on five of the screw holes. Then filled with wood filler.
counter sink holes made deeper
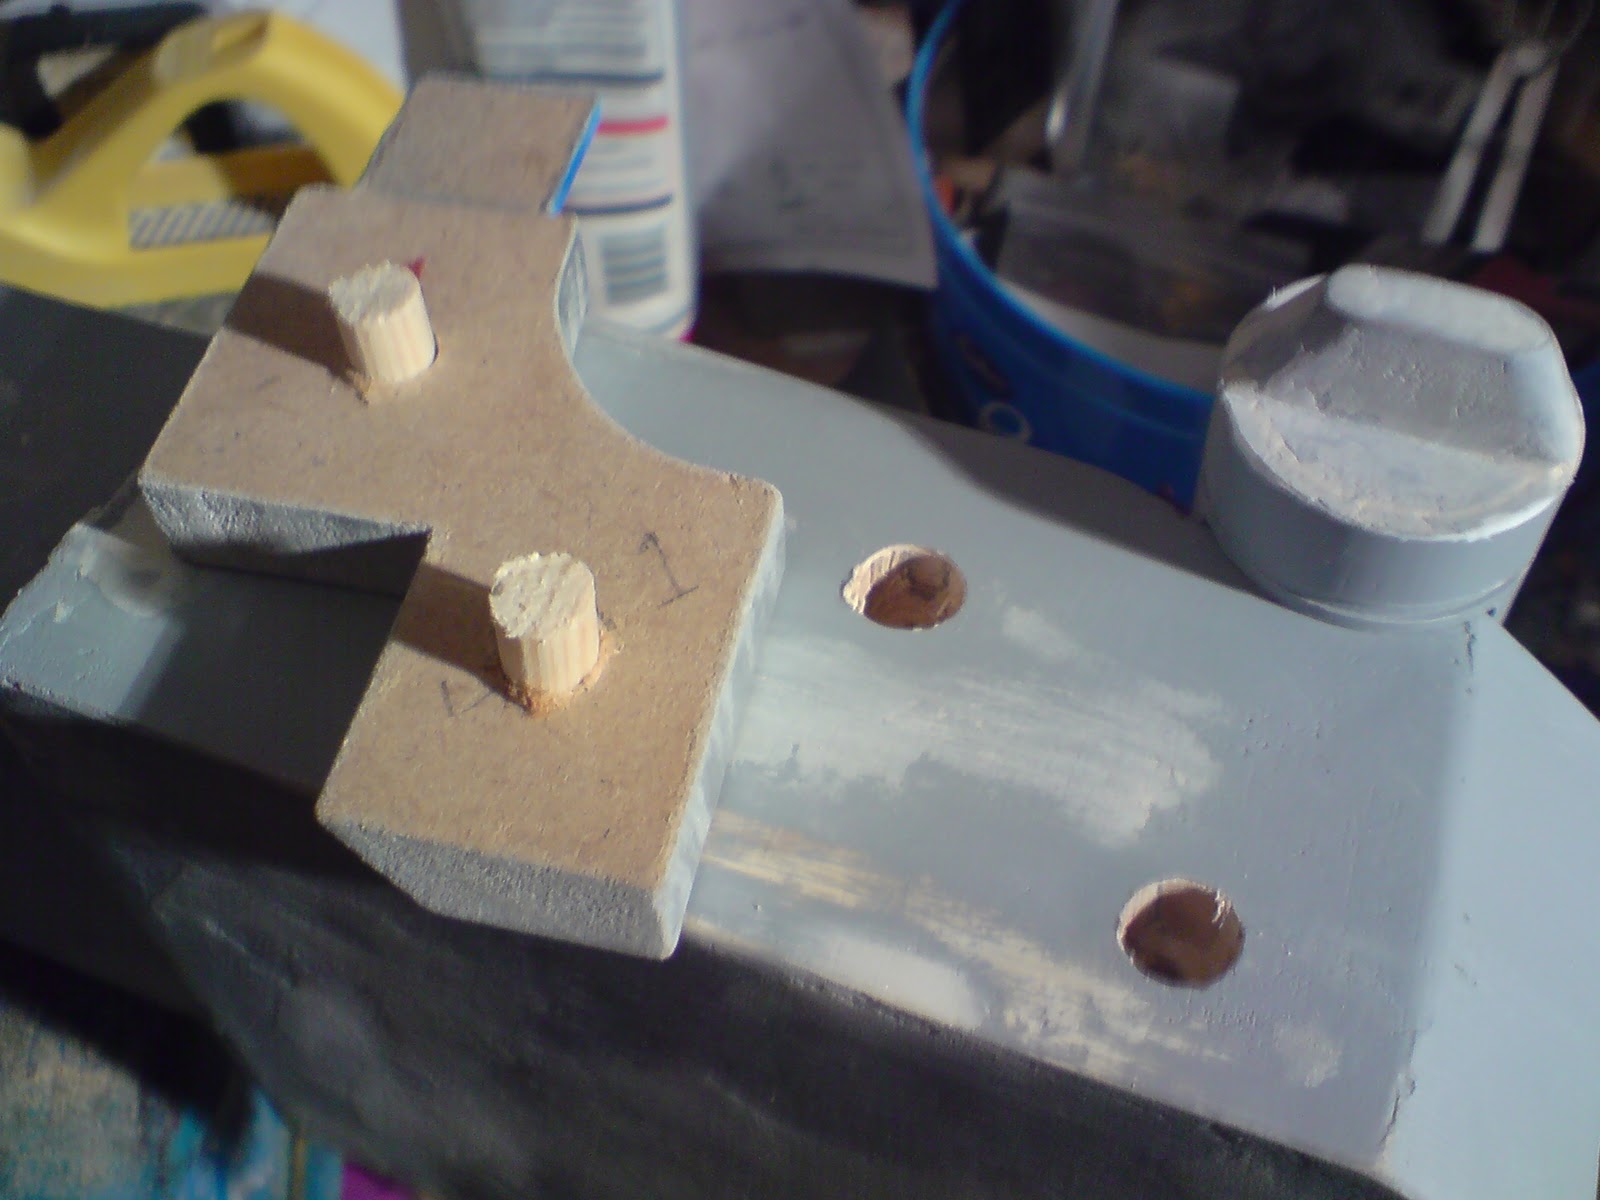
Once dried, more sanding. Also applied wood filler to fill in the wood grain surface.
Mixed up some more P40 body filler and fi0lled in the back of the seconed ankle wedge. I then got to work on re-shaping the resin in the back of the first wedge. Once happy with the fit, I marked its position on the ankle cylinder and removed the cylinder from the centre leg. I then drilled through from the inside of the cylinder up into the resin in the back of the wedge & secured it in place with a screw. I repeated this with the second cylinder & wedge, once the resin had dried.
There is a screw (that you can't) see securing the taped up wedge onto the cylinder
I then masked of the wedges and sprayed them with grey primer.
Wedge masked off and primed
wedge time taken, about 1hr.

Next Day = Once they were dry, I sprayed them blue

And then once dry, I sprayed them clear and also the centre leg.

Centre Leg complate, with cylinders and wedges

 Am pleased with work so far.

November 22, 2011

Ankle Wedge build 1.3

Lunchtime, I glued up the sides onto my second ankle wedge for my centre leg, using car body filler. I also back filled in the first wedge with the left over mix. This will help with fixing the wedges to the leg.

Leg Assembly 1.3


Noticed, after drilling the hole for the Ankle bush, that the wood filler had cracked slightly along the join lines. So drilled some more counter-sunk holes and fixed in screws along the leg section, around the shoulder and two more through the bottom of the ankle. I then applied more wood filler.


picture of back face with extra screws
Time: 1.5hrs


Whilst I was working on the ankle wedge sides, I took the opportunity to drill and press fit the Ankle bush into the centre leg [below].
Bush fitted into centre leg ankle

November 21, 2011

Shoulder Horseshoes 1.1


Bought 3mm thick hardboard for making the shoulder horseshoe build ups. Got the wood from B&Q for £3+.


I had to double check I had the right piece as the price had gone up over a £1 since April, when I first saw it!


I cut out the three different horseshoe template sizes I had printed out onto paper, that i'll transfere onto the hardboard. I'll then cut them as square blank, screw them together and cut out each set with the jigsaw.

Ankle Wedge build 1.2


The template i had made was the right size, but the trimmed wood ones came out a bit small. The filler needed filing down and the gap left will be filled with more P40 resin.


I made up another template for the wedge sides and this time they should come out a better fit.


Not the best pic, but these side pieces are larger than the first ones.

November 17, 2011

Ankle Wedge building

I decided that now would be a good time to finish off one thing, lol. So lunchtime I cut out the side pieces needed to complete my Centre Leg 'Wedges'.


Using masking tape to hold the sides of the wedge in place. I then us P40 car body resin to secure them to the front plate.


2001 a Blog Odyssey

Hahahaha, see what I did there with the title...... yeah, OK, not that funny :-D


Just that I noticed my Blog has now been viewed 2001 times......... why, I don't know lol


Thanks to all who have viewed my work so far, I hope it's been informative and interesting too.
If you have any questions on how or in fact why I've done something a certain way with my build, please post up comments or message me and I'll explain more fully. Am happy to help others along with your build.


Happy Building

November 16, 2011

Leg Assembly 1.2

After fitting the ankle bush, I started to sand (with a large file) some of the wood filler down.


This is just the start of getting the leg edges running square.

Leg Assembly 1.1

Today I drilled out the Ankle hole in the leg. I used a 12mm dia wood bit.


Leg clamped up ready to be drilled


I then pushed the bush into the hole.
Bush being pressed into leg using the vice
I also cut up some dowel to plug the curved ankle screw holes. These will be filled with wood filler later on.


Wood Plugs