

Update on this project:
June 24th 2022
I decided to attempt to 3D print the main light panel..... and then realised that it wouldn't print as the diameter was JUST larger than the print bed. Also even halving the height, it was too tall. So I had to section it up into six sections.....which then needed to be sectioned up more and repositioned so that the orientation of the layer lines would add strength etc.
The lower base section was printed in two half's.....easy.

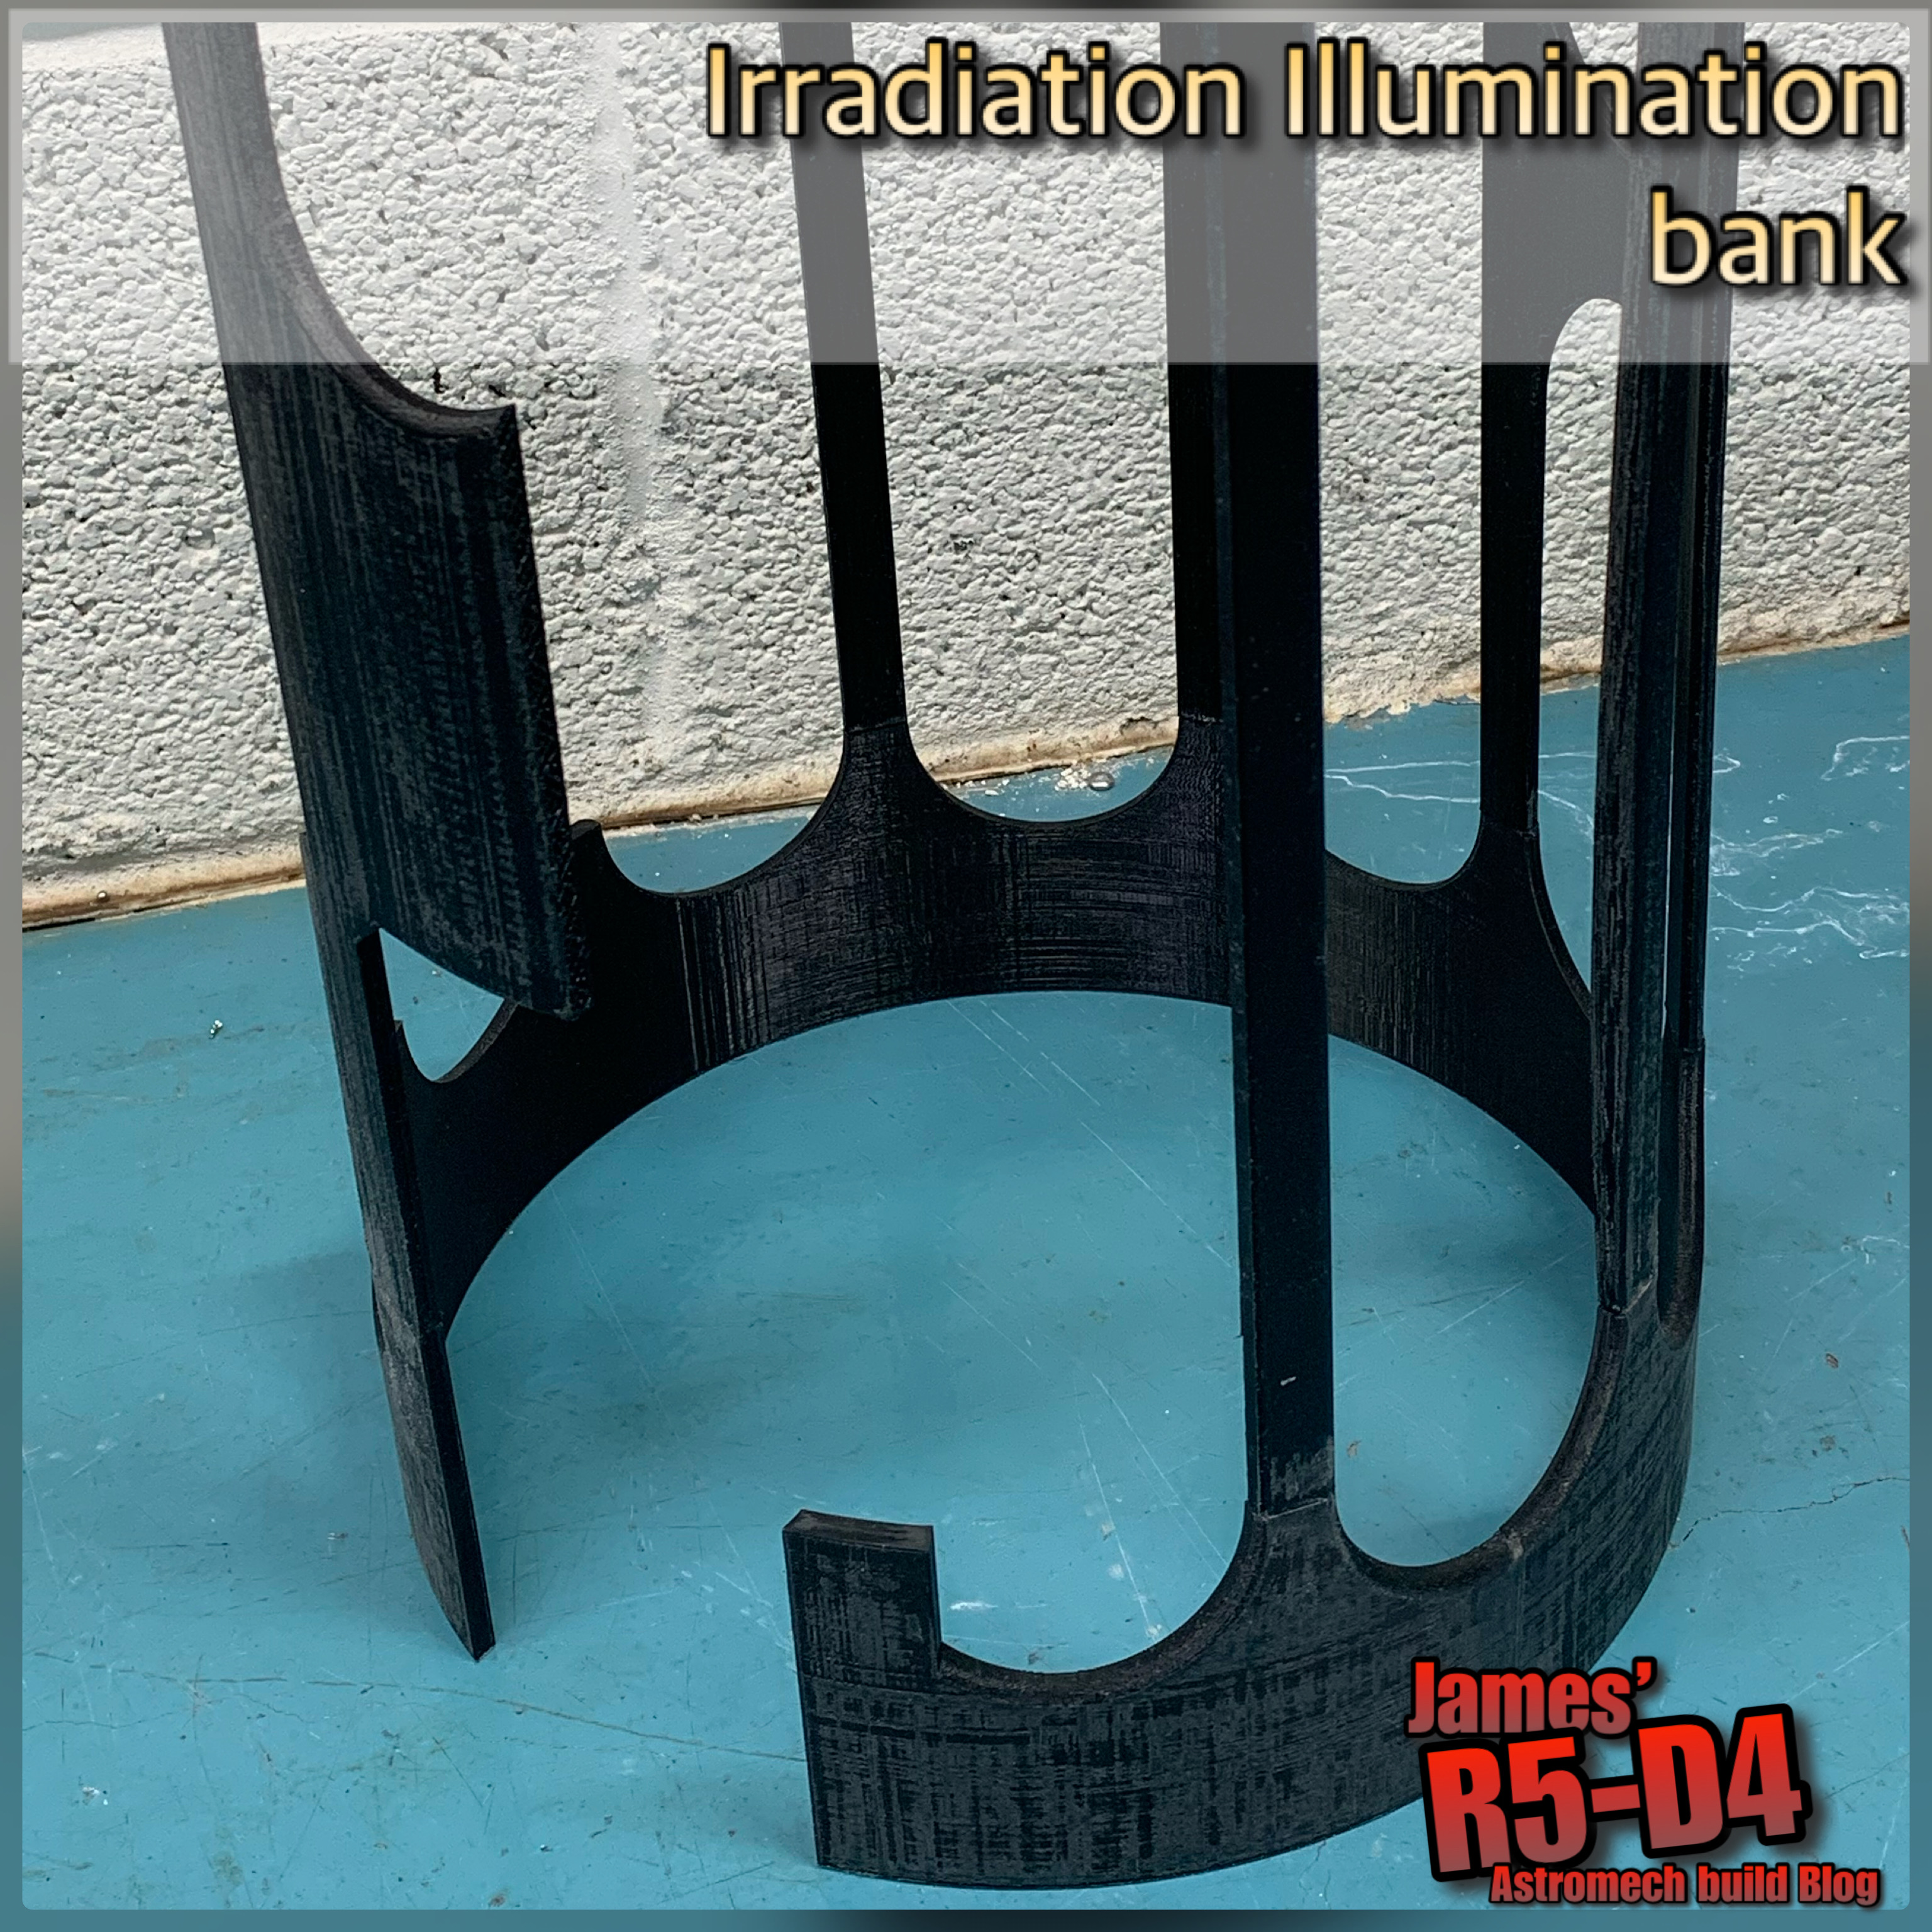
After a few failed prints, I managed to get them printing right. The middle sections seen, in following picture, were printed in a horizontal position, for strength but also to reduce support material usage. This had some more print failures, mainly due to supports not being in the right place, so it lost its strength and the print layers shifted.

Hence the missing piece in below picture.
As per, an assembly test fit HAD to be done.....

The top sections, were printed, but one of the replacement legs still failed, so that one will need to be reprinted. Following picture showing the top section [rear].

Test fitting before leaving work. The assembly ring can be seen halfway up the body.

I got home and made a start on fixing the extra supports (legs). One was a few millimetres to short, typing, so after gluing one end in place, I got out my soldering iron and started melting plastic into the gap. I then went over all the joins melting them together. This made such a difference in rigidity!
Before I left work, I set the printer printing structural rings for the thinner legs as supports. I included a relief to allow opaque windows to be added.
I also found some light fitting threaded rod’s that I can use to hold the whole unit together. I had this as my original idea before rethinking it……now I can possibly reintroduce the idea. Designed up a brace to connect with the structural rings.

The rod passes through the middle. Into the base plate, which I cut out of wood.
Started installing LED’s into the base unit.
The LED's are secured through holes drilled in the recess. I then cut a piece of opaque plastic to help diffuse the light. I then covered with a thin 'mesh' that was actually the raft off a 3D print.
Added some more details…..


1st July 2022
Drew up a locking plate which will fix inside the upper part and secure with a contained nut. I printed this in two half's, so I could get the correct distance from the nut onto the threaded rod. There is a raised tab that fits into two of the four recesses and the whole plate was then glued into place.


This all works, so now it’s just finding suitable material for the light panels….
…..another project has kinda landed on me (& two other SW Builders) so last few weeks I’ve been thinking, designing, planning up how to build it.
It has to be:
- lightweight
- not expensive
- simple to assemble/disassemble
- easily storable
I’ll post up progress pics as I go but for now this is as much as I can say.
No comments:
Post a Comment