- Second Arm - 'Clip' type
- Replacement servo arrived [though probably not needed now]
- First Arm - Claw arm work
- Third Arm - Two prongs
- Fourth Arm - Probe
- Cables & tubes
- Painting
- extras.....
Second Arm: 'Clip' type:
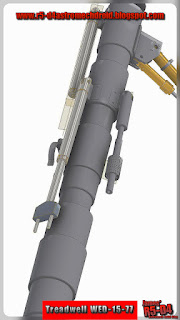
This I call the clip arm as it's end resembles a clip you would fit a pole/broom too to locate/store it. Using previous images, I guessed a suitable size and printed it in a flat orientation. This allows for some flexibility without it (hopefully) breaking.
I used the large 8mm dia carbon fibre tube as the second stage of the arm. The clip fits onto this.
Next up was drawing up a new bracket. I'll use this design for the other arm brackets.
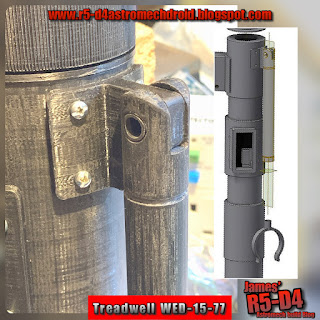
Once I'd sanded these pieces and had shaped the pivot location pin, I then drilled and screwed the bracket in place.
Replacement servo:
The one purchased off eBay, had a piece missing out of the bag. Sourcing this item would not of been cost effective even with the partial refund given. So the seller posted me a whole new servo unit, which included the missing piece. Great!
But I don't think I'll be actually using it now..... so I'll save it for another project..... or will I....... I've just had an idea! So some more development work on this soon.
First Arm: Claw arm:
Finally the main 'Claw' arm. I needed something that could be flexible but still be able to transfer movement. I’d looked at bowden tube designs, bicycle break cables etc. Settled on an electric guitar string. This should work well, next was to locate and rig up the mini servo to it, through the new tubing, and connect to the Claw.
Third Arm: Two prong arm:
After I'd drawn these items up, they were printed off, overnight, plus an extra bracket for the last arm. The holes in them were Dia 6.4mm, this allowed for material expansion of the filament during printing, and allowed a snug fit of the carbon tube into the parts. A Drill bit was the only thing I had to use to help clear out the support material inside the holes.
A lot of sanding and smoothing to remove the print lines on the two tube arm sections; as well as the bracket.
Fourth Arm: Probe arm:
This one I drew up in 3D, basing the design on the one Paul6700 had originally made. It can be seen in my above picture (on the right). I liked the mesh screen too, so had a go at printing one off. The first version, showed up its weak points, the holes were too close together, so the second attempt had larger spacings and worked great.
Cables:
I wanted to replicate Paul’s and the original WED cables, using vintage wires. I dug into my box of old iPhone charging cables lol, as I remembered that these (older versions) had metal wire sleeves under the rubber insulation sleeve.
Tubes:
The plastic tubing I had was the right size, but was still a bit too stiff, I wanted something more flexible that wouldn’t hinder the movement of the claw arms motion. I searched for silicone hose and found translucent tubing. The right size was available and it’s really soft and flexible (eBay).
Painting has begun.
Sunday 22, bit chilly but decided to make a start on spraying up parts. The eye units, the neck and base plate parts, were primed first.
Monday, I found (I hope) a suitable blue spray paint for the eye units, and later, for the base. Picked up two cans.
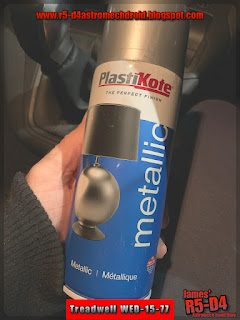
Tuesday, I took the pieces I wanted to spray up, into work. They have a spray booth and it's inside in the warmth lol. I used the metallic silver (what was left of the tin) to spray up the base plate and the eye brackets. I had added some super glue the night before to areas that the primer didn't fill in. This actually adds to the effect, along with the print lines looking like machine lines. Result!
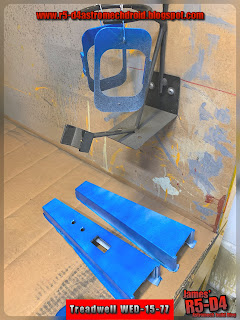
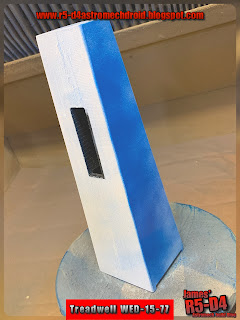
I next sprayed up the eye units with the blue spray paint, I think they came out ok. I did make the mistake of spraying the eye that's still in two pieces separately, so these will require a respray together lol.
Finished look.
Wednesday, I primer sprayed the arms.
Thursday, the arms etc got the silver spray treatment.
Extras....
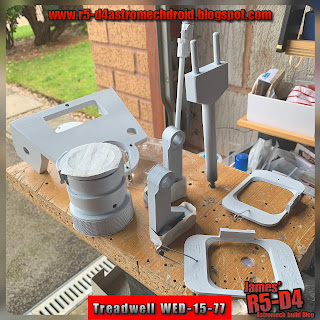
Lastly, I drew up some extra pieces and test printed them off. These include covers for the bottom of the eyes, where the legs poke through.
I have also drawn up and printed off a new upper neck servo mount as a test piece. This would replace the need for the motor to turn the head assembly left and right. I've incorporated the bearings in it again, to help take the weight off the servo. This is still a WIP, as I need to see if the servo is strong enough to move the weight of the head, more soon.









No comments:
Post a Comment